
Mosaic Canyon
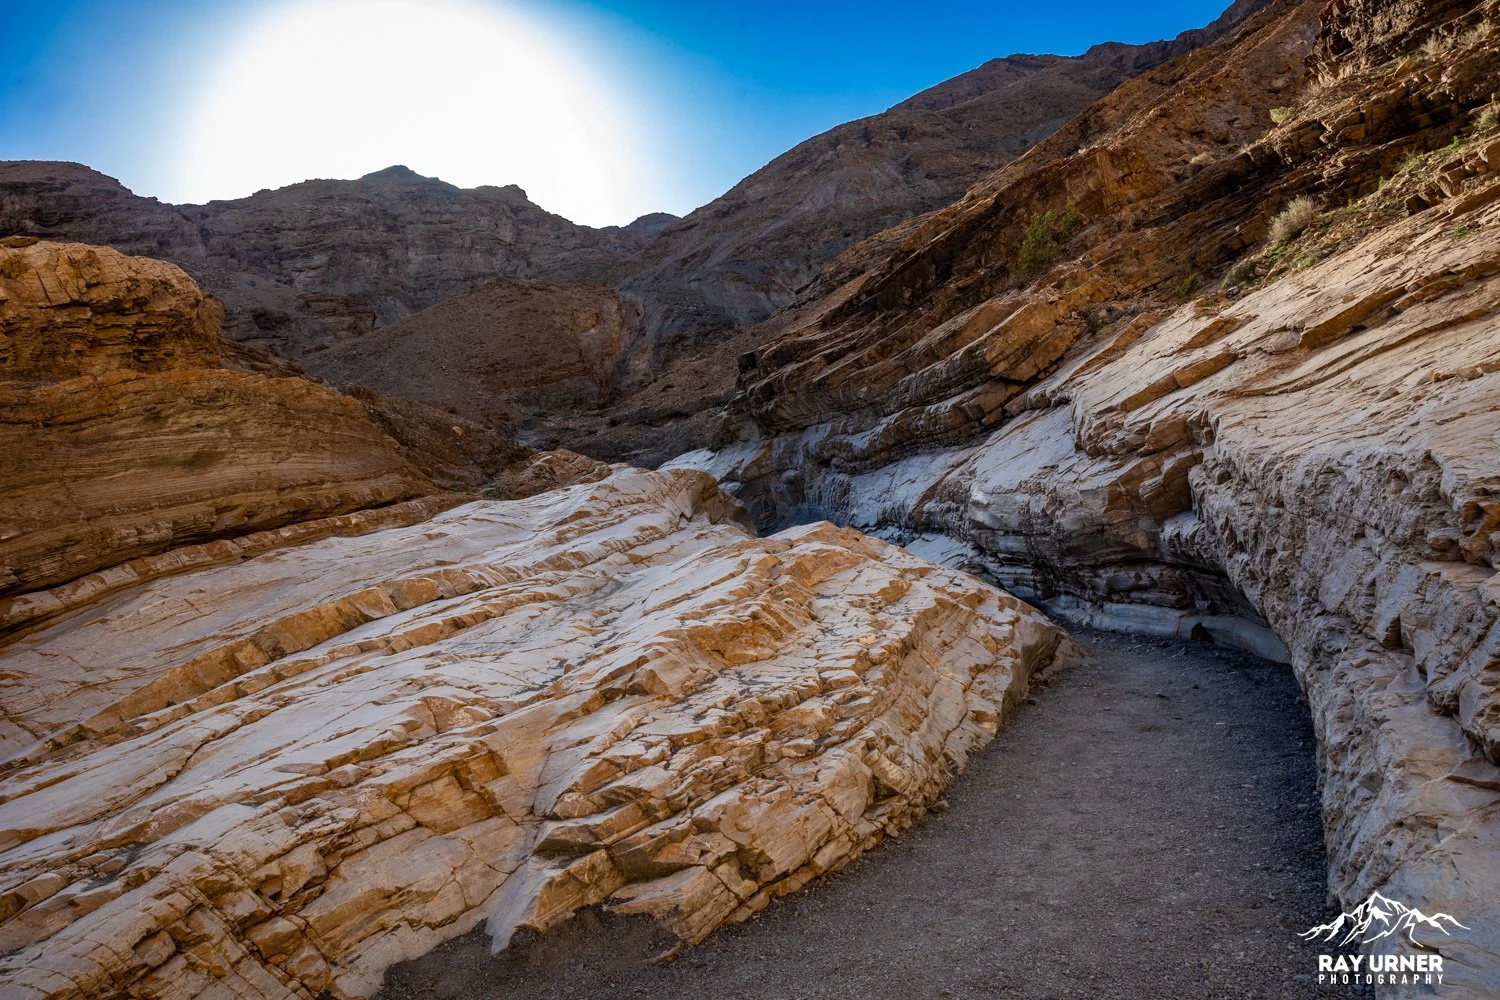
Mosaic Canyon is one of Death Valley’s most rewarding short canyon hikes — a winding corridor of polished marble walls, mosaic‑patterned breccia, narrow slot‑like passages, and dramatic dryfalls. The canyon begins deceptively wide, then quickly funnels into sinuous narrows carved from Noonday Dolomite, scoured smooth by debris‑laden flash floods over millennia.
It’s located just above Stovepipe Wells and is one of the park’s best geology‑forward hikes, with both easy exploration and optional adventurous obstacles.
Overview
Quick Facts
Distance: 4 miles round‑trip (out‑and‑back)
Difficulty: Moderate to Difficult (due to scrambling, slippery marble, optional boulder bypasses)
Elevation Gain: ~1,200 ft
Trailhead: End of 2.3‑mile unpaved Mosaic Canyon Road across from Stovepipe Wells Campground; road usually passable in a sedan.
Restrooms: At Stovepipe Wells Village (none at trailhead)
Best Seasons: Fall–Spring (summer heat hazardous)
Hazards: Slippery polished rock; flash floods; narrow bypasses near drop‑offs
Geology (Why Mosaic Canyon Looks the Way It Does)
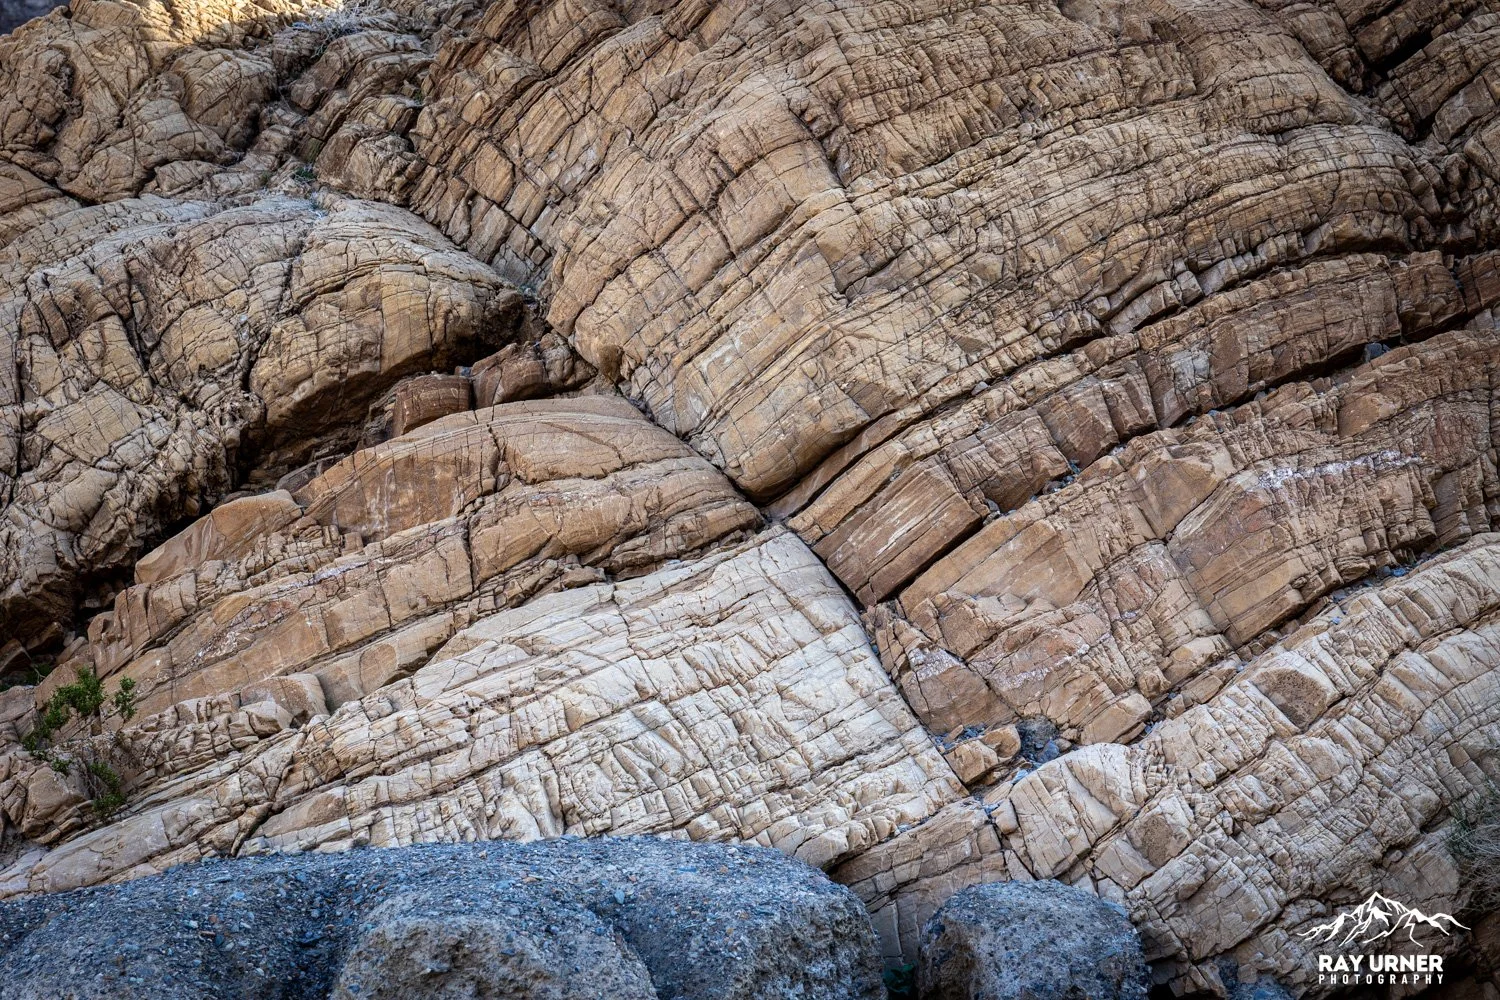
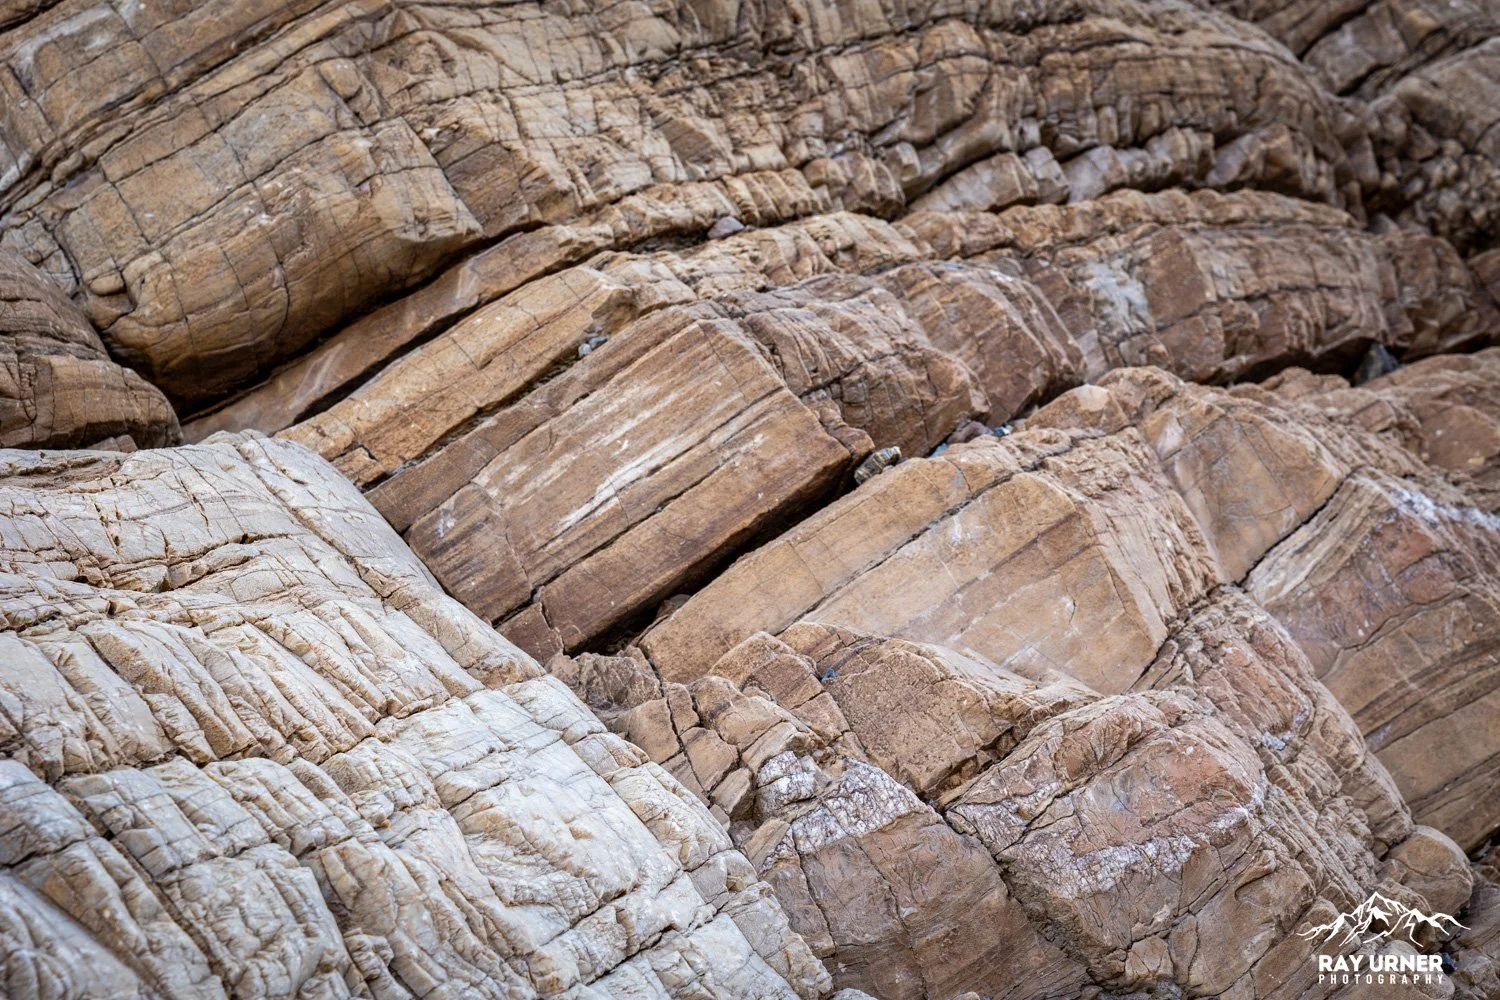
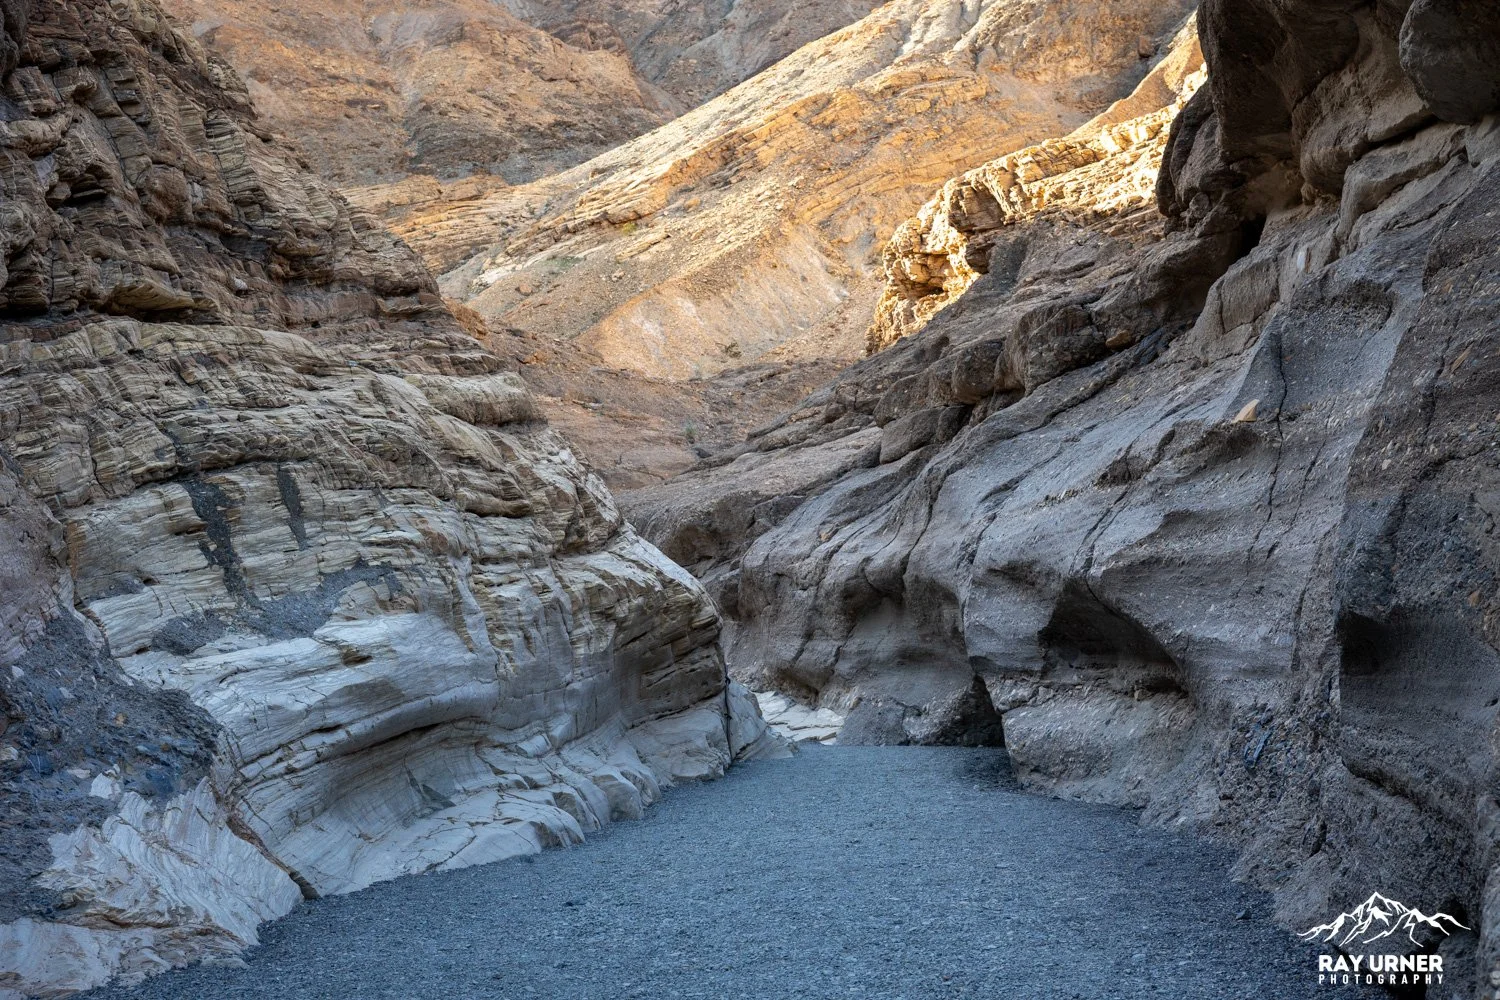
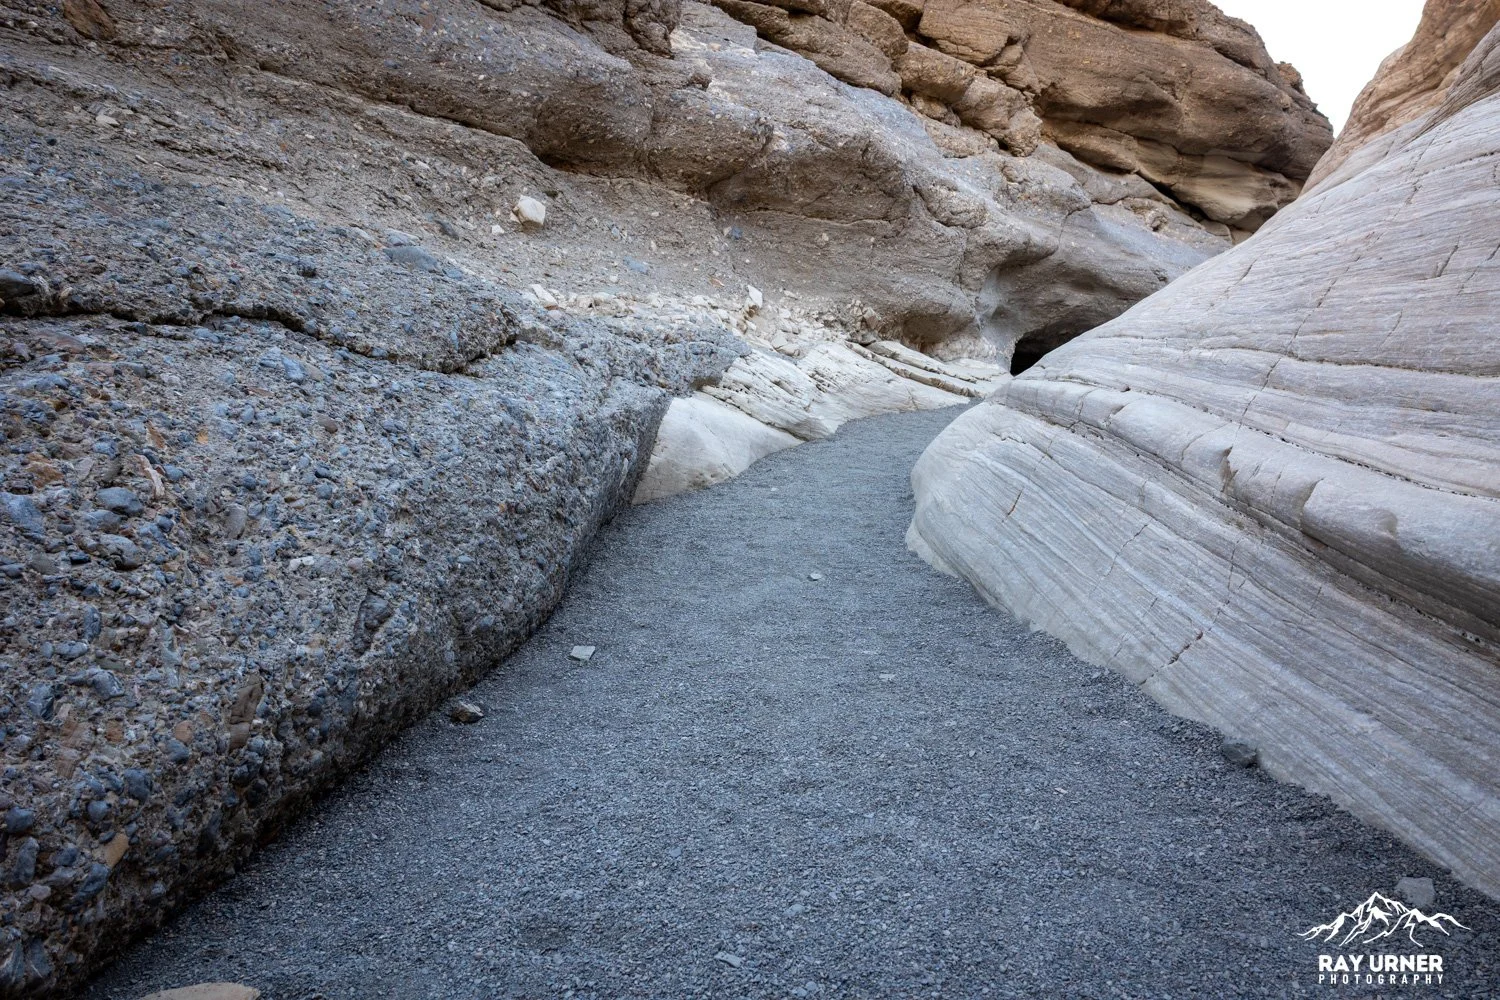
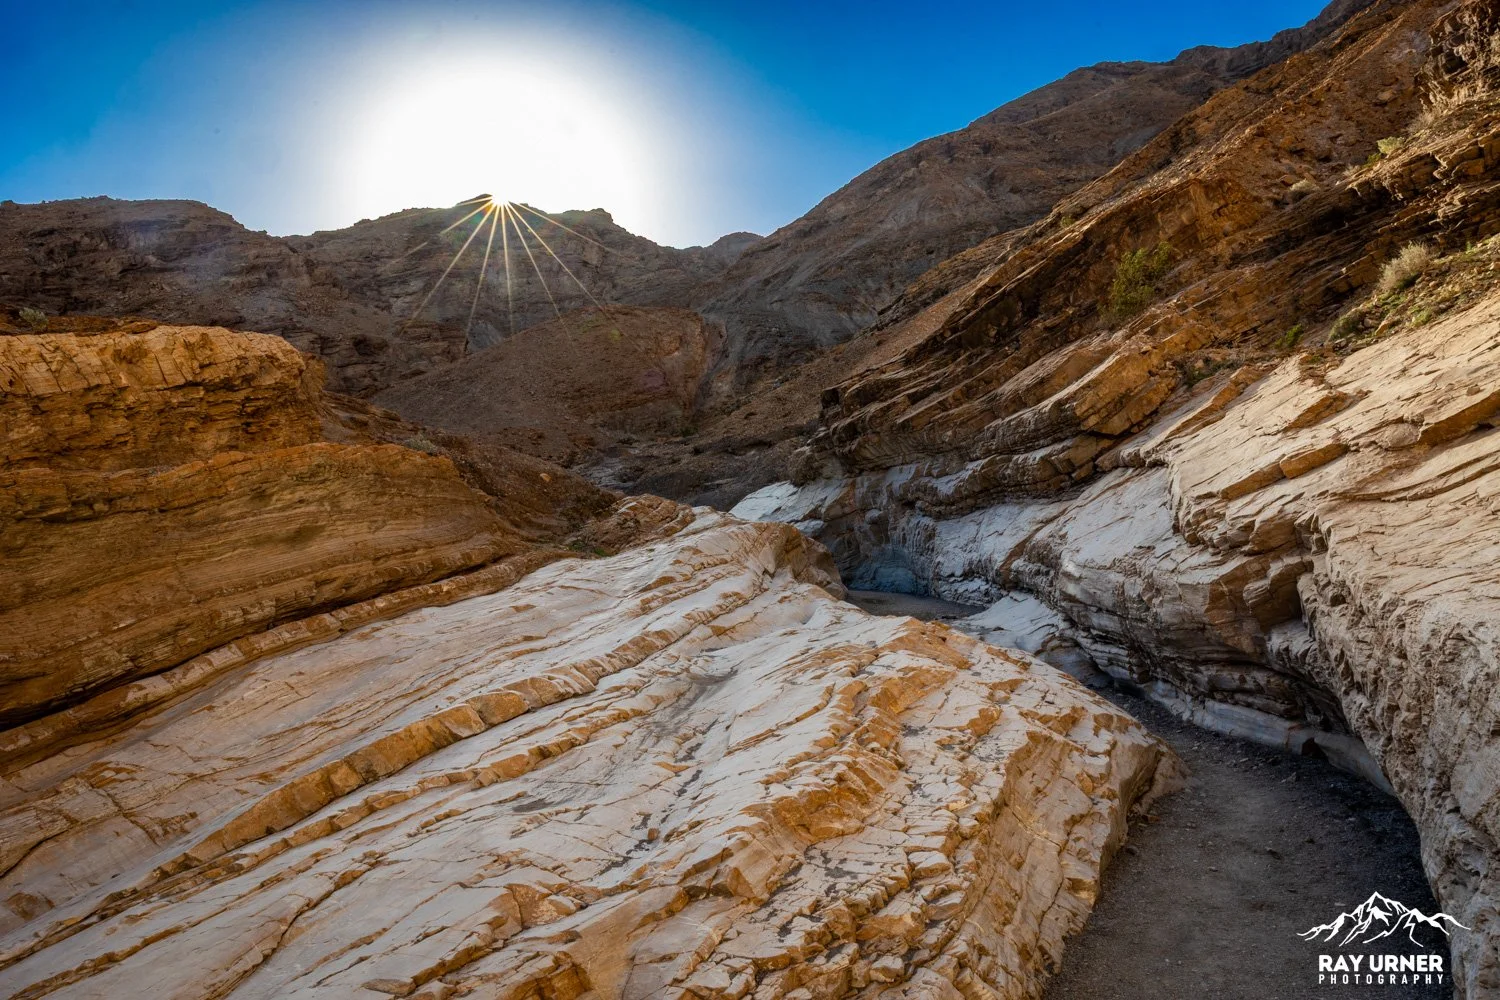
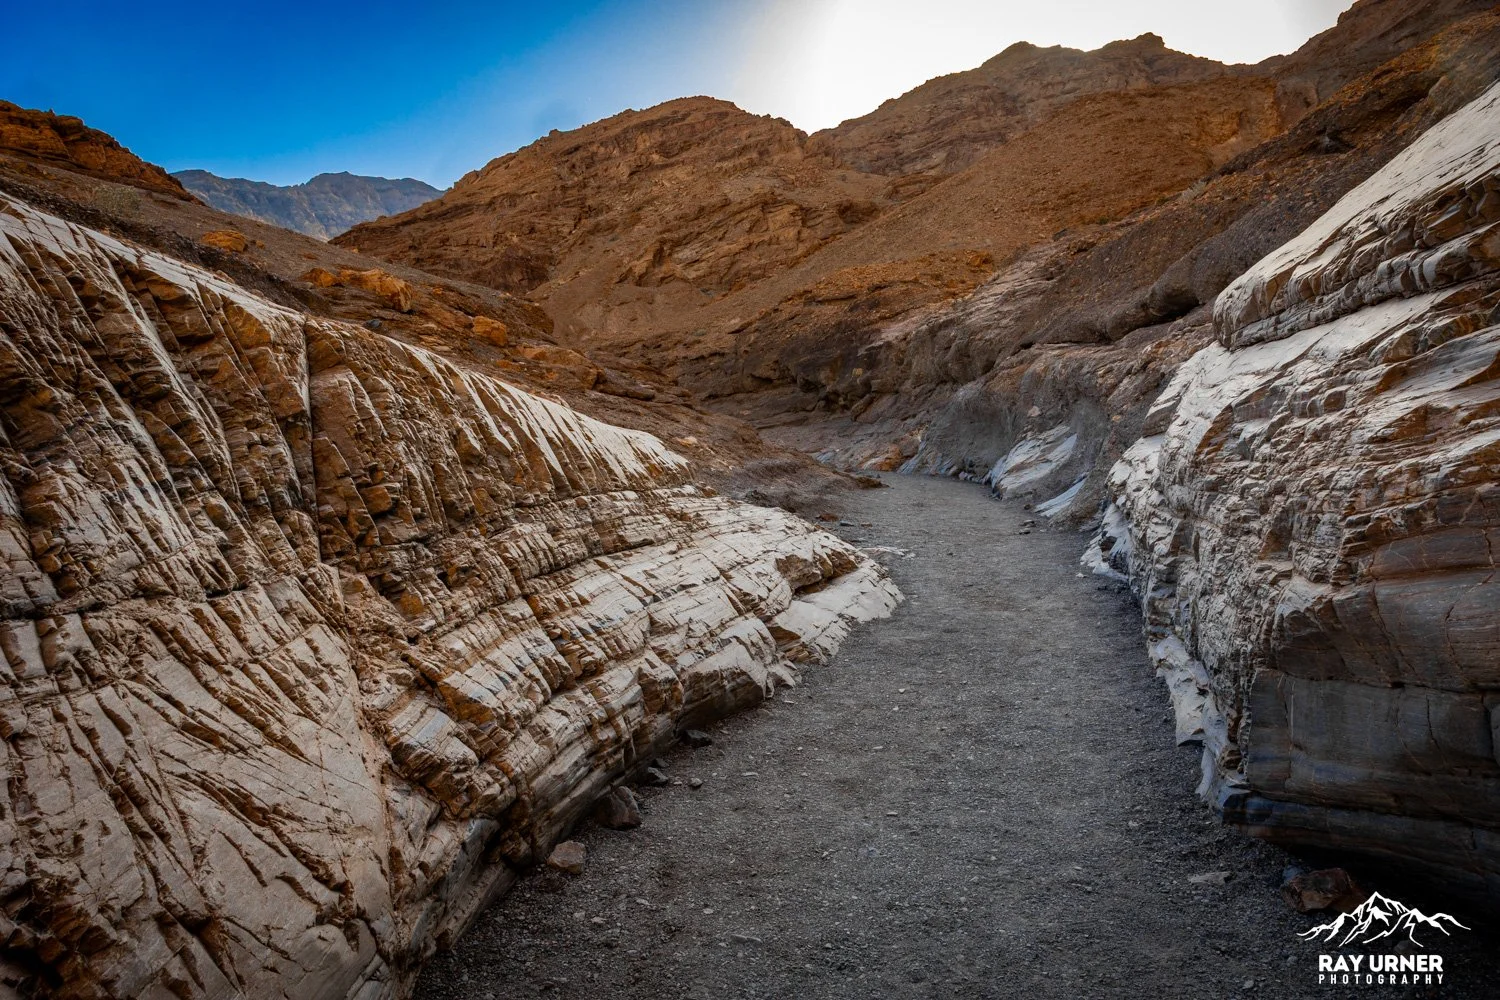
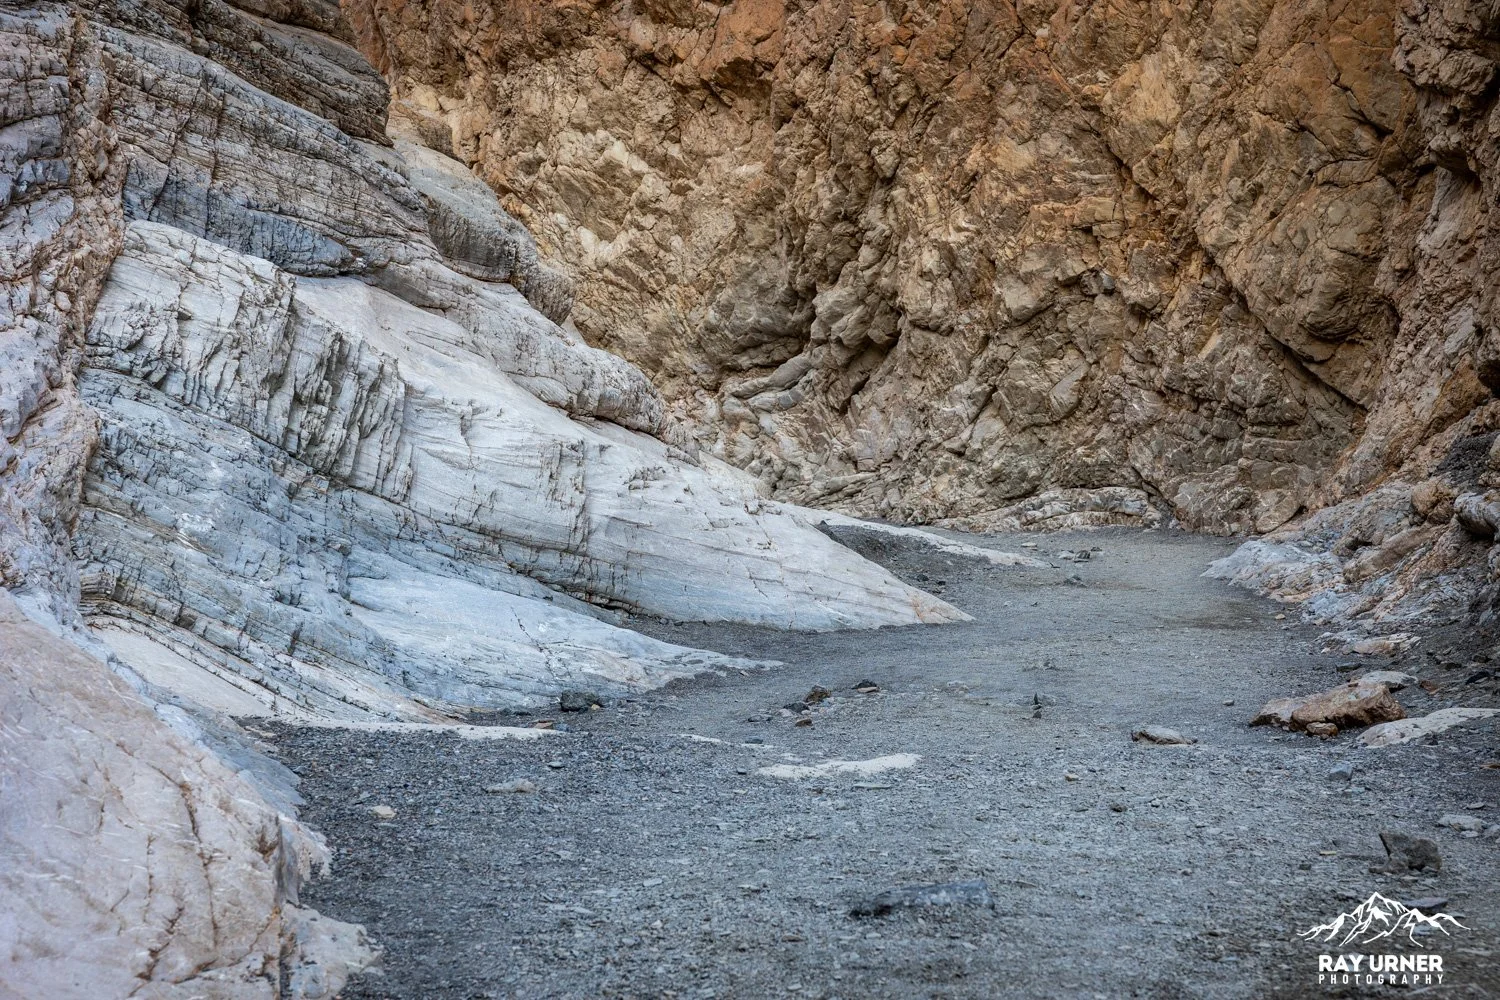
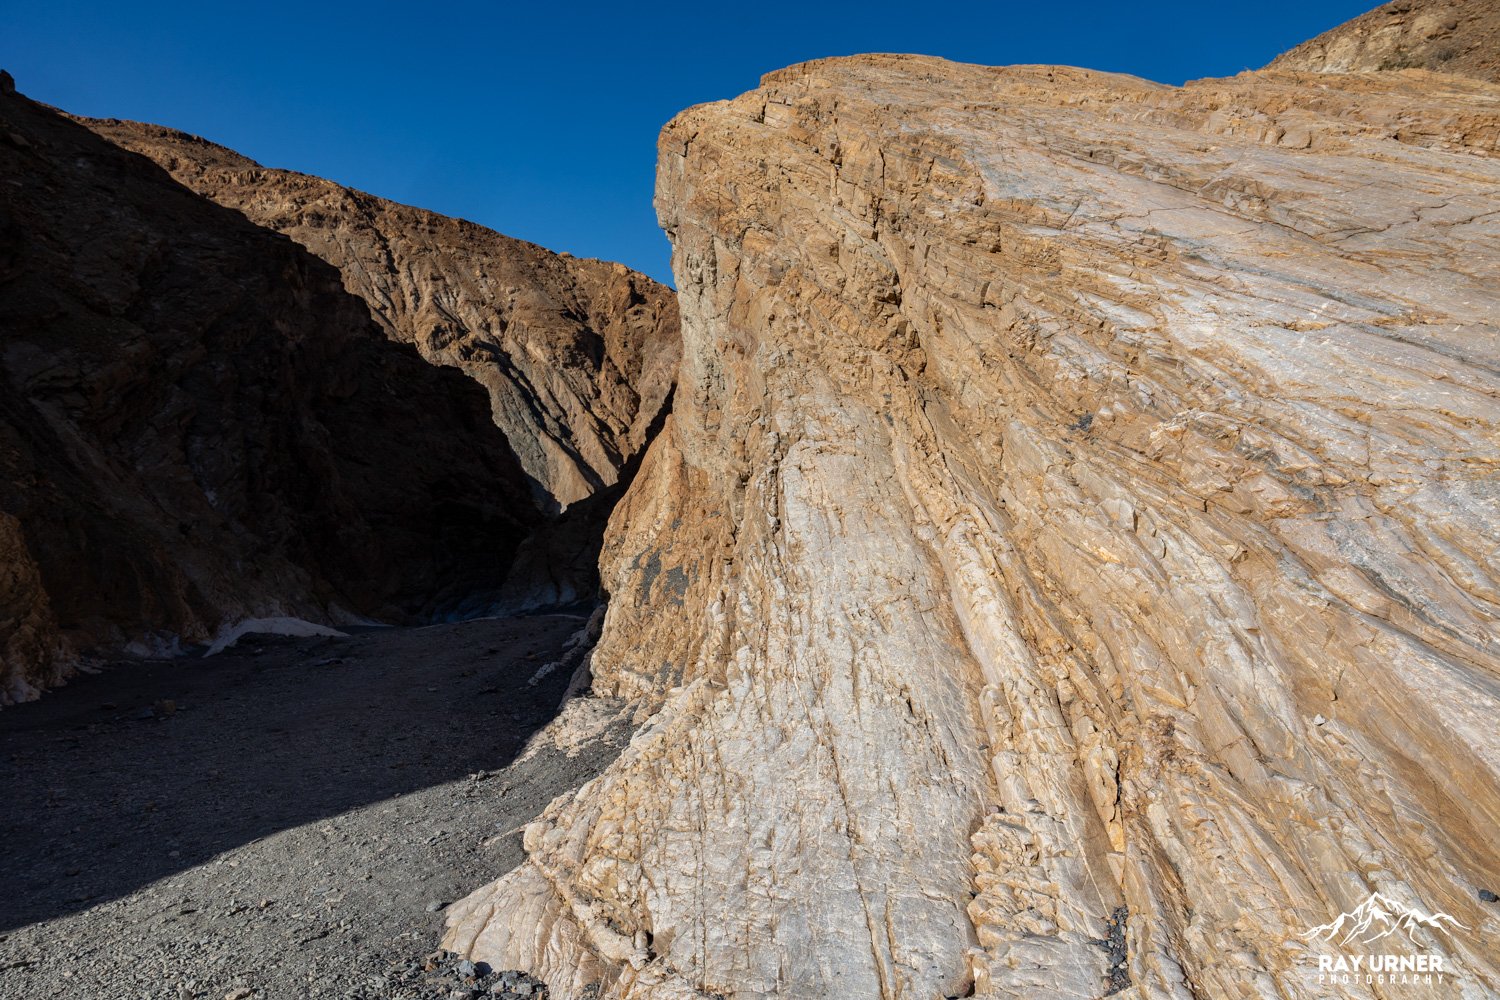
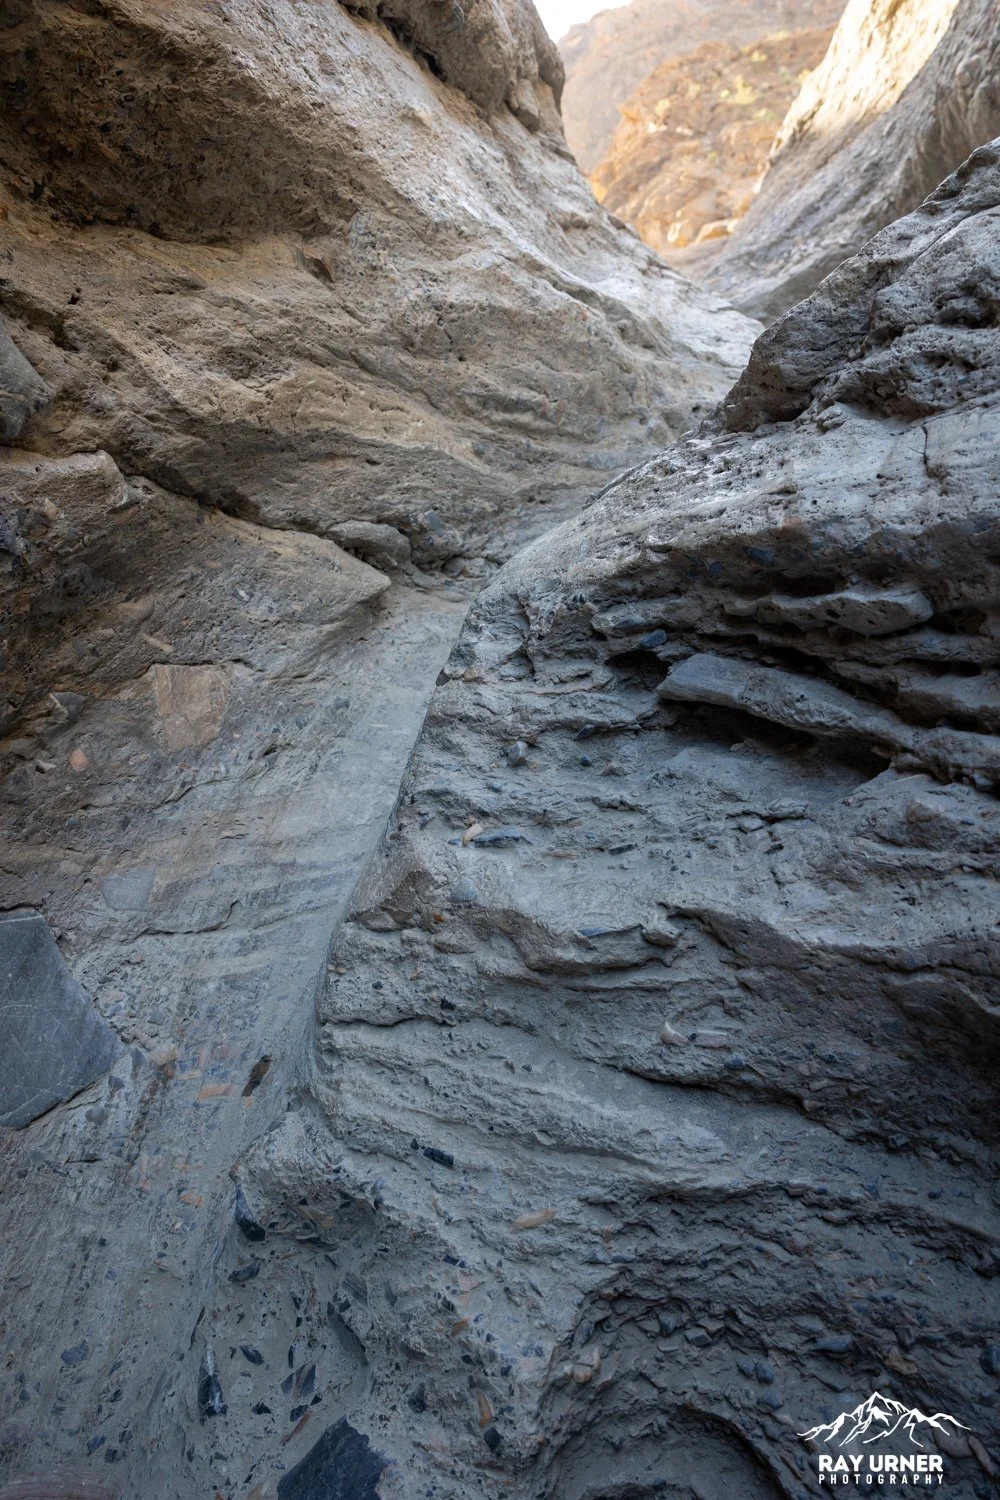
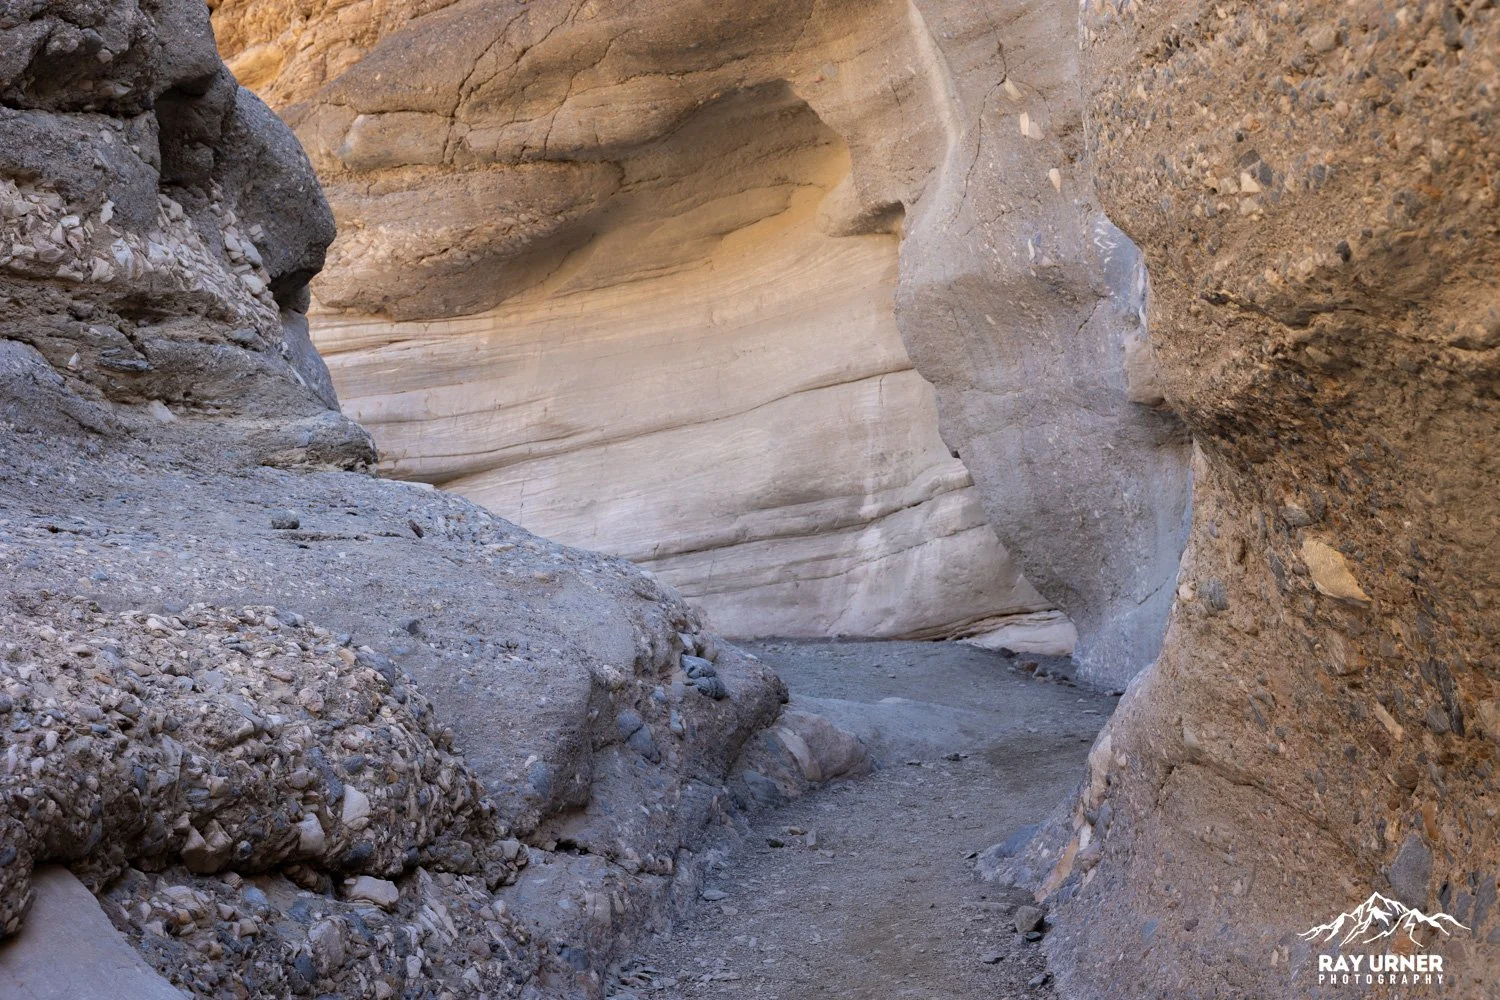
Polished Marble (Noonday Dolomite)
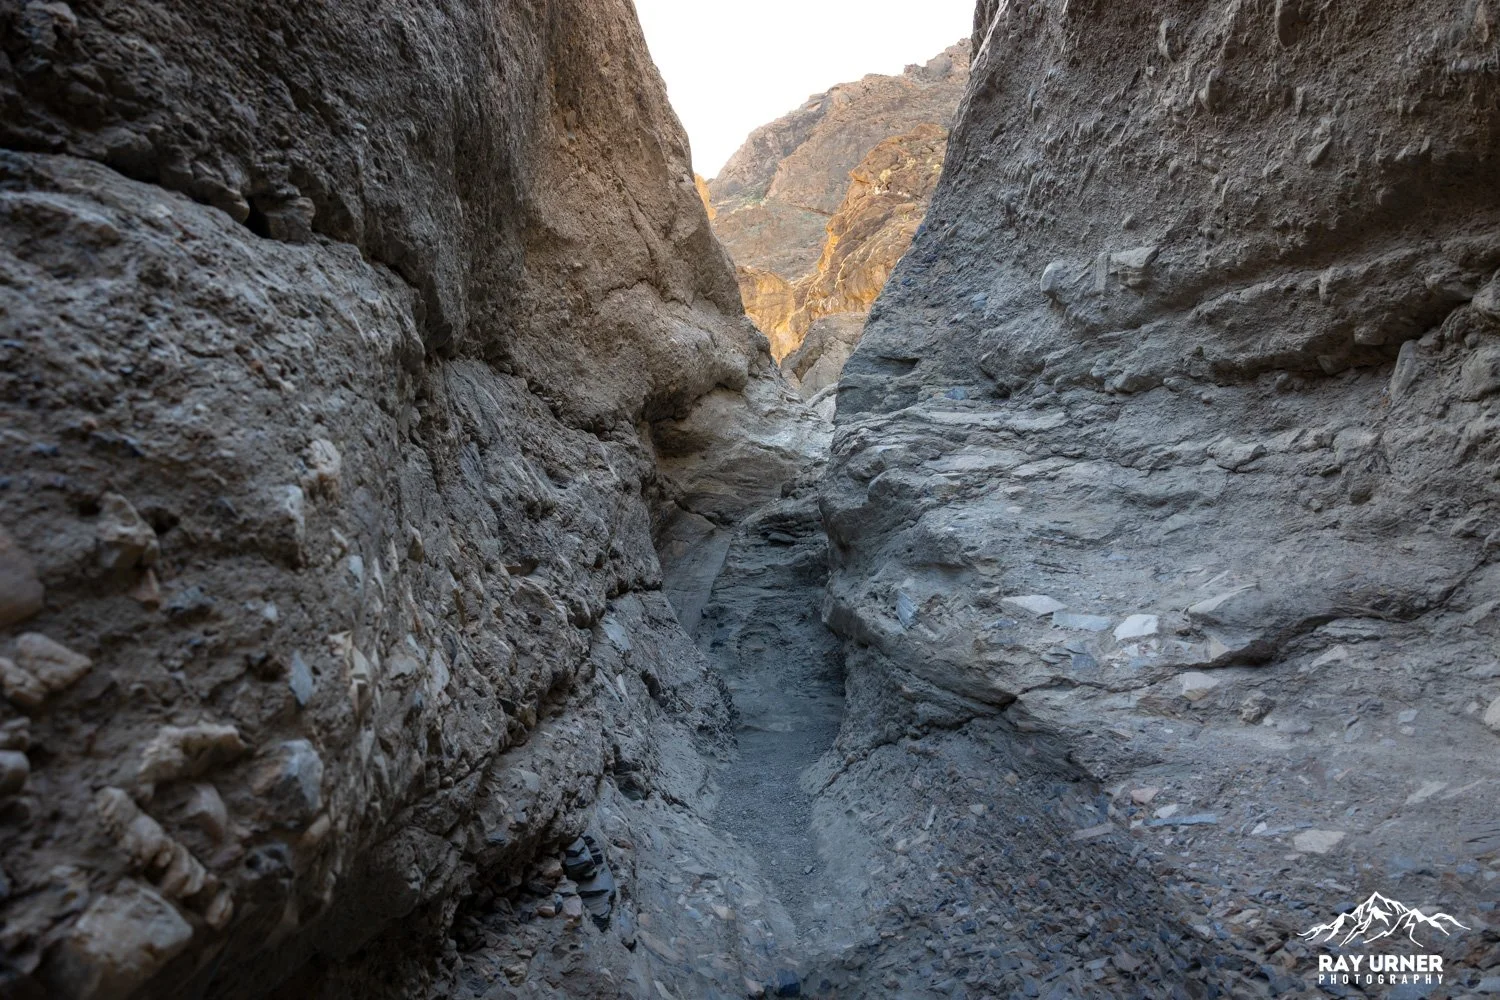
Within the first 0.25 miles, the canyon tightens into smooth, water‑polished marble walls, created when flash floods carrying grit scoured the dolomite into curving, reflective faces.
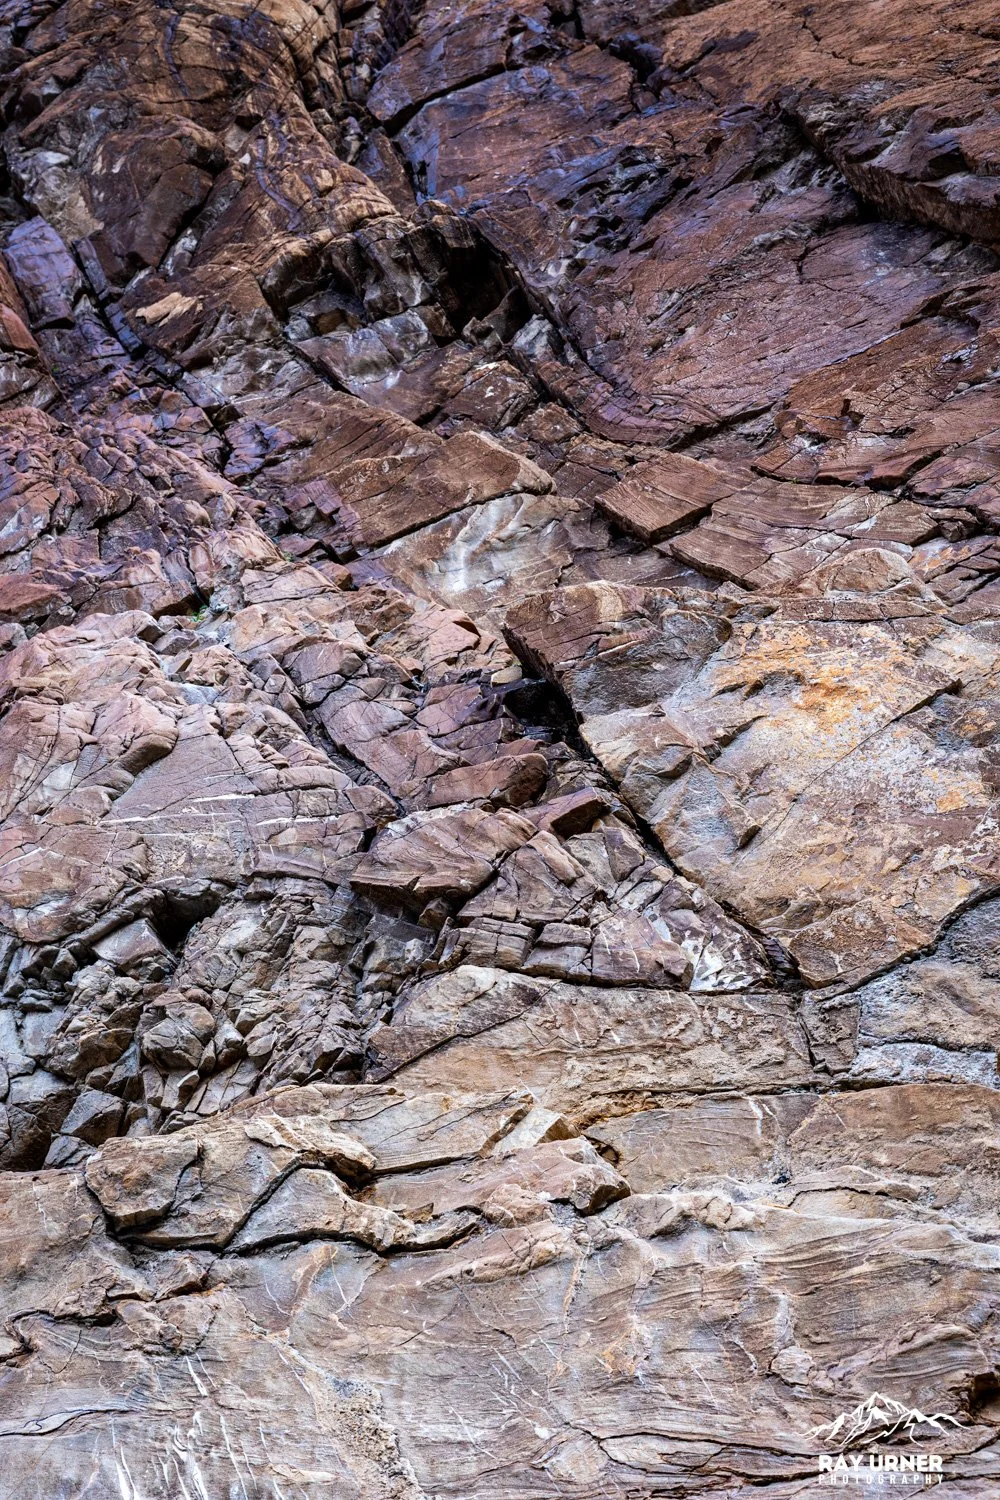
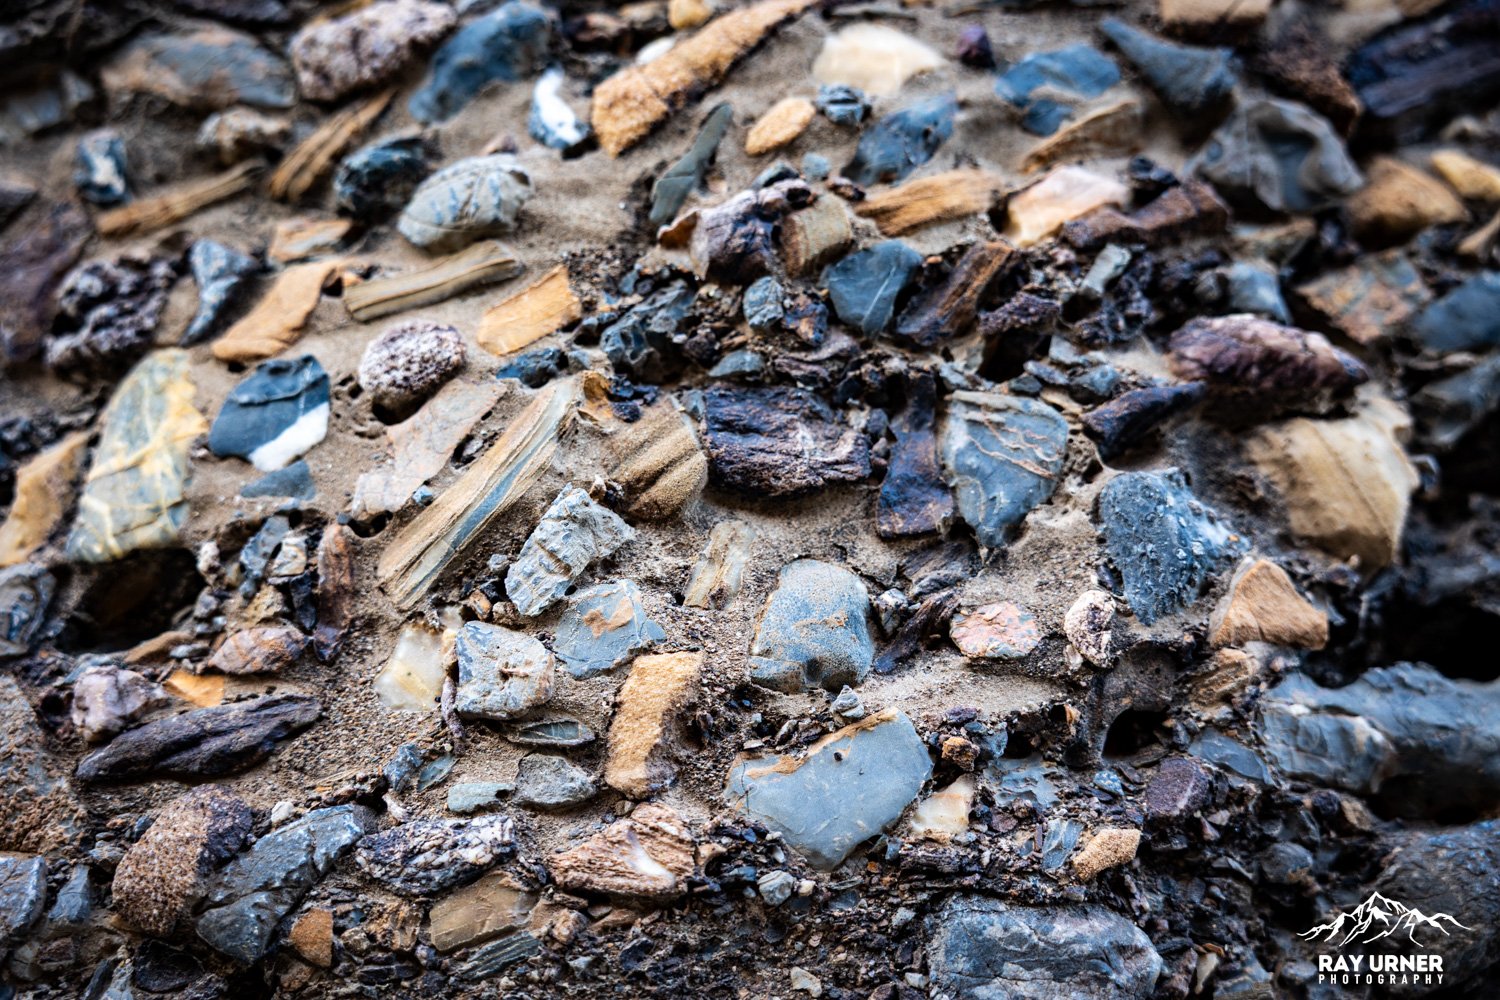
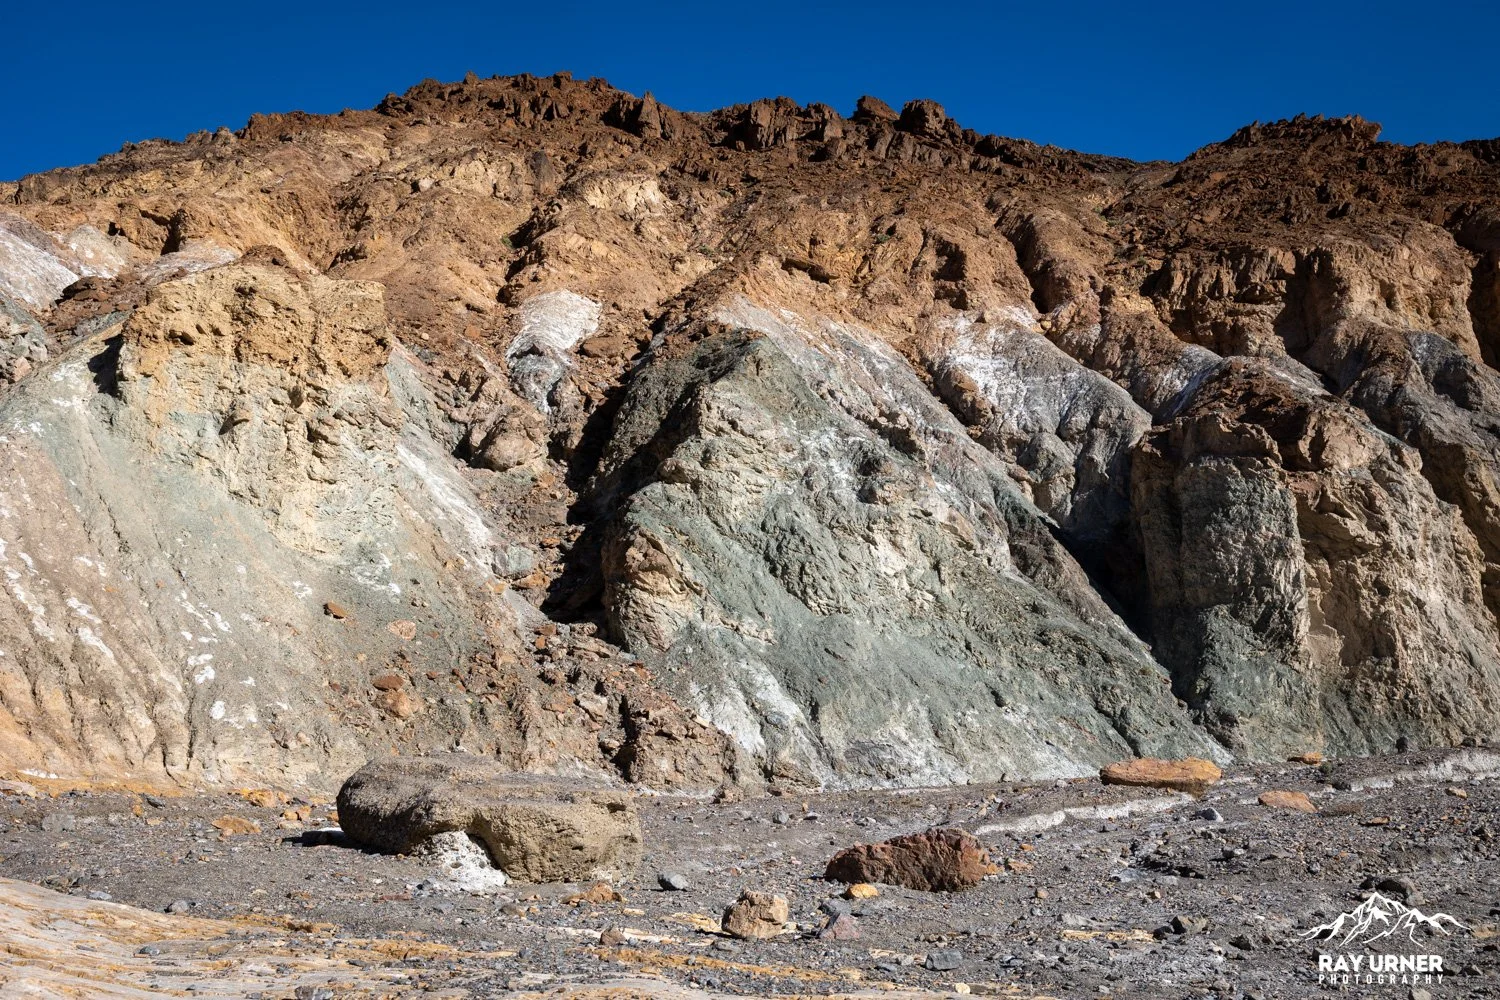
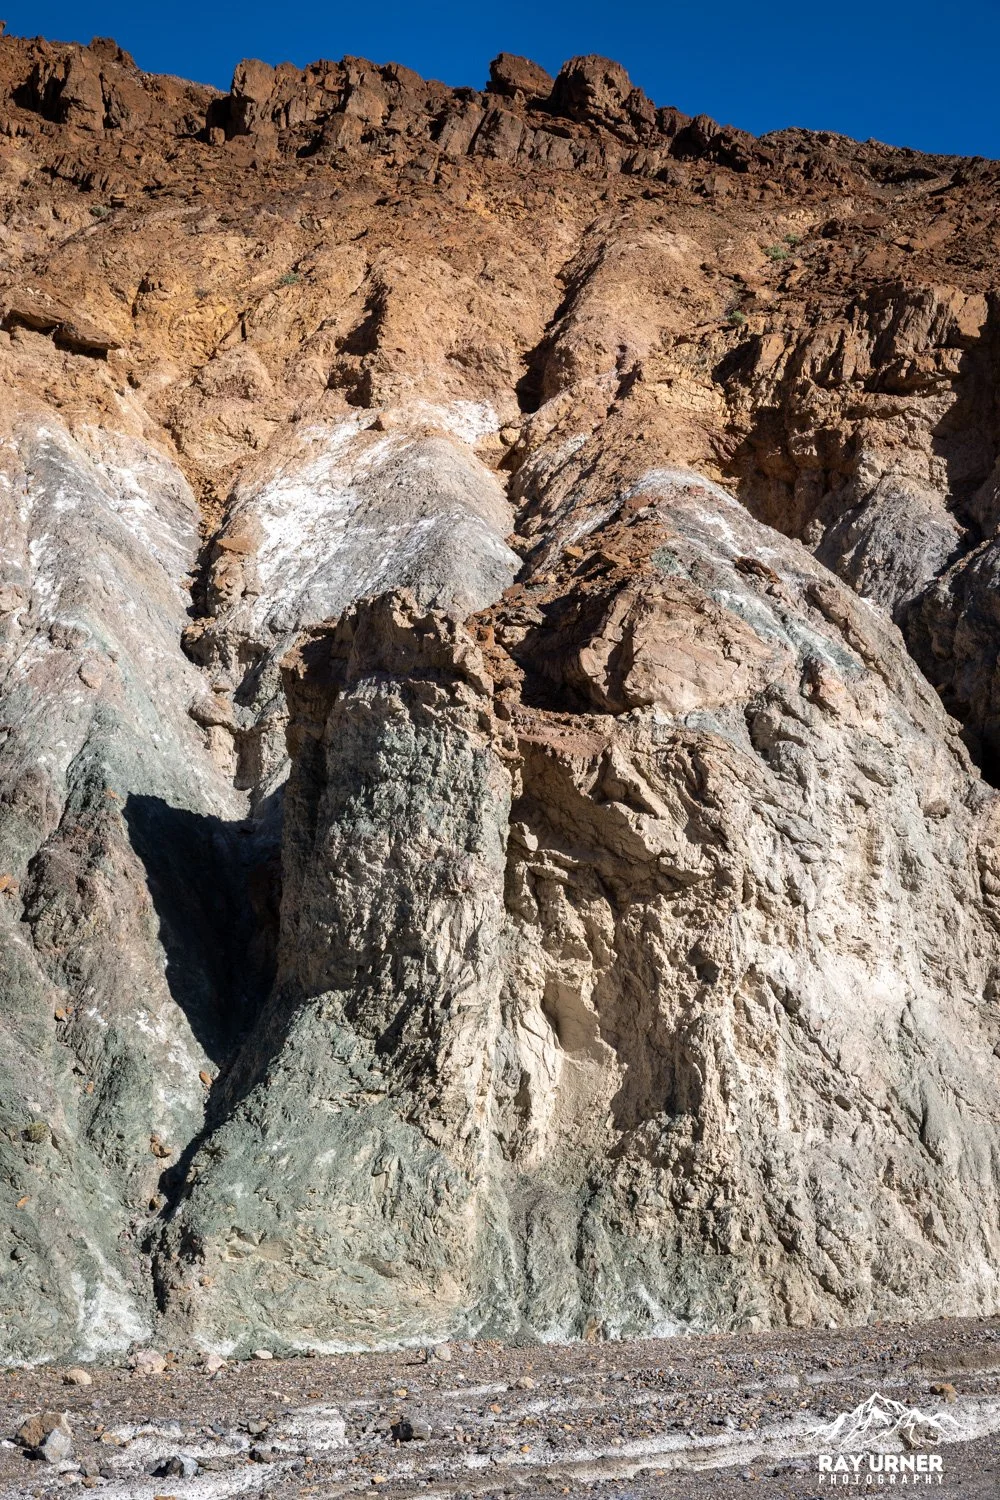
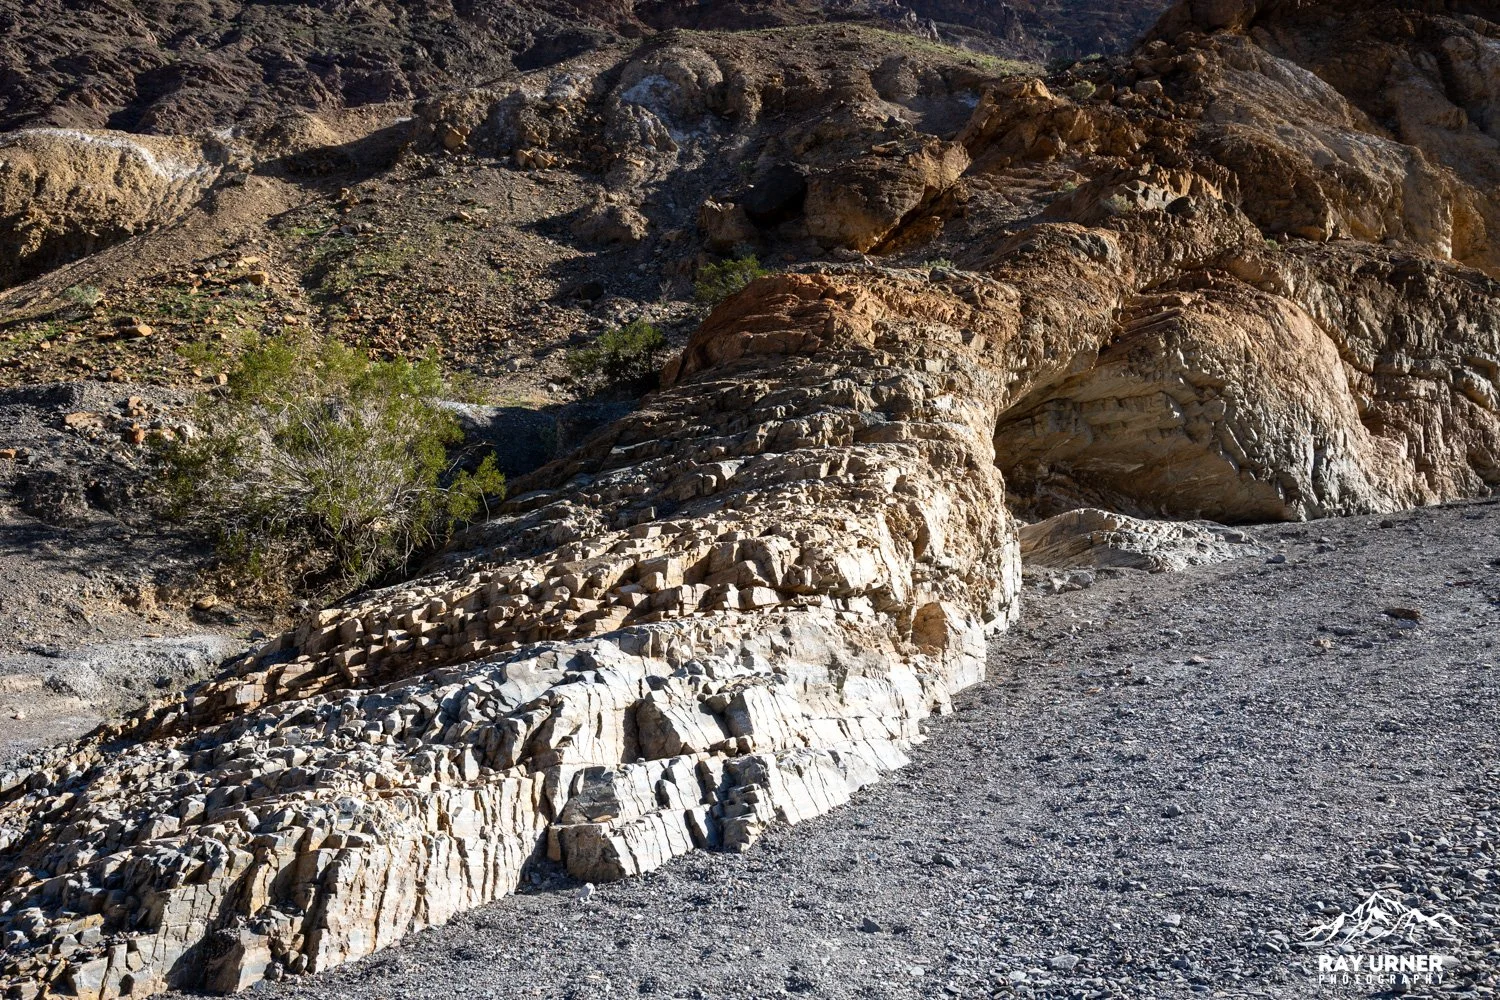
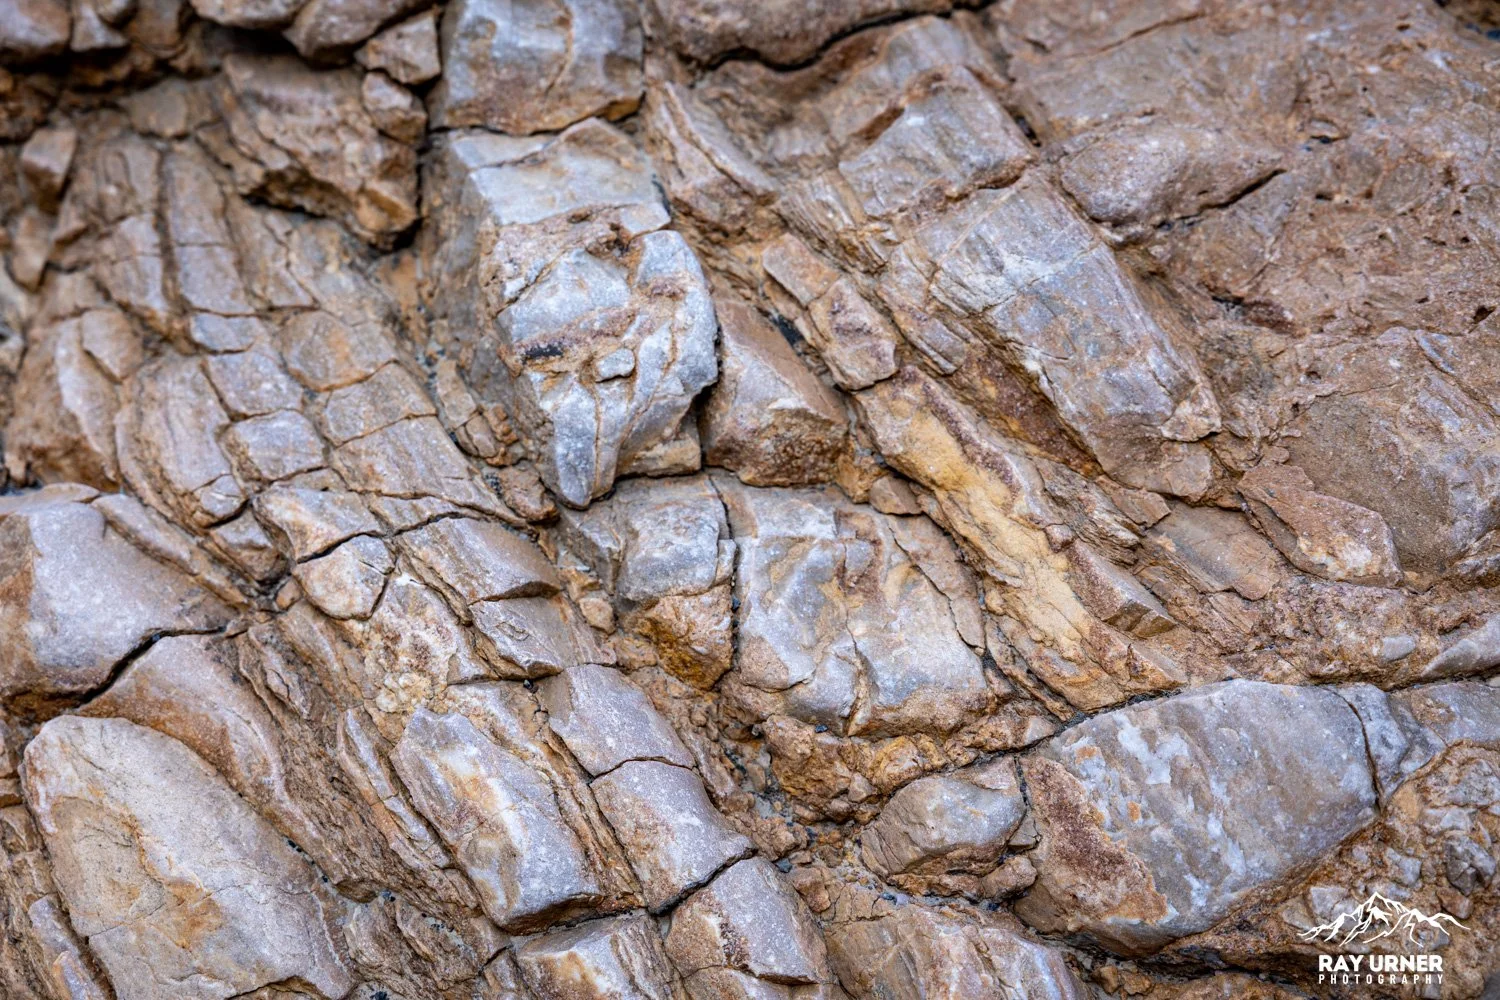
Mosaic Canyon Breccia
The canyon’s namesake breccia appears as cemented fragments of older rock, creating multicolored, mosaic‑like patches.
Fault‑Carved Canyon
The canyon follows fault lines, which weakened the rock and allowed water to carve the narrows.
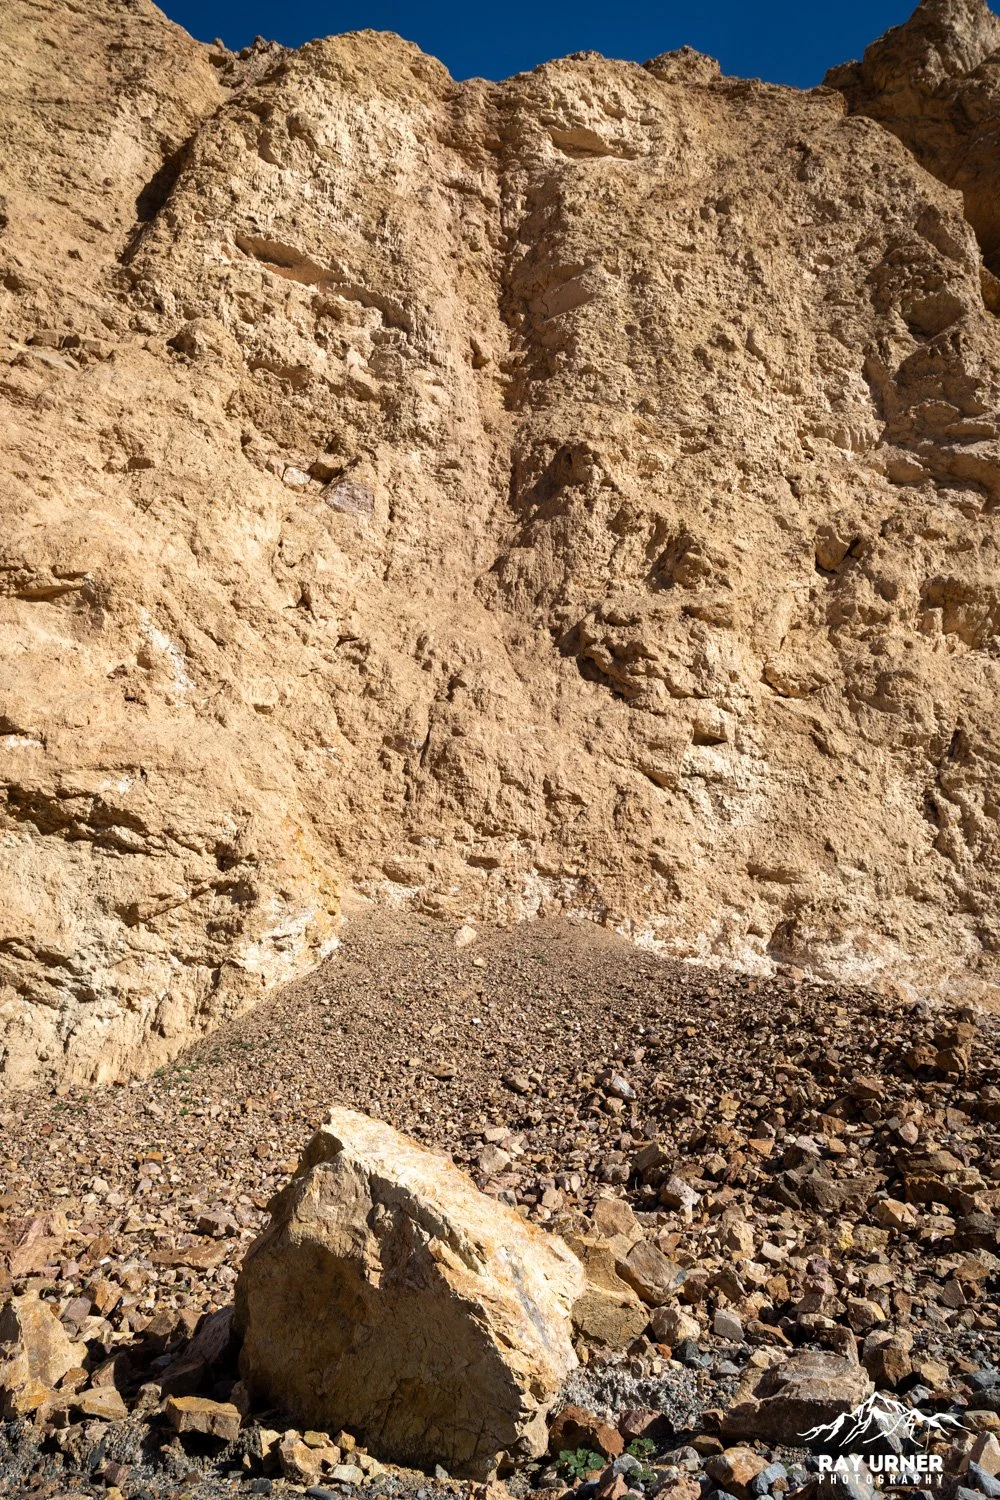
Route Breakdown
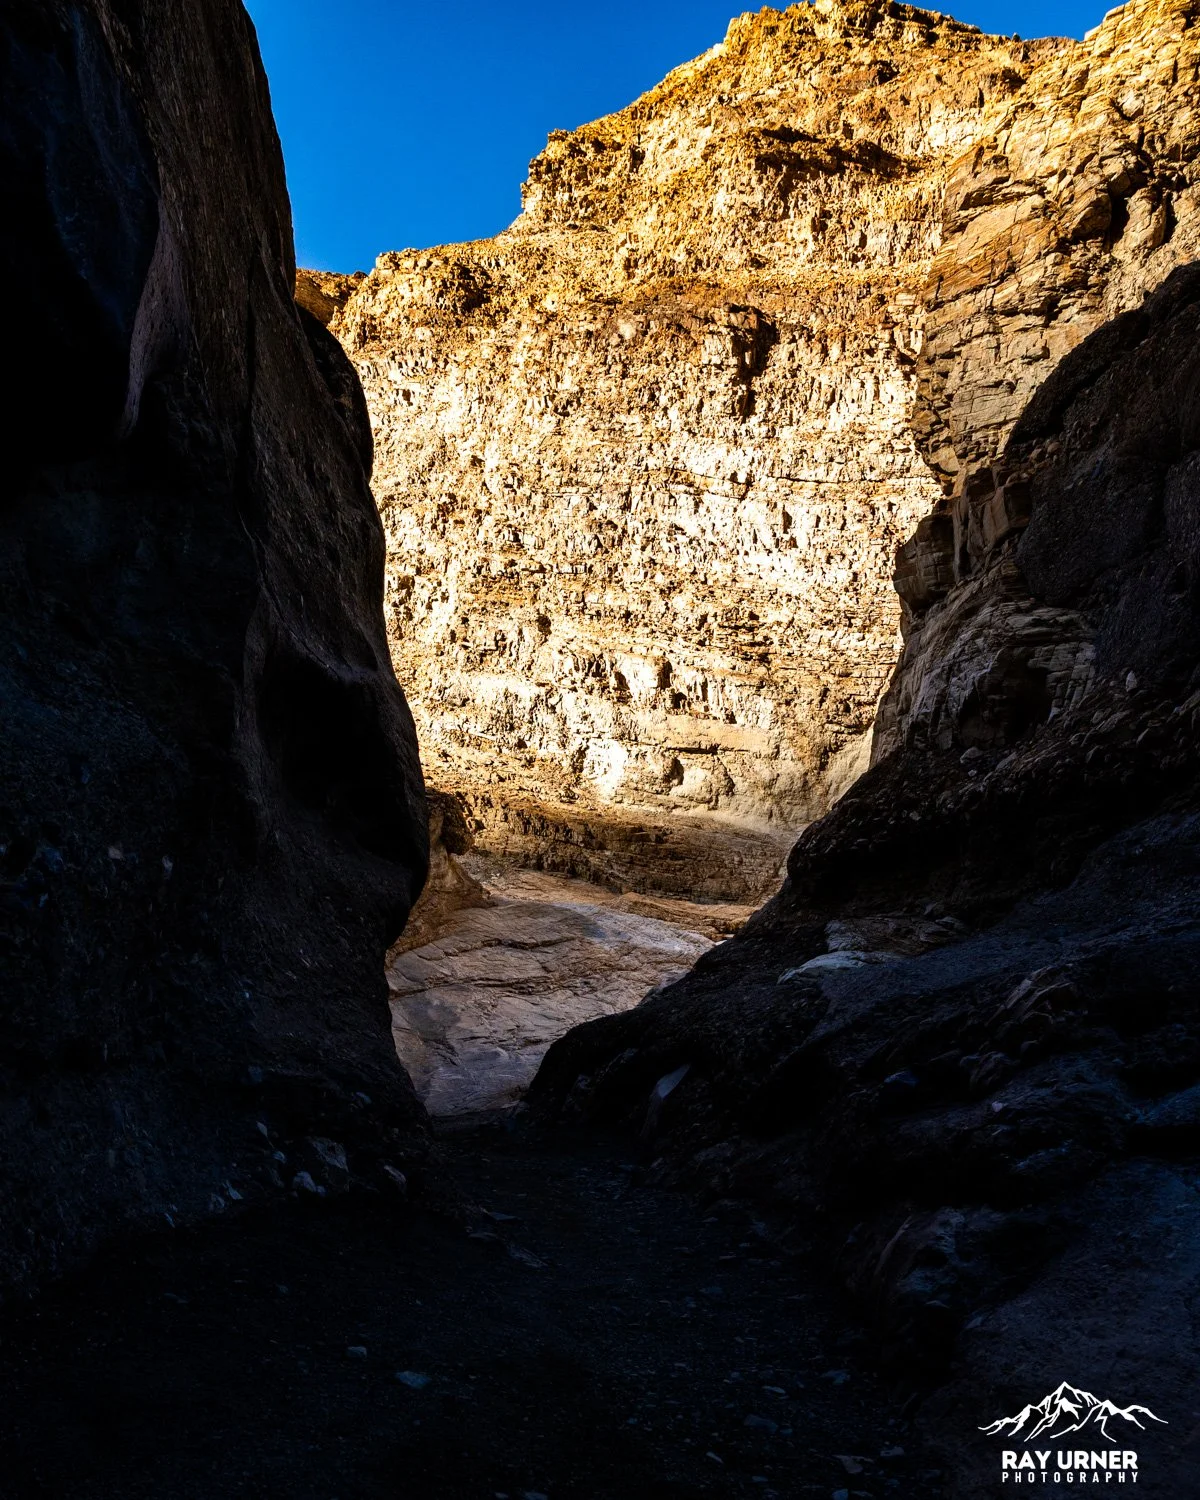
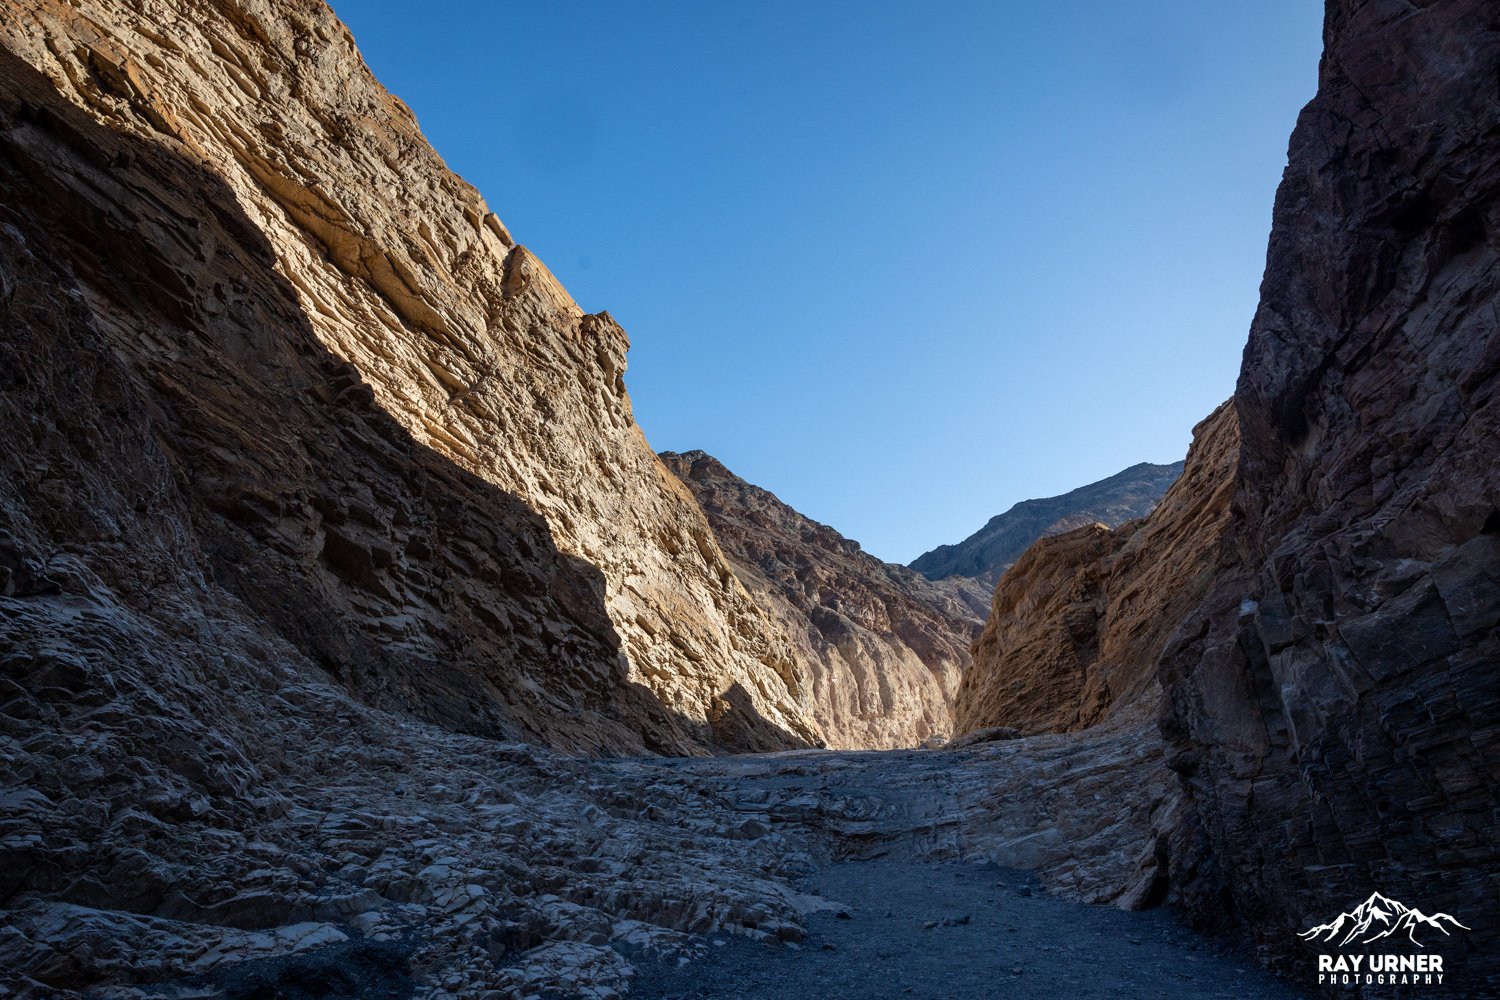
1. Lower Narrows (The “Marble Hallways”)
Within minutes, the canyon constricts into photogenic, polished narrows — the most iconic section of the hike.
Smooth marble surfaces
Twisting corridors
Great for wide‑angle compositions


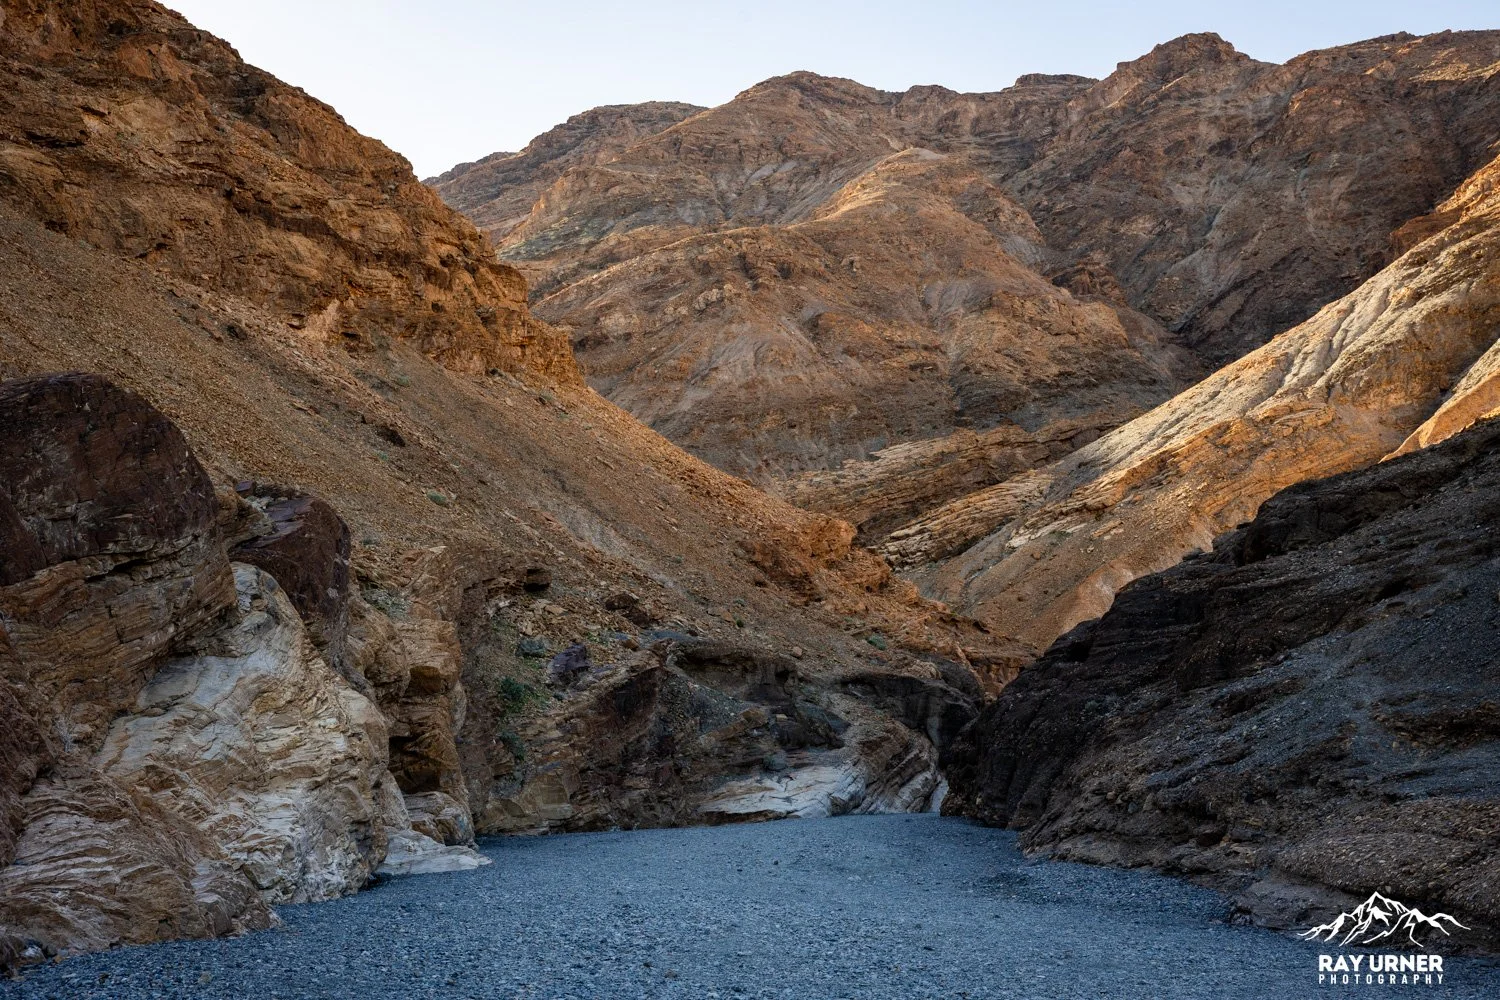


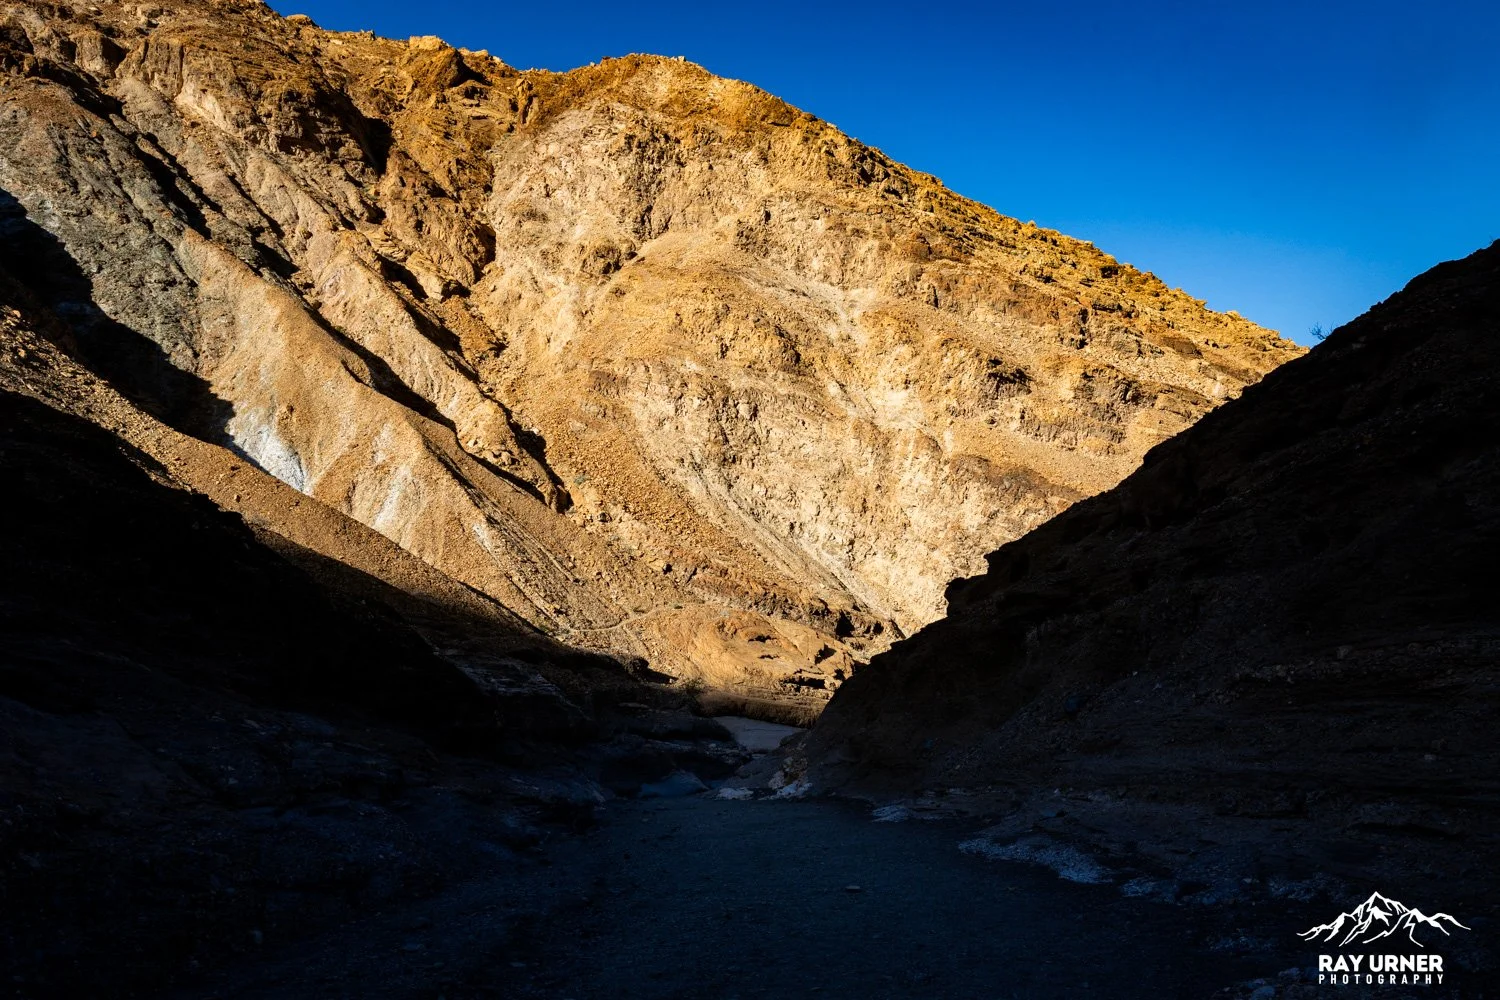

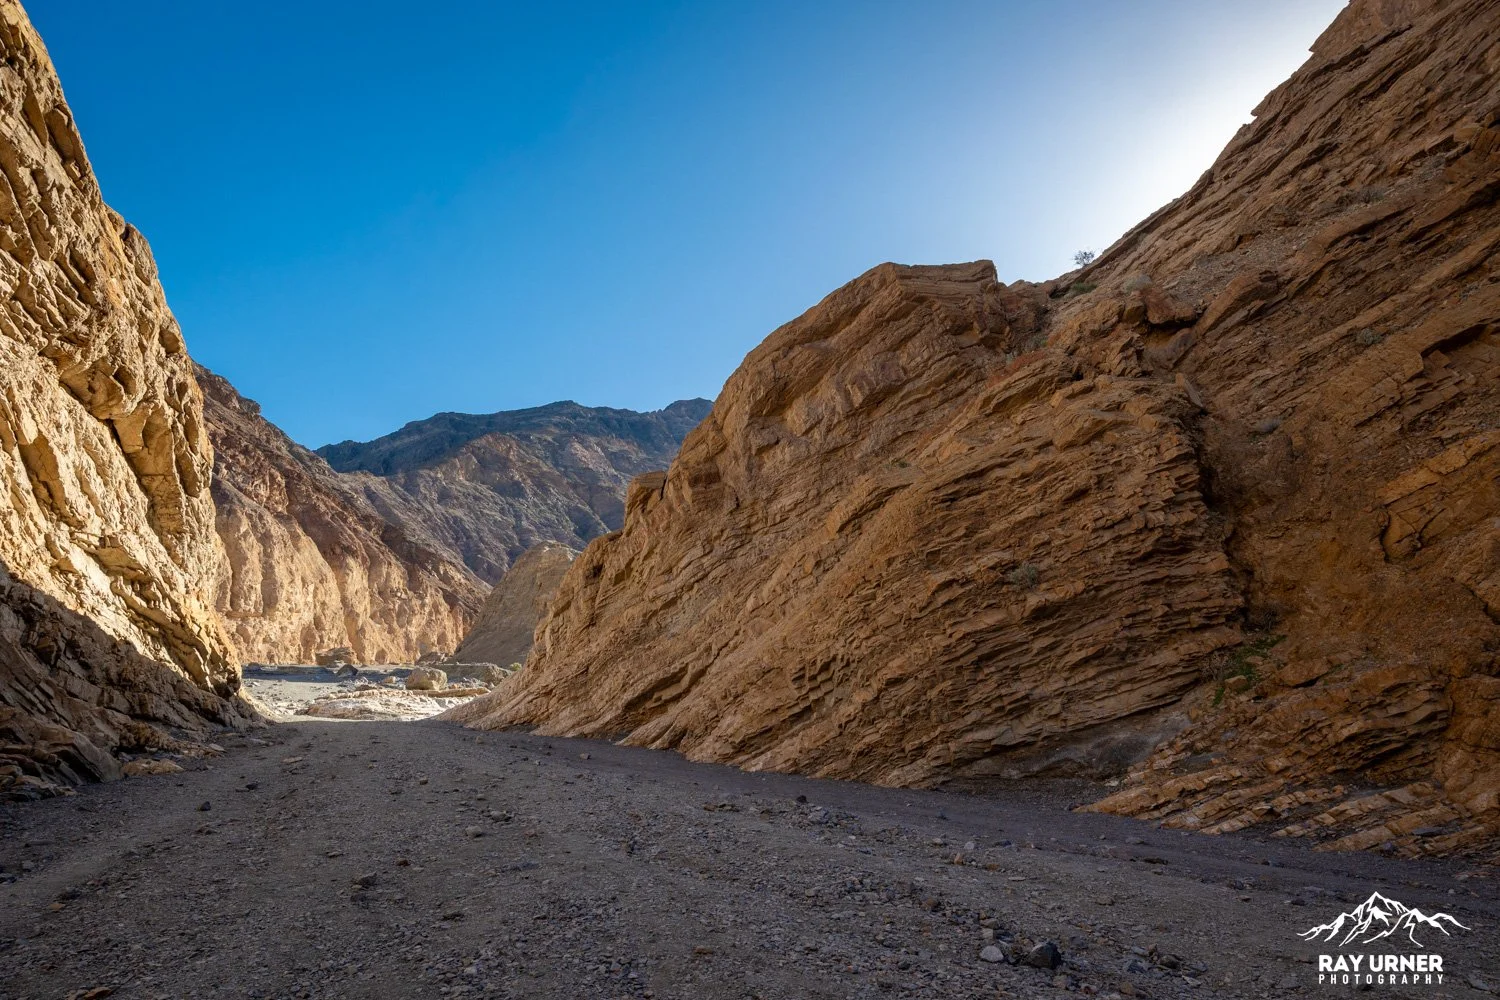
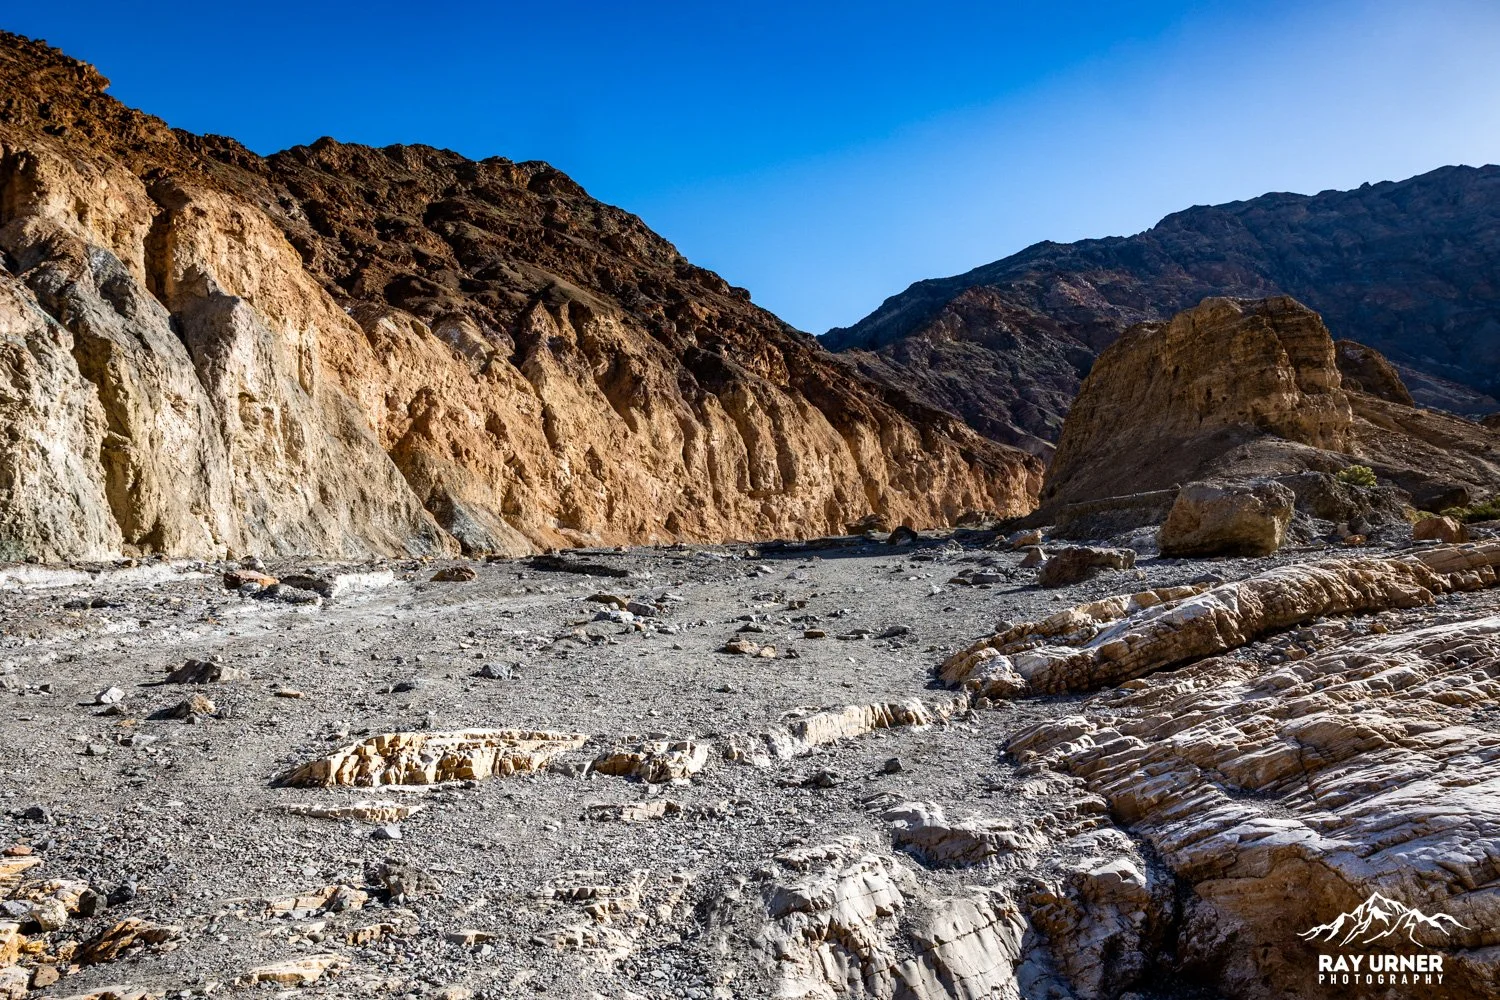
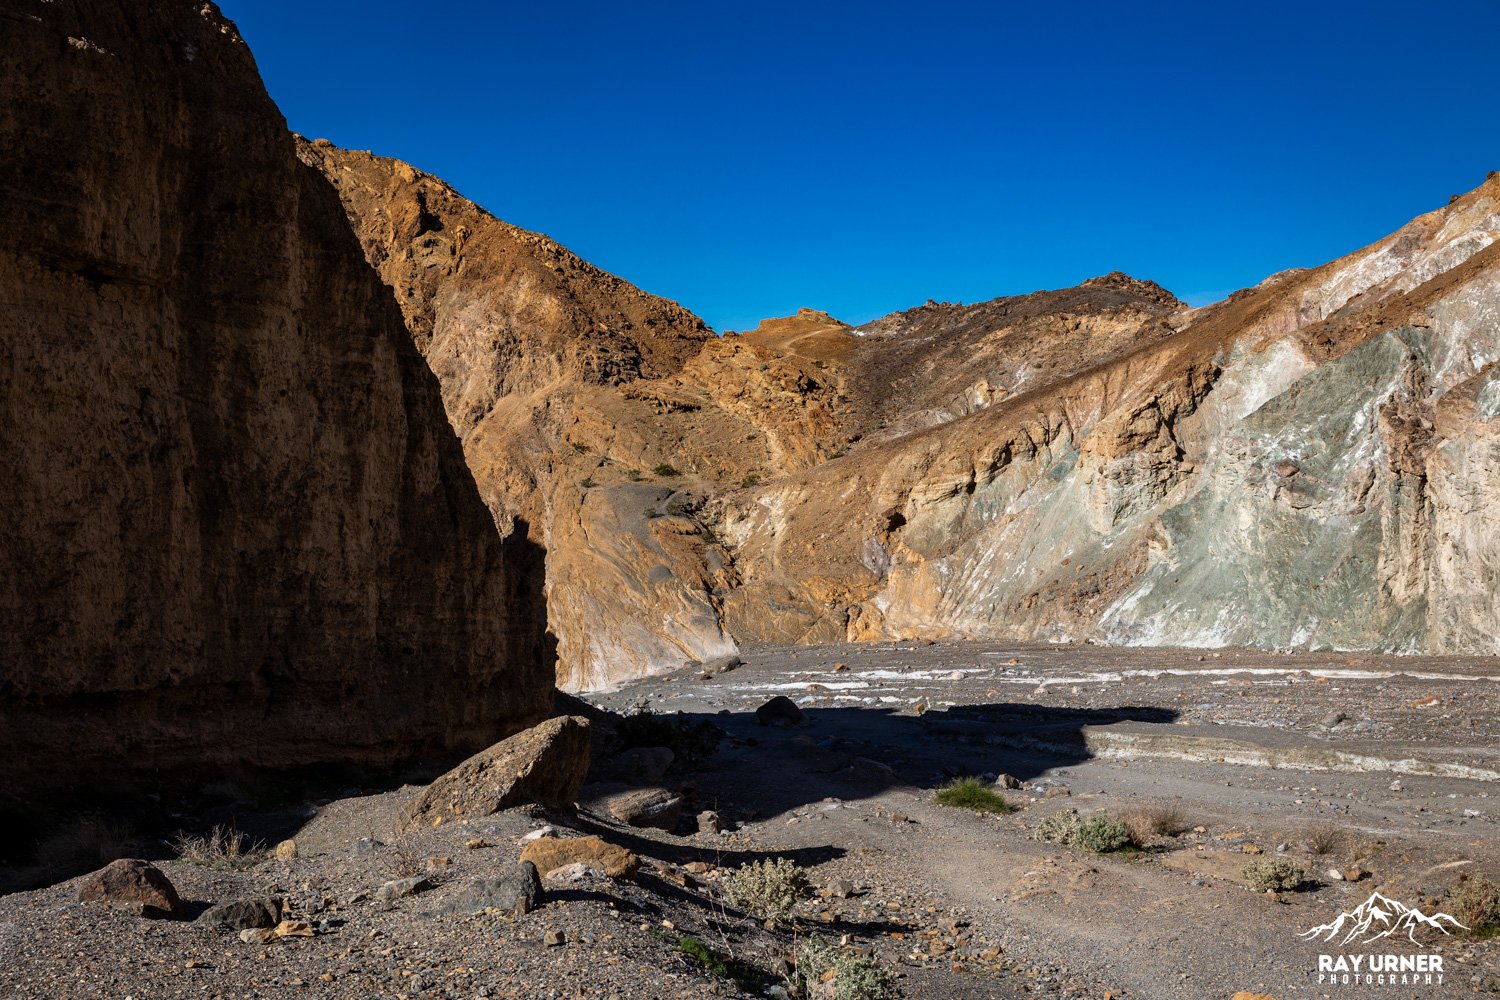
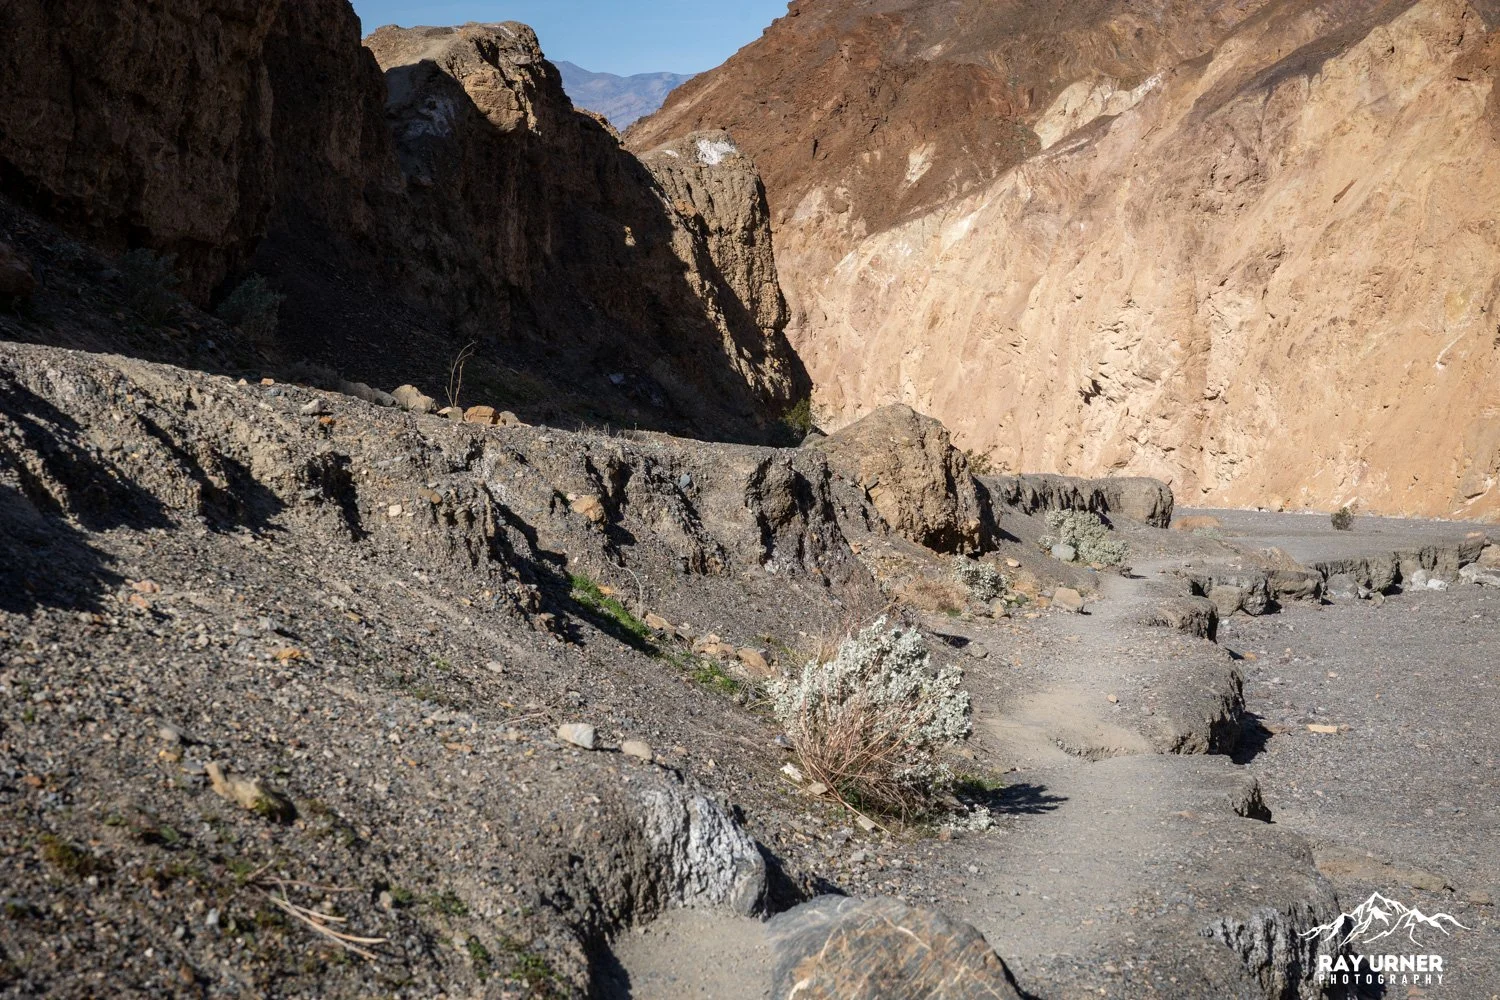
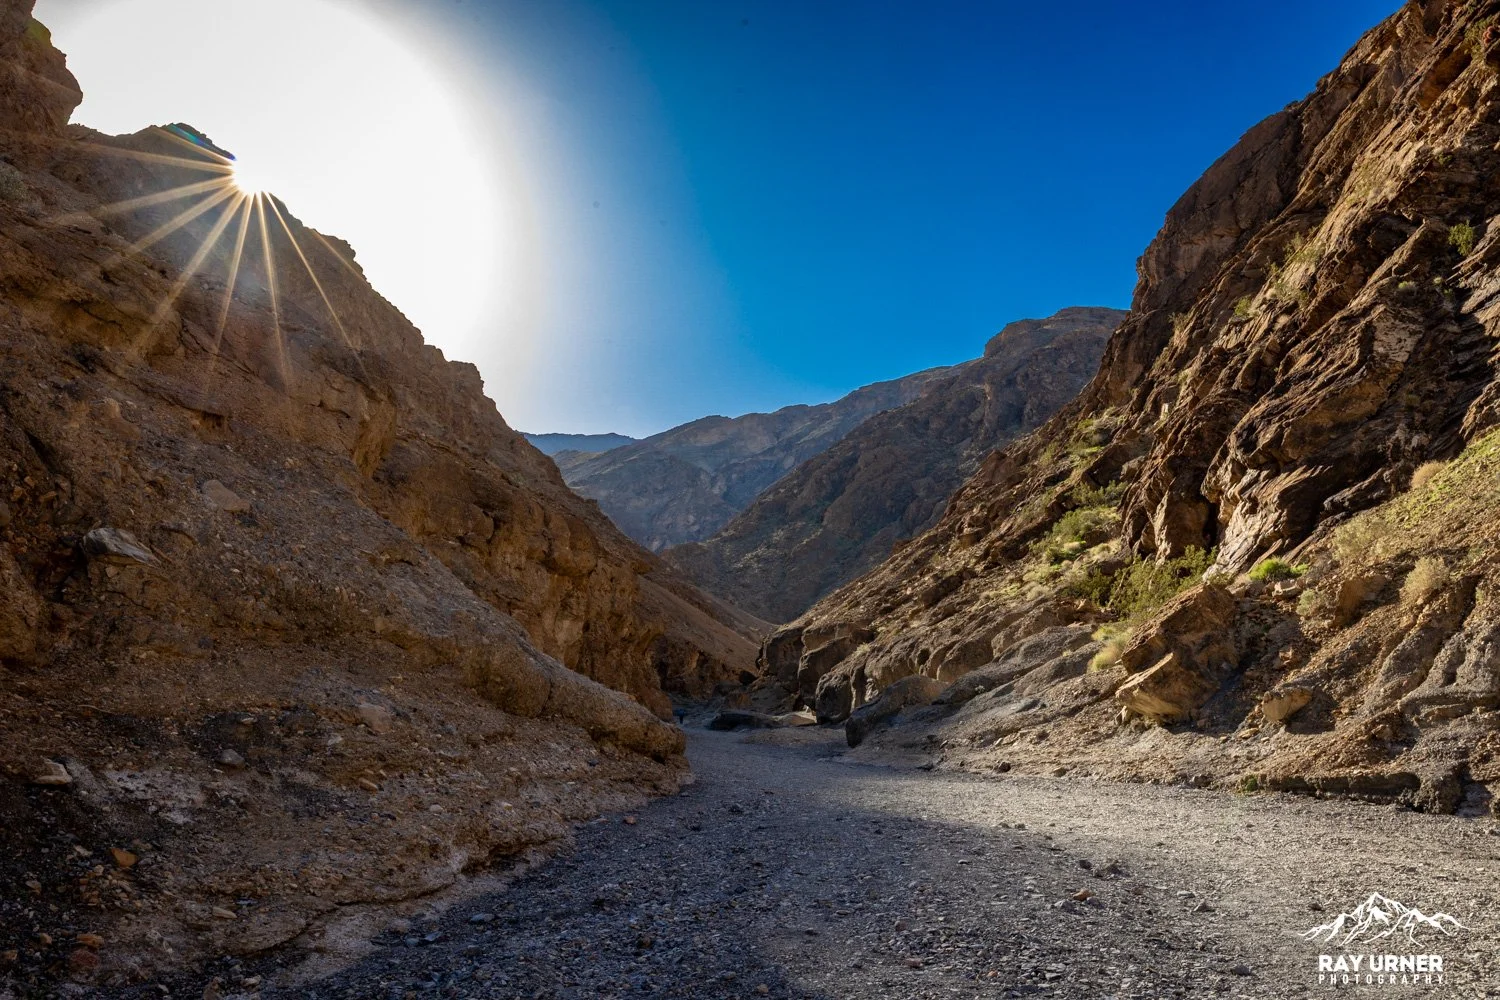
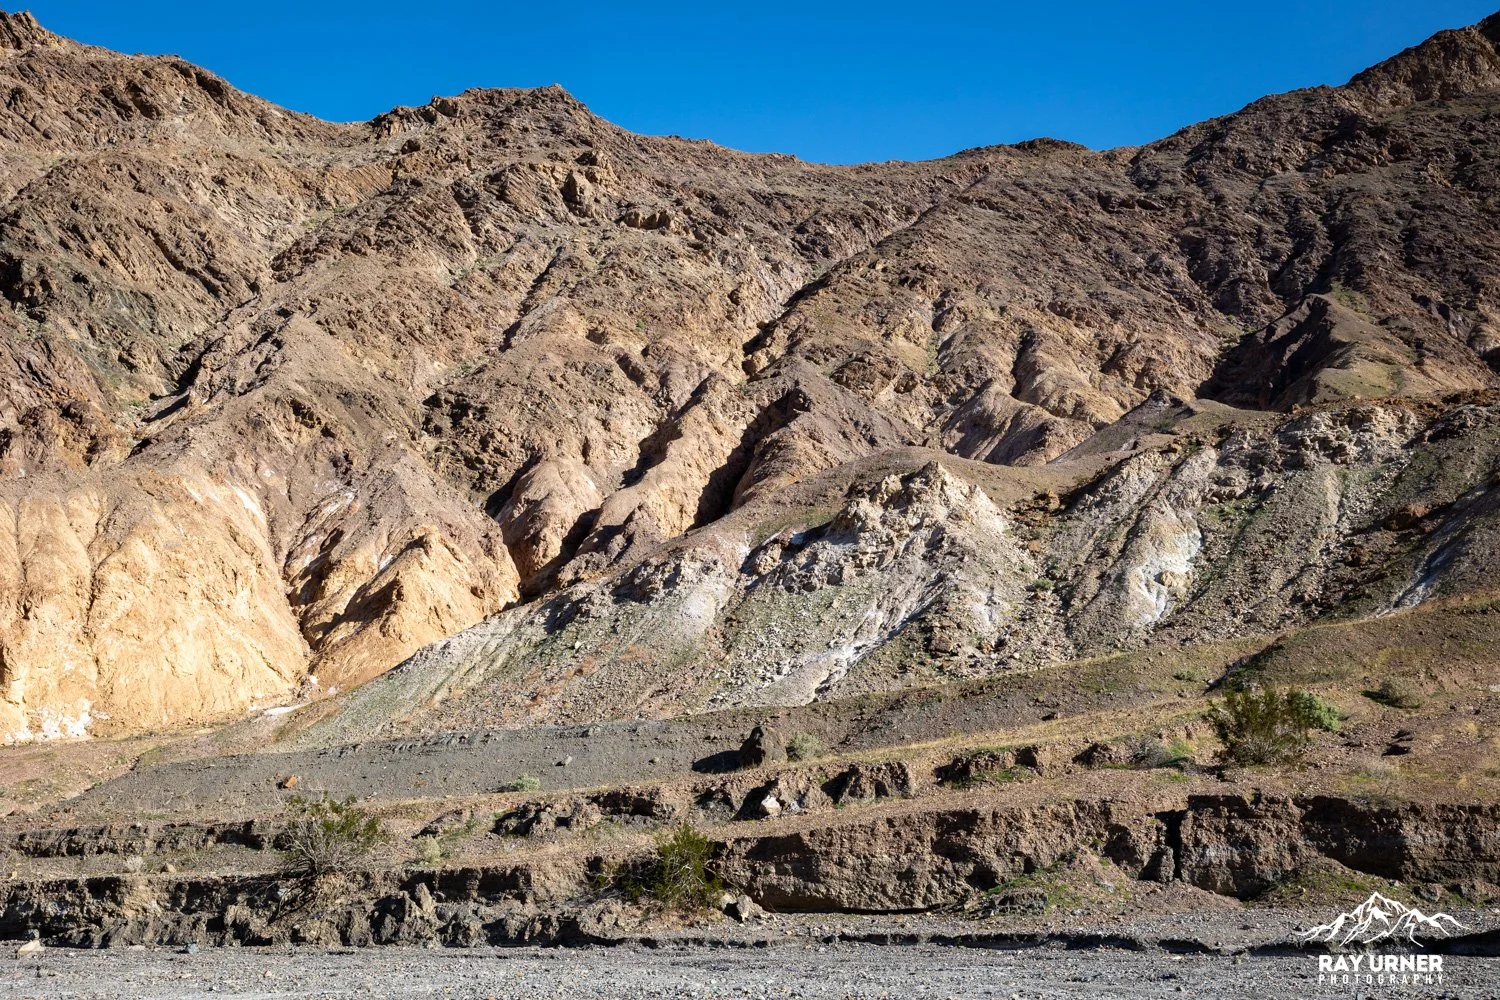
2. Open Middle Canyon
After the first tight narrows, terrain widens into a wash bordered by multi‑colored sedimentary hills.
Easier walking
Exposed to sun


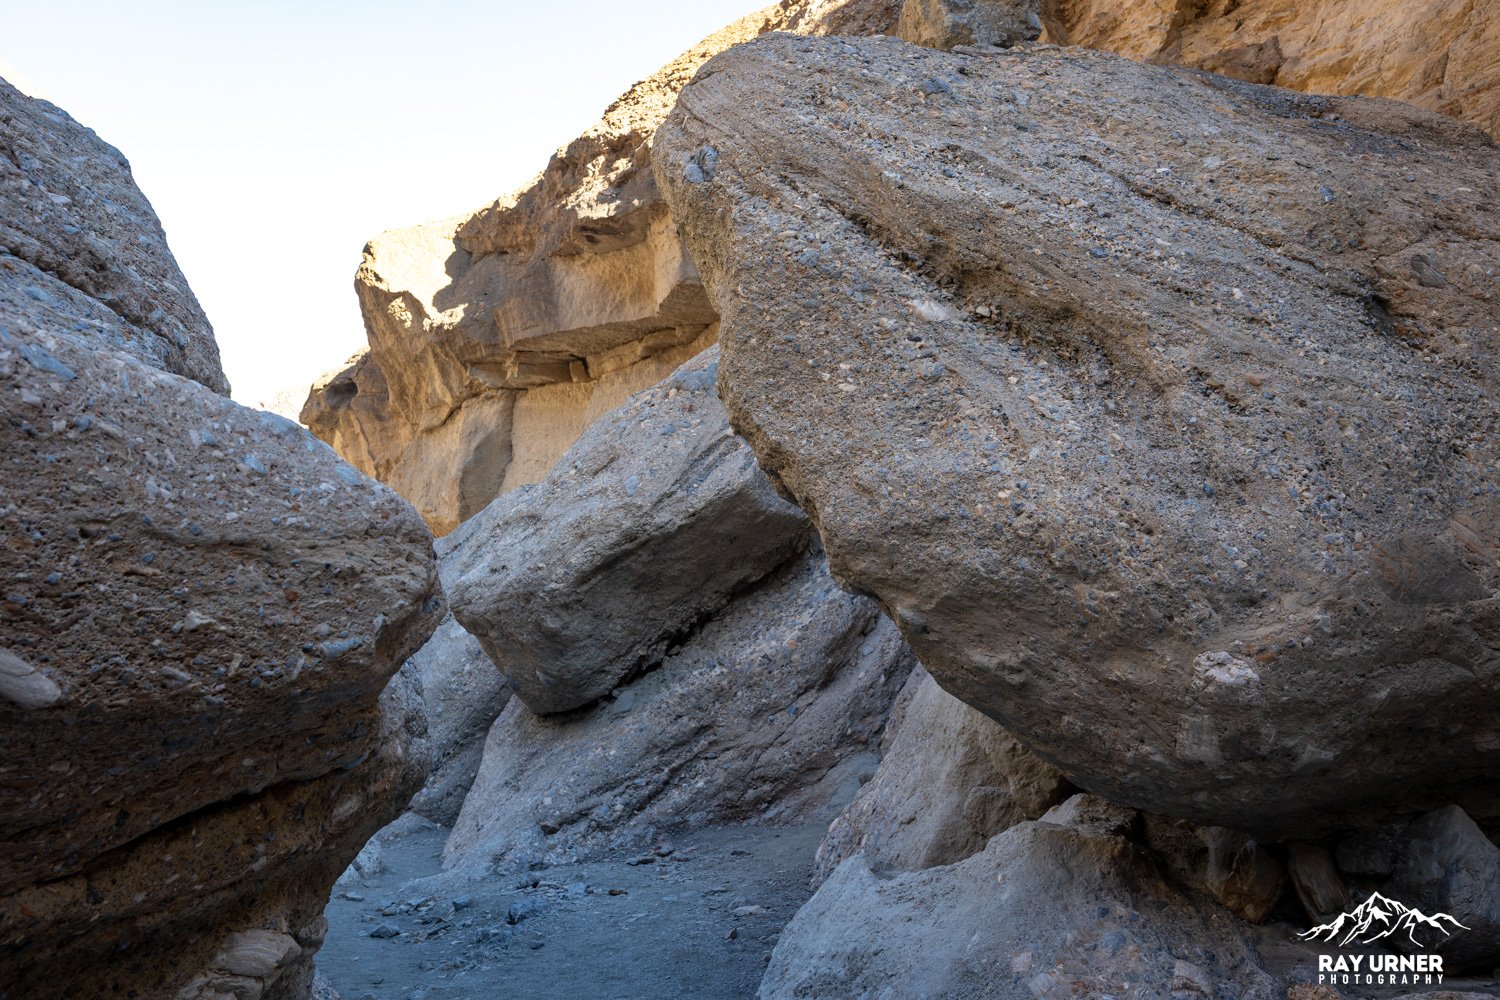


3. Boulder Jam (About 1.3 miles in)
A “seemingly impassable” pile of boulders blocks the way for many hikers. You can keep going from here of course, but this was the end of the road for me!
Photography Guide
Best Light
Morning: Soft reflected glow in the marble narrows
Afternoon: Direct light penetrates deeper bends, lighting breccia patterns
Late Day: Golden tones on canyon walls and warm reflected light in polished surfaces
Key Shot Locations
1. Polished Marble Narrows
Shoot low and wide (14–24mm) to emphasize curvature
Watch for reflected light bouncing off opposite walls
2. Mosaic Breccia Outcrops
Use 35–70mm to isolate the colorful rock fragments cemented together
3. Boulder Jam Textures
Abstract patterns in packed stone and canyon walls
Great spot for human‑scale shots
On‑the‑Ground Notes
Slippery marble: Move carefully; traction shoes matter.
Flash‑flood risk: Do NOT enter during rain or forecasts. Slot‑like narrows flood violently.
No shade: Bring water; canyon can heat significantly in mid‑day.
Route finding: Past the boulder jam and dryfall, faint bypass trails require attention.
Pro Tips
Start early to photograph undisturbed, shadow‑filled narrows.
For people‑in‑frame shots, use the polished walls as leading lines.
Avoid crowds by hiking midday in cool seasons (though light is harsher).
After storms, surfaces appear cleaner and more reflective — great for photography, but confirm safety first.