


Barker Dam
A short walk to a time machine: Barker Dam compresses ranching history and gorgeous desert ecology, in a one‑mile loop—with bonus reflections after the rain and a rock‑art site that demands your best field etiquette (in other words, don’t be a dick!).
Barker Dam — Photography & Hiking Guide
Overview
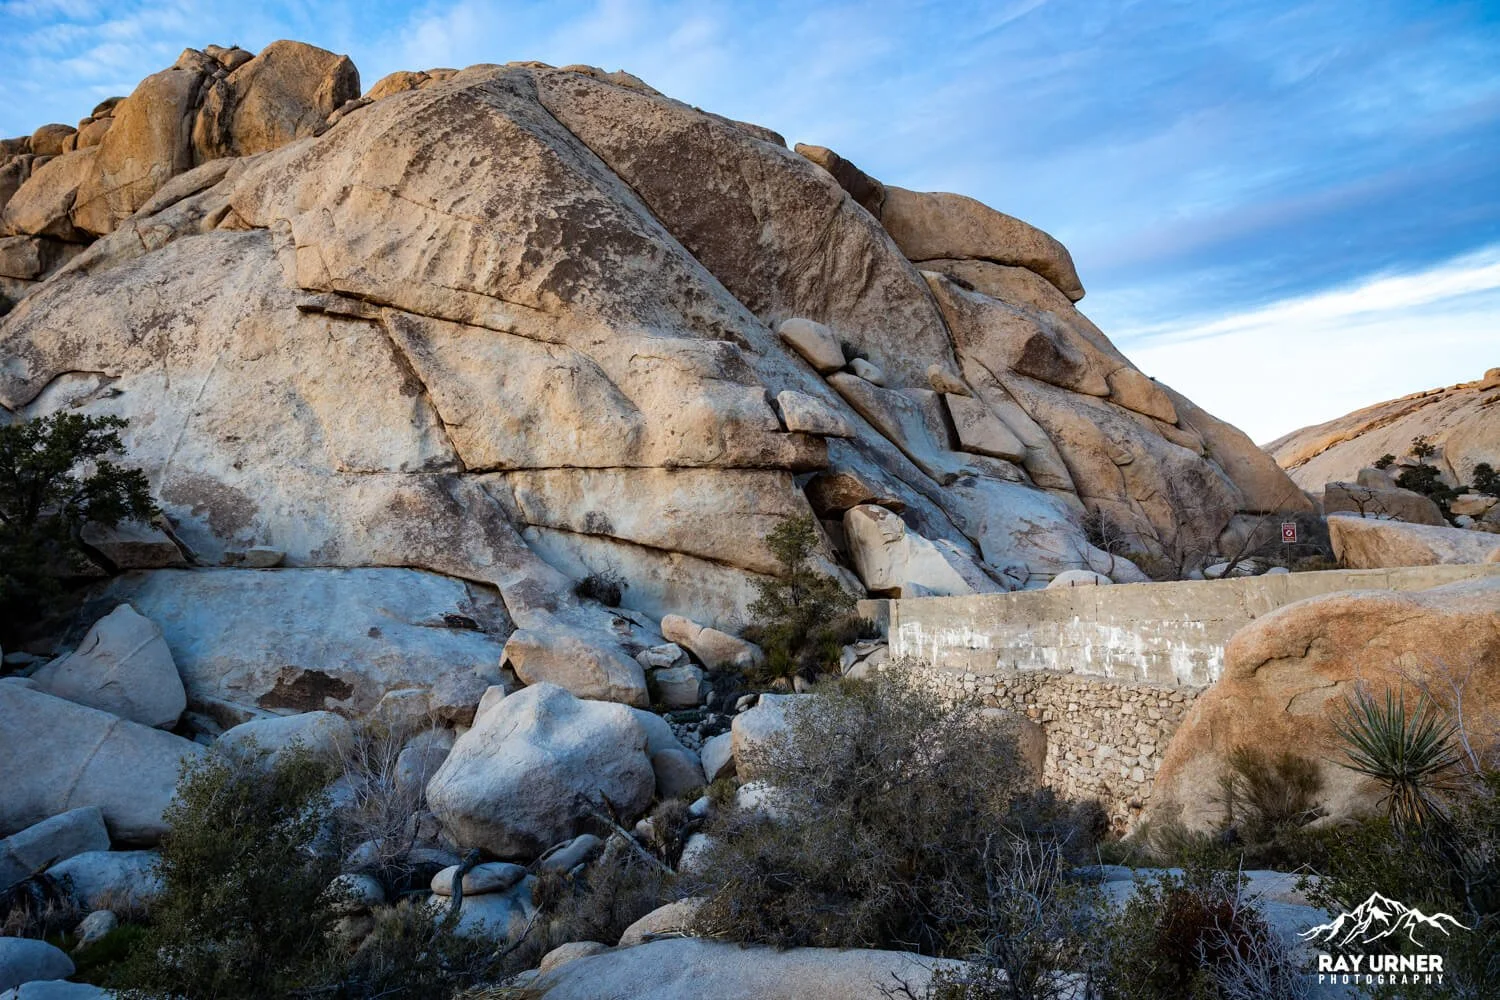
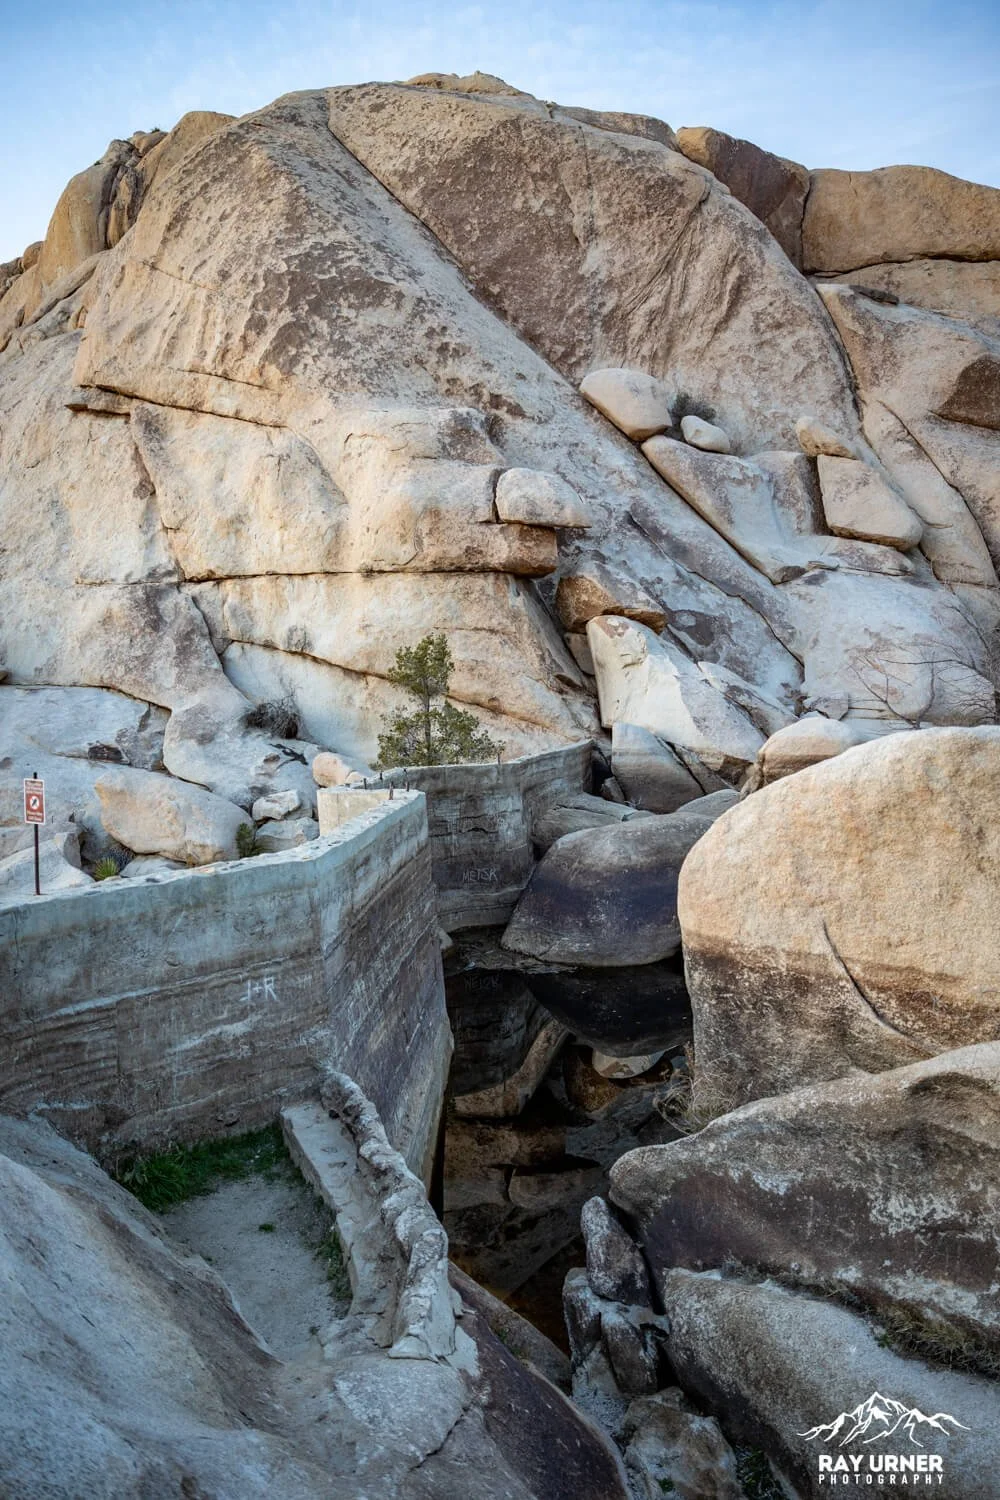
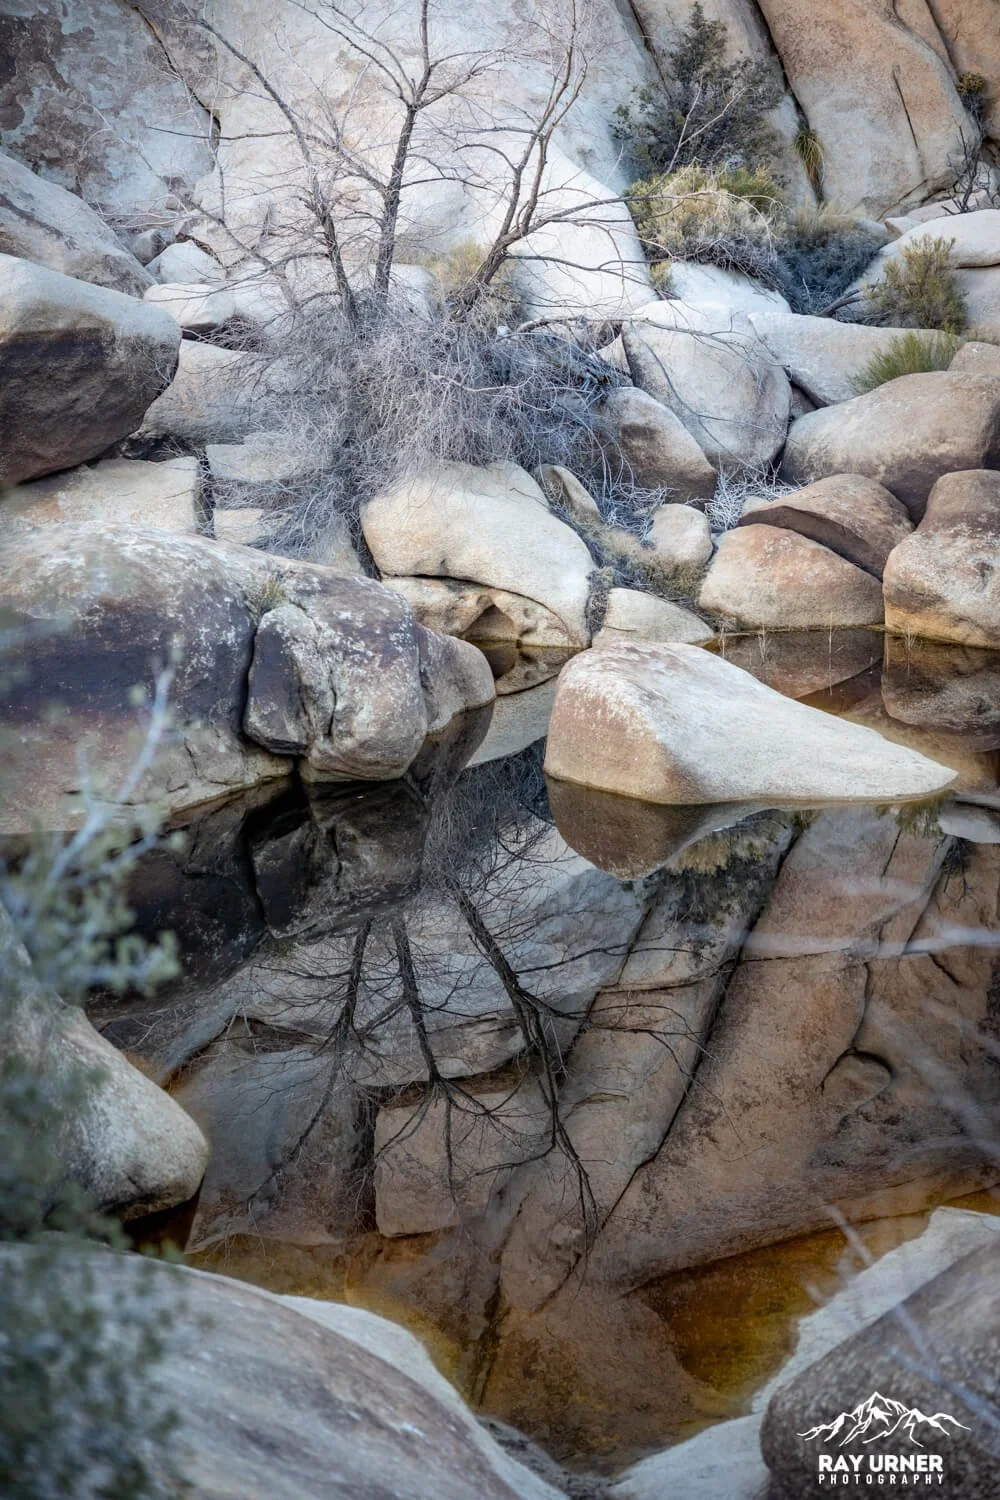
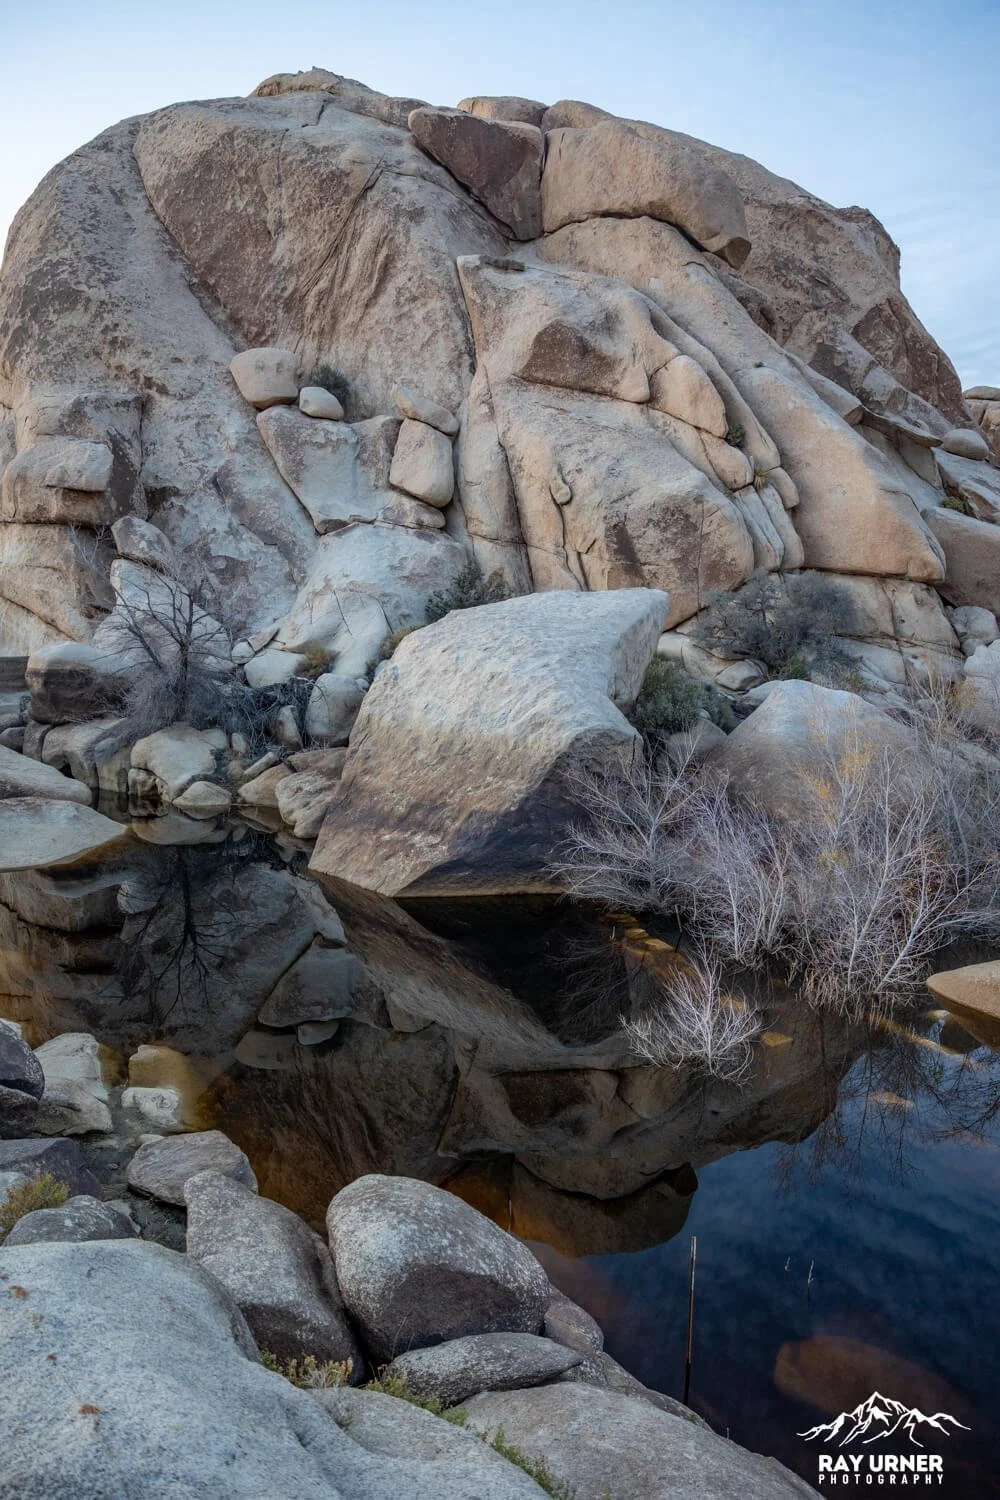
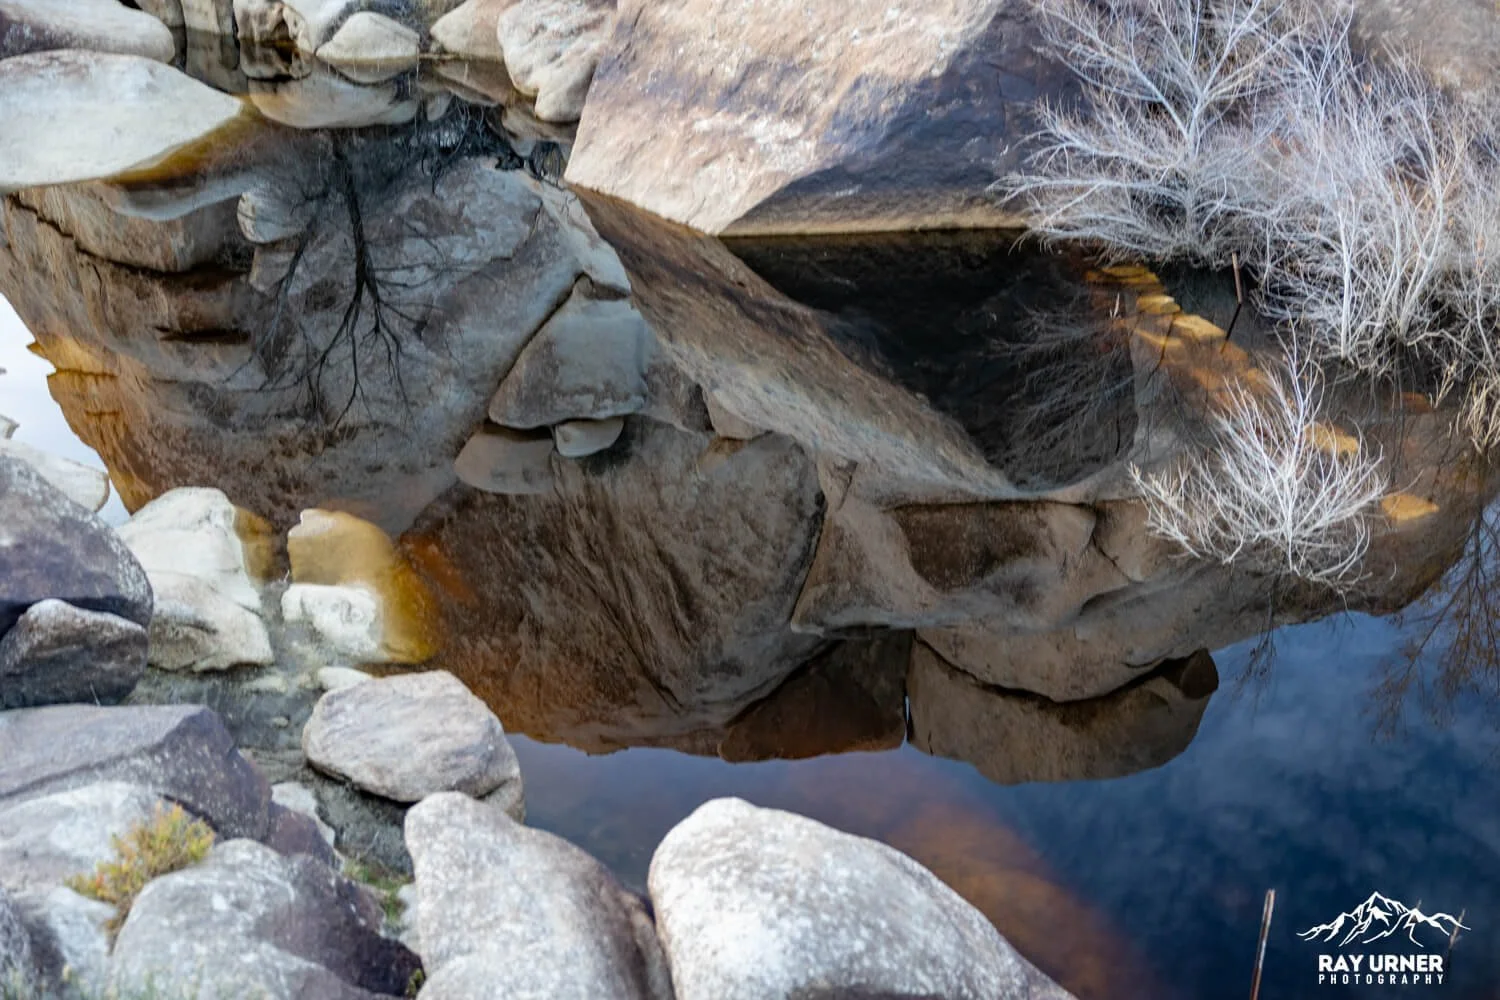
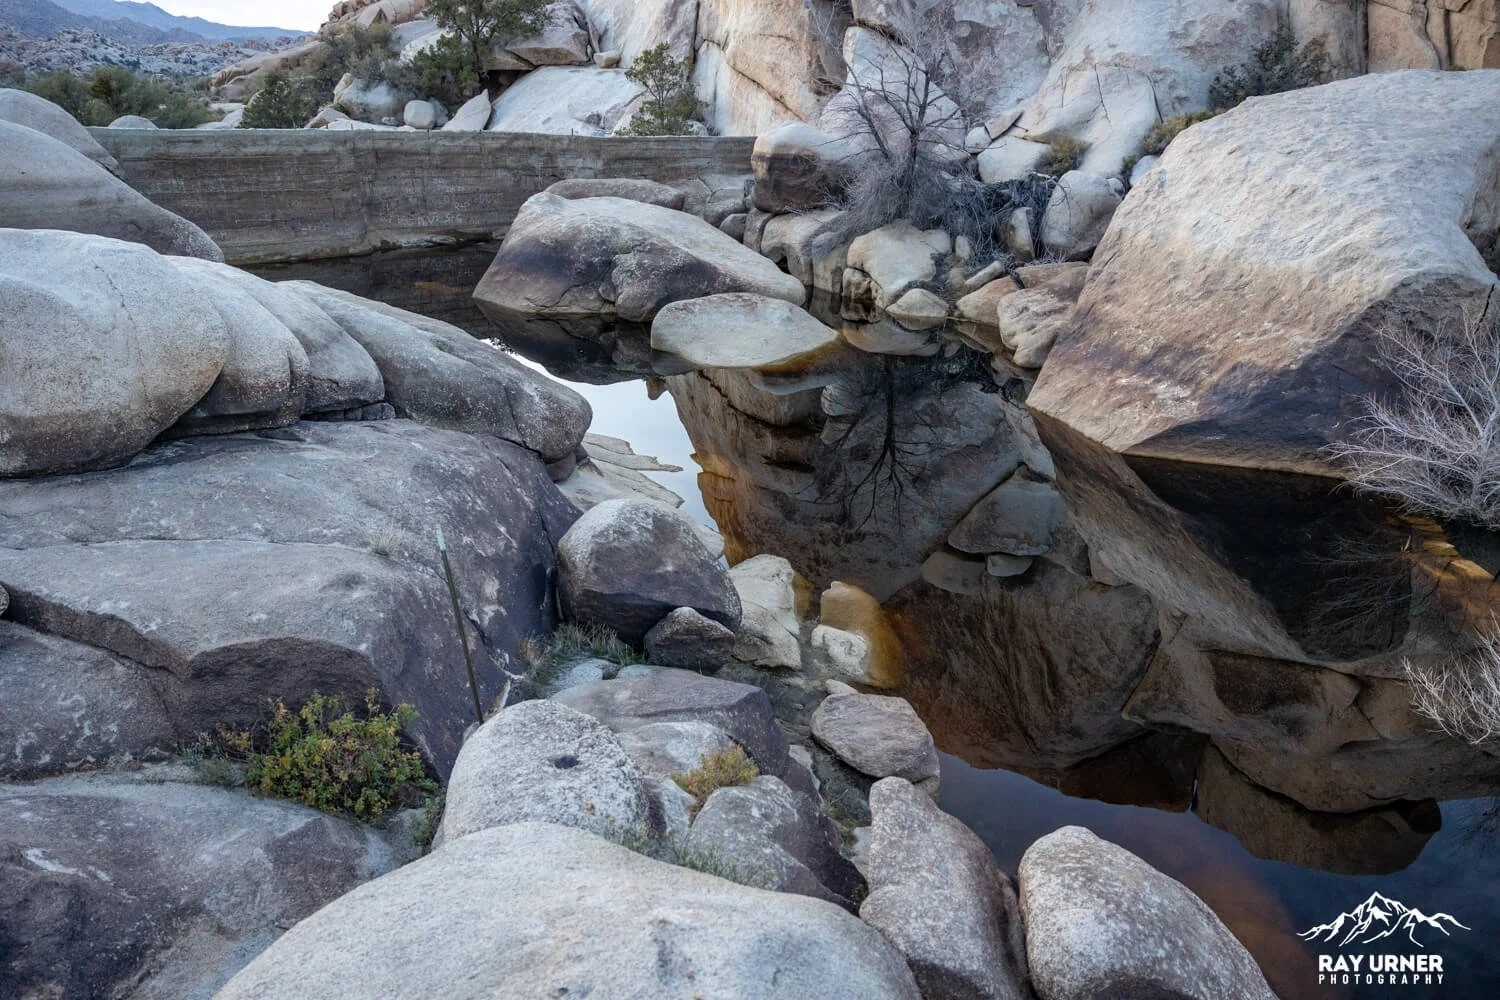
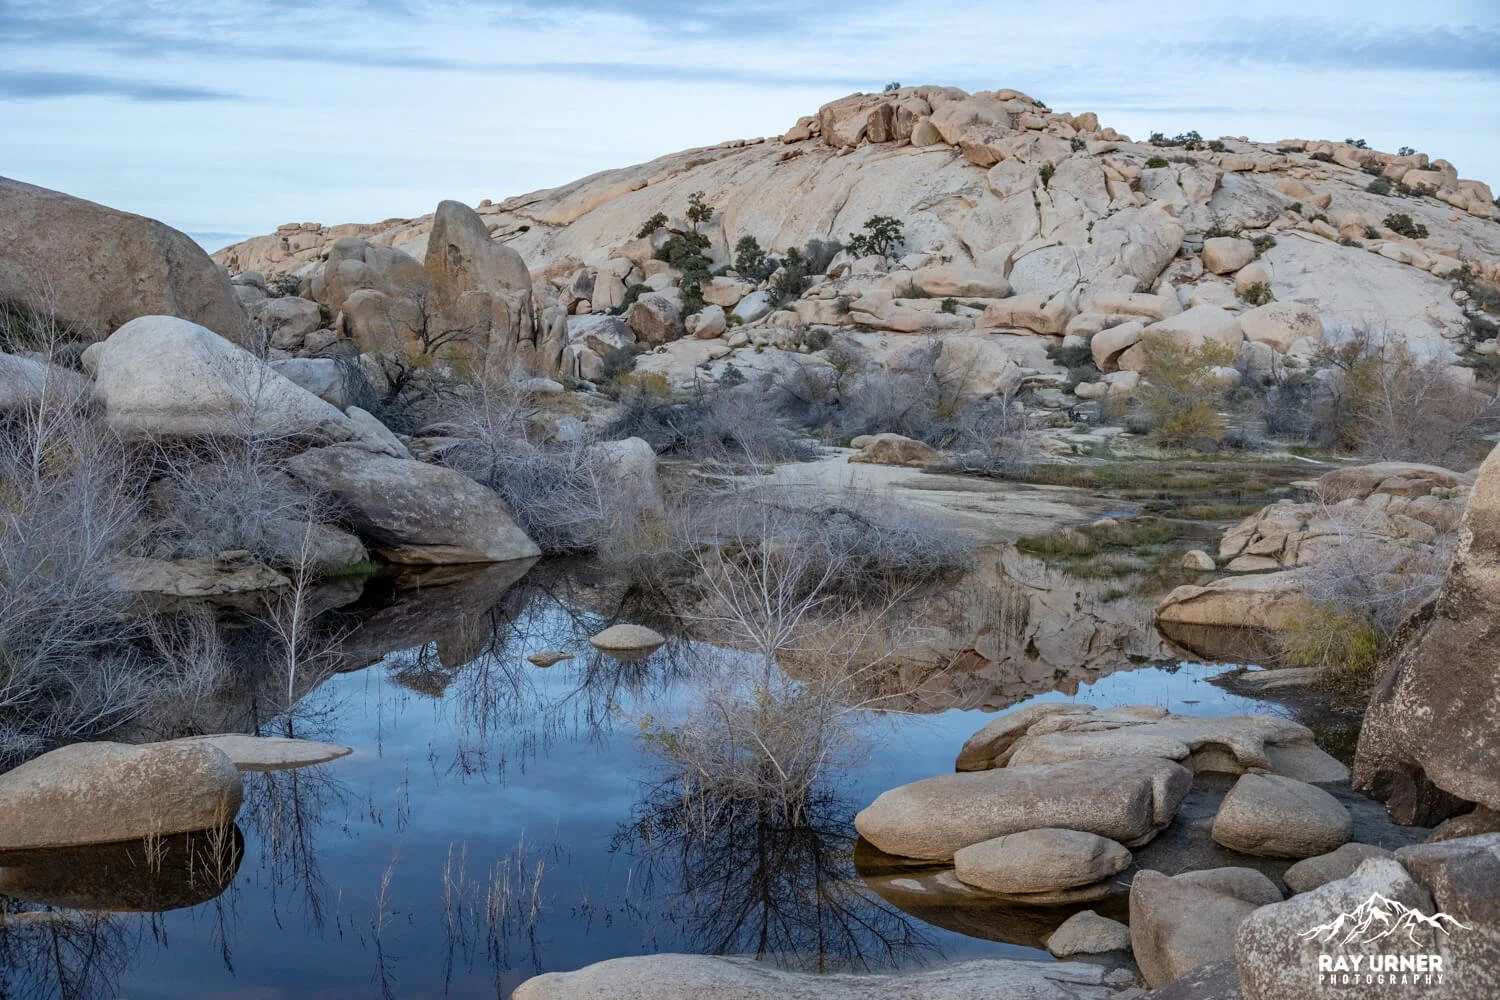
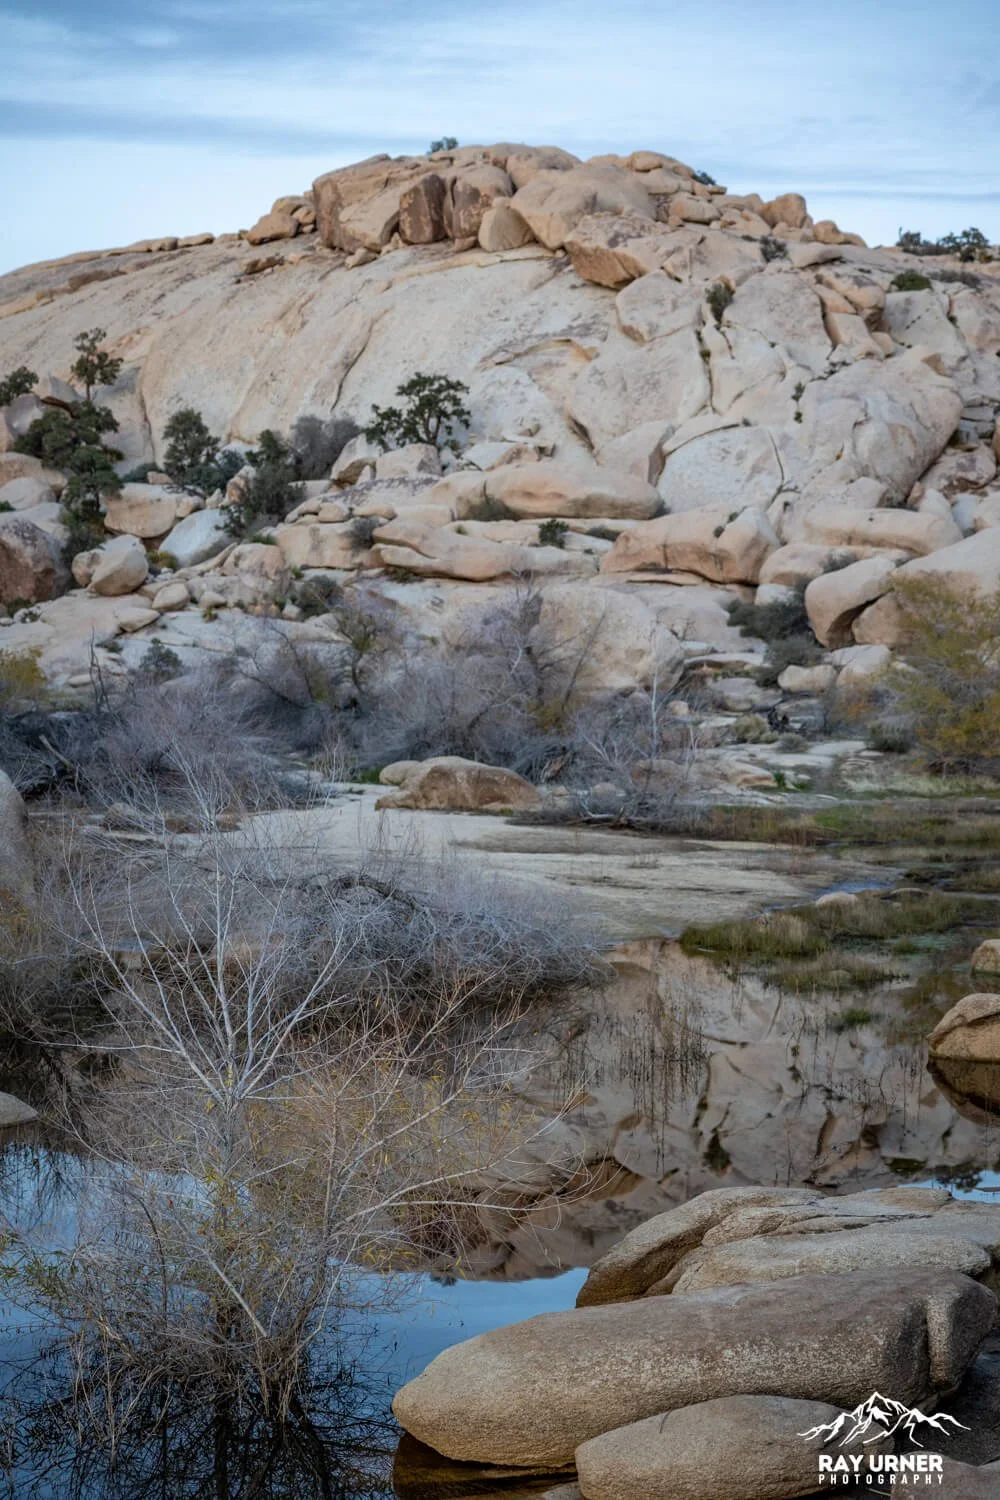
Barker Dam serves up a rare thing in the Mojave: a small, ephemeral reservoir that, after rains, turns monzogranite walls into mirror subjects for reflection shots. When it’s dry (which is often), the dam’s “bathtub ring” and historic details still deliver strong storytelling frames. Meanwhile, the loop threads classic Joshua Tree textures—rounded boulders, Joshua trees, and sandy corridors.
Quick Facts
Distance & Gain: ~1.1‑mile loop; ~50 ft gain (VERY easy)
Time on Site: 30–45 minutes (longer if you linger to shoot or watch wildlife)
Trail Character: Compact dirt, sandy washes, granite boulders; narrow (1.5–5 ft) in spots; minimal shade
Facilities & Nearby: Signed parking lot; interpretive exhibits along trail; connects near Wall Street Mill area (separate trail, but close)
Geology
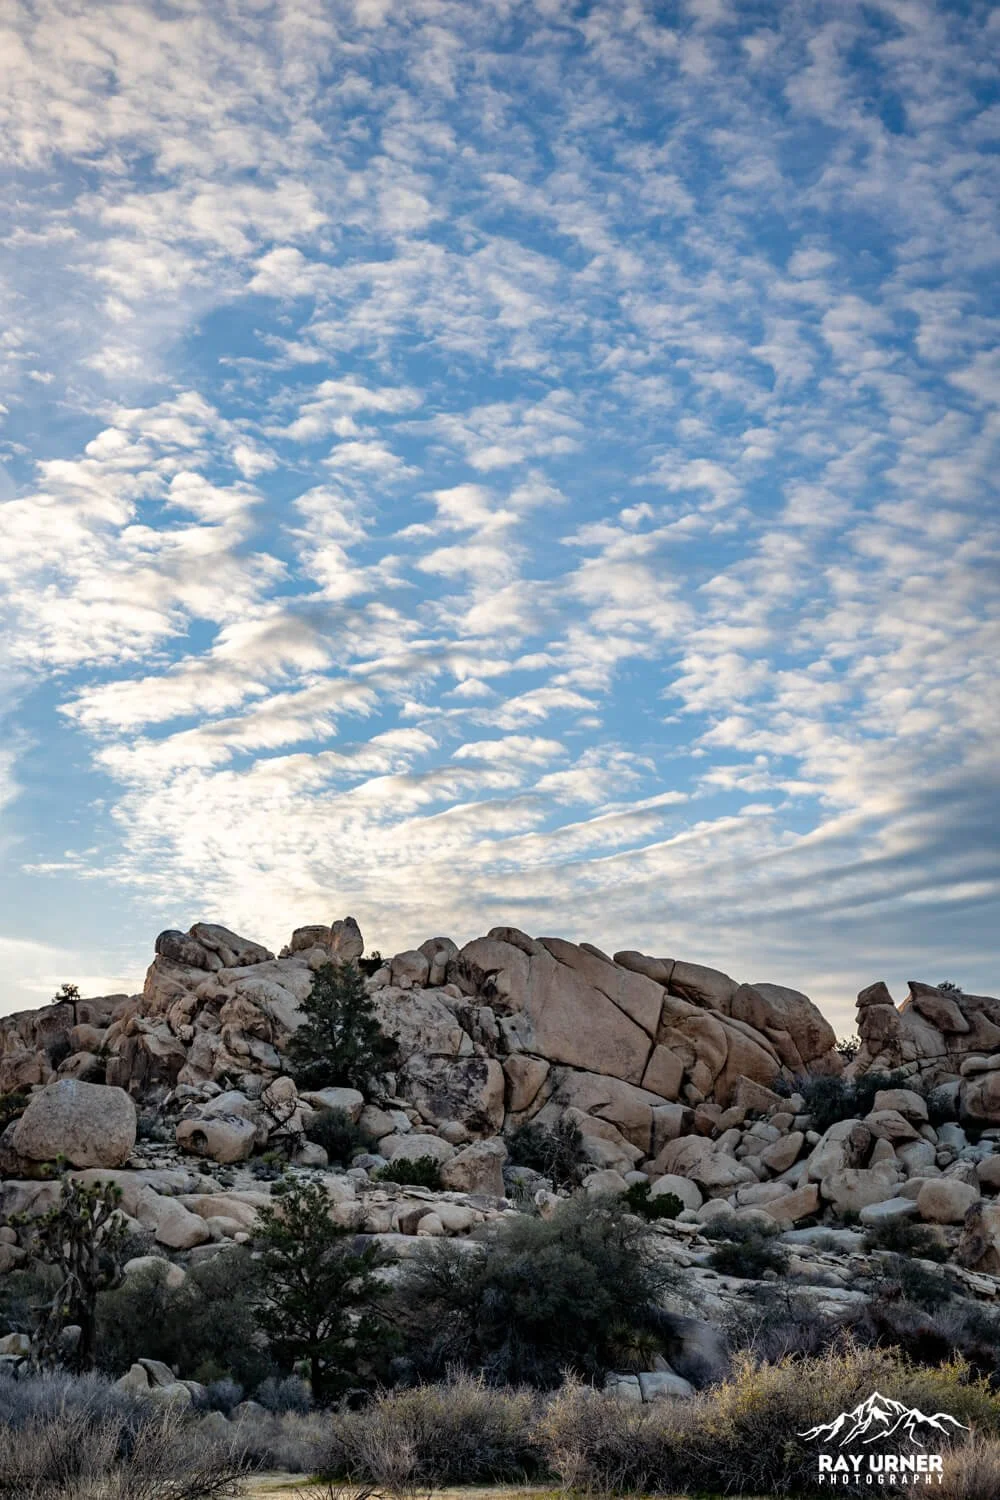
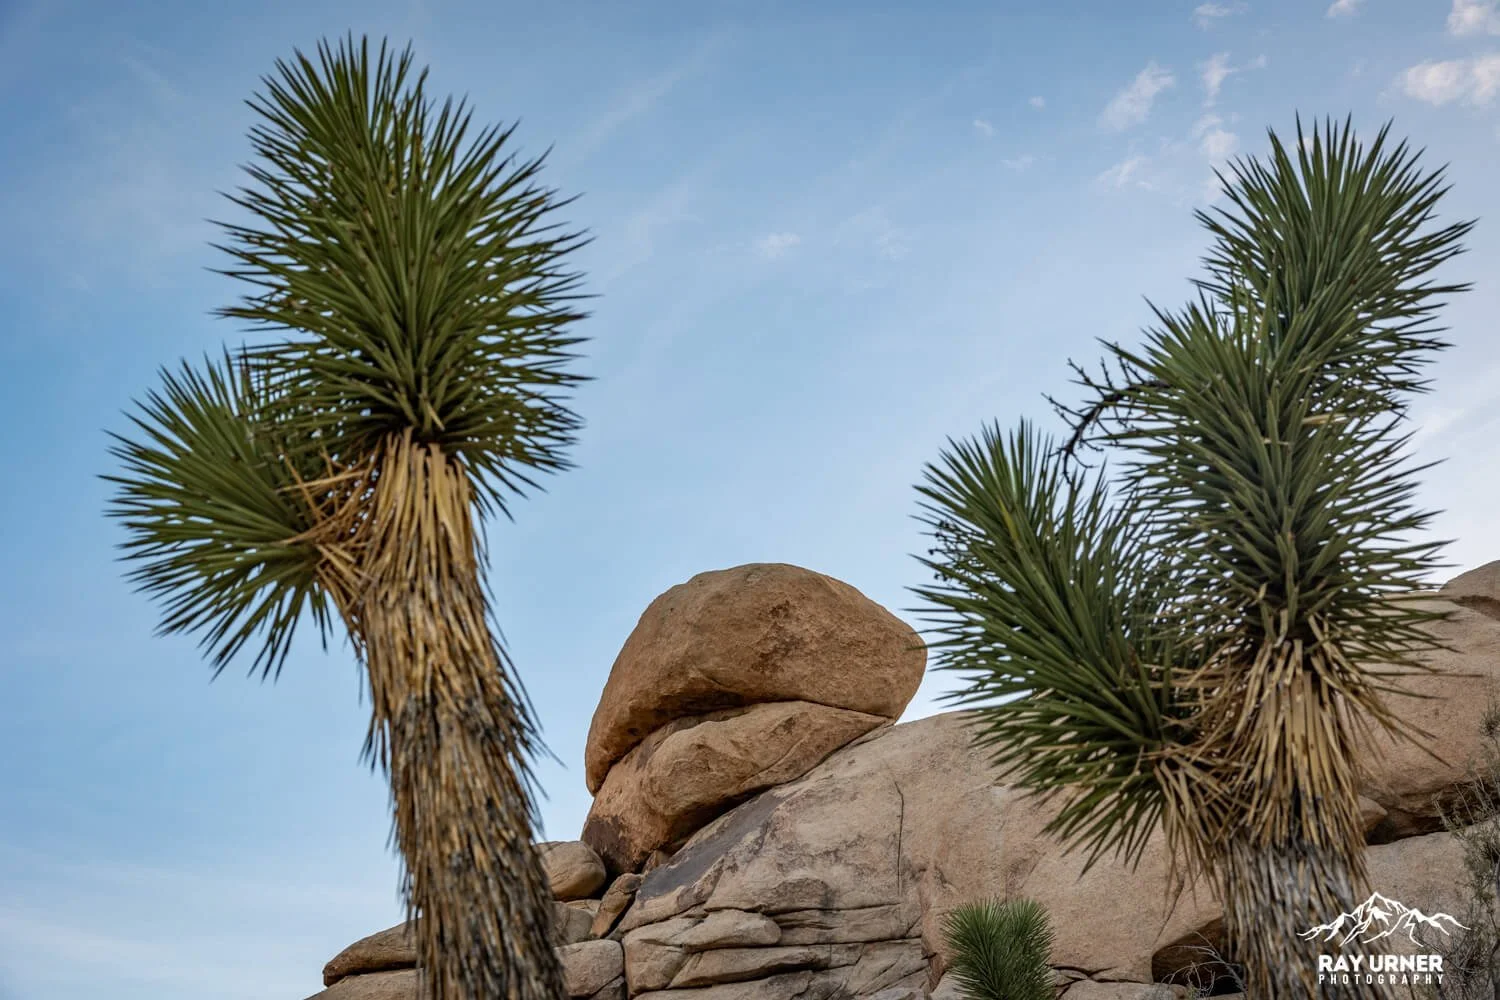
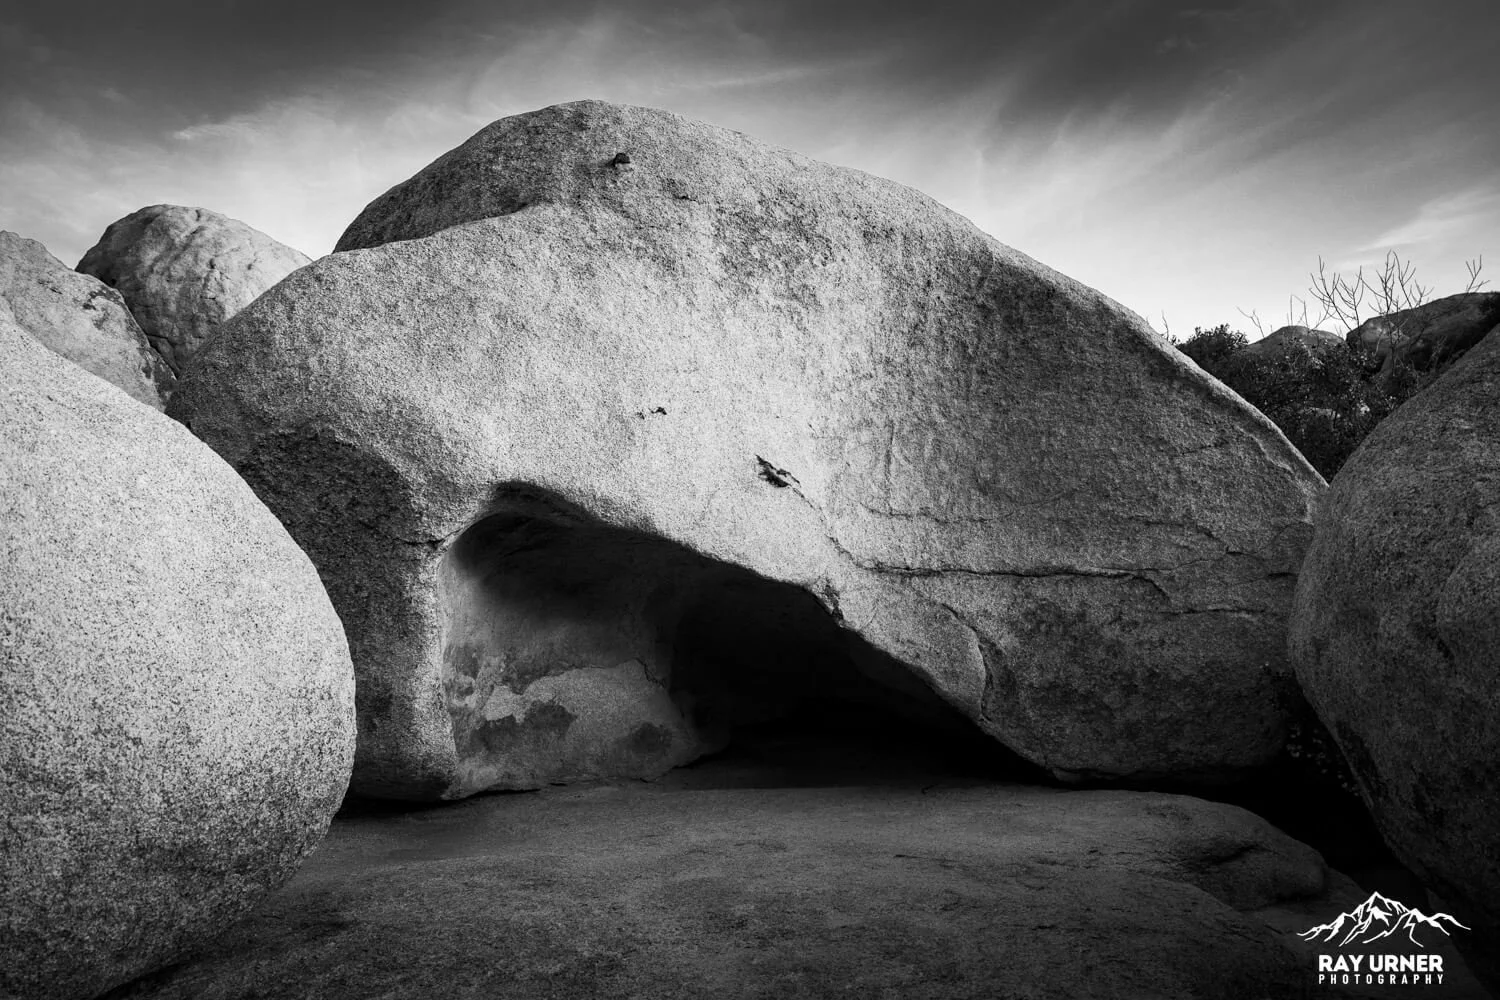
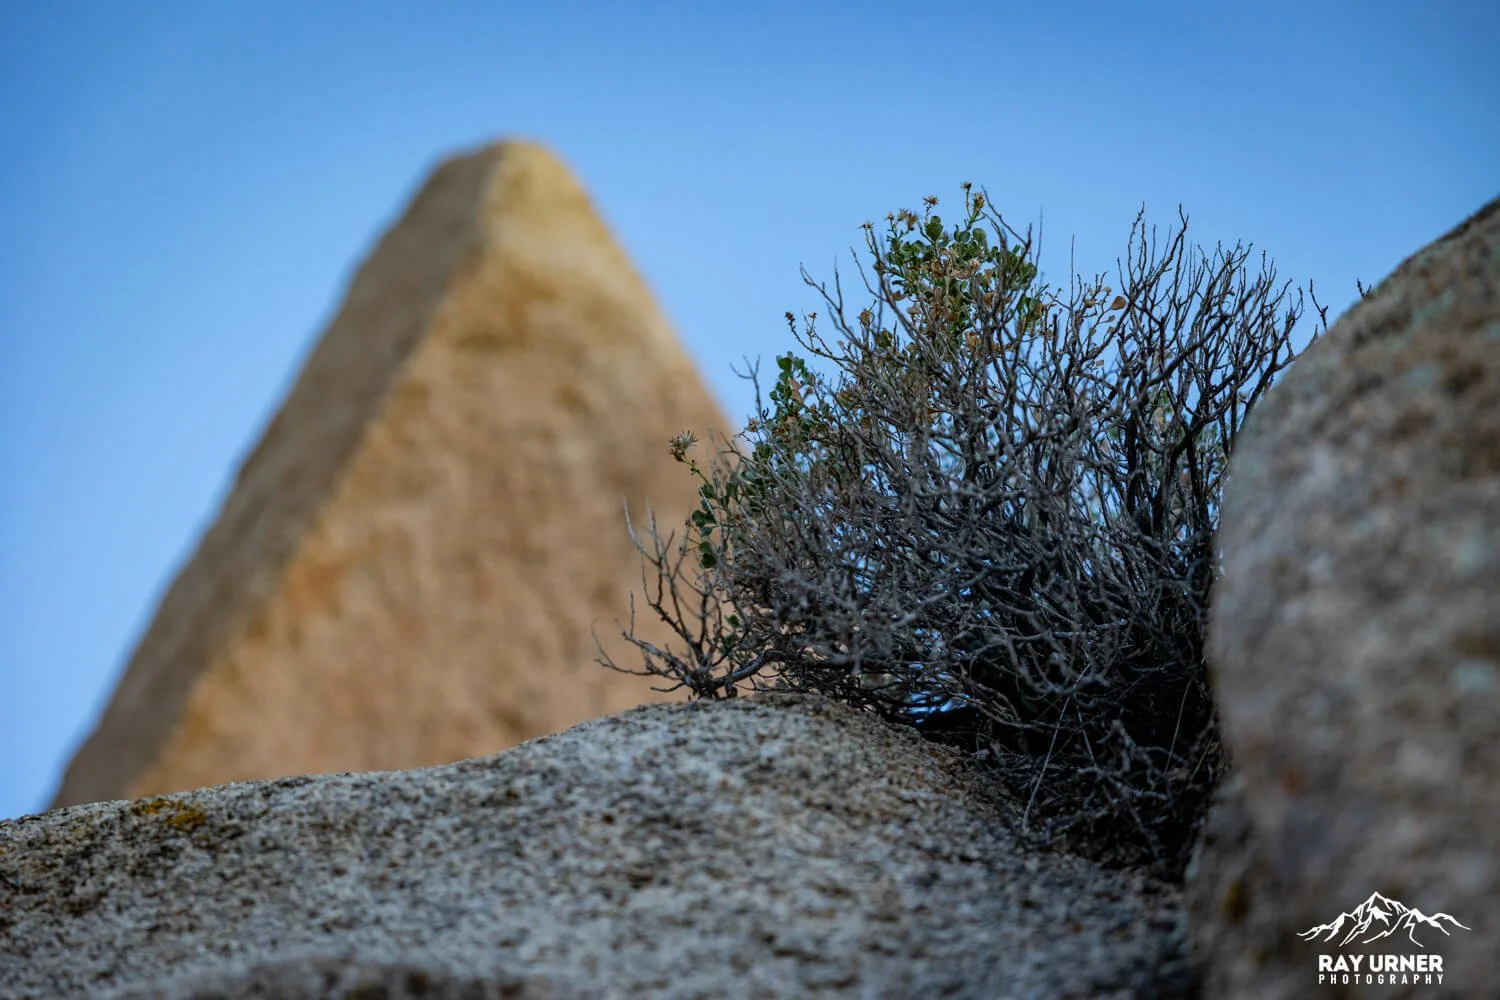
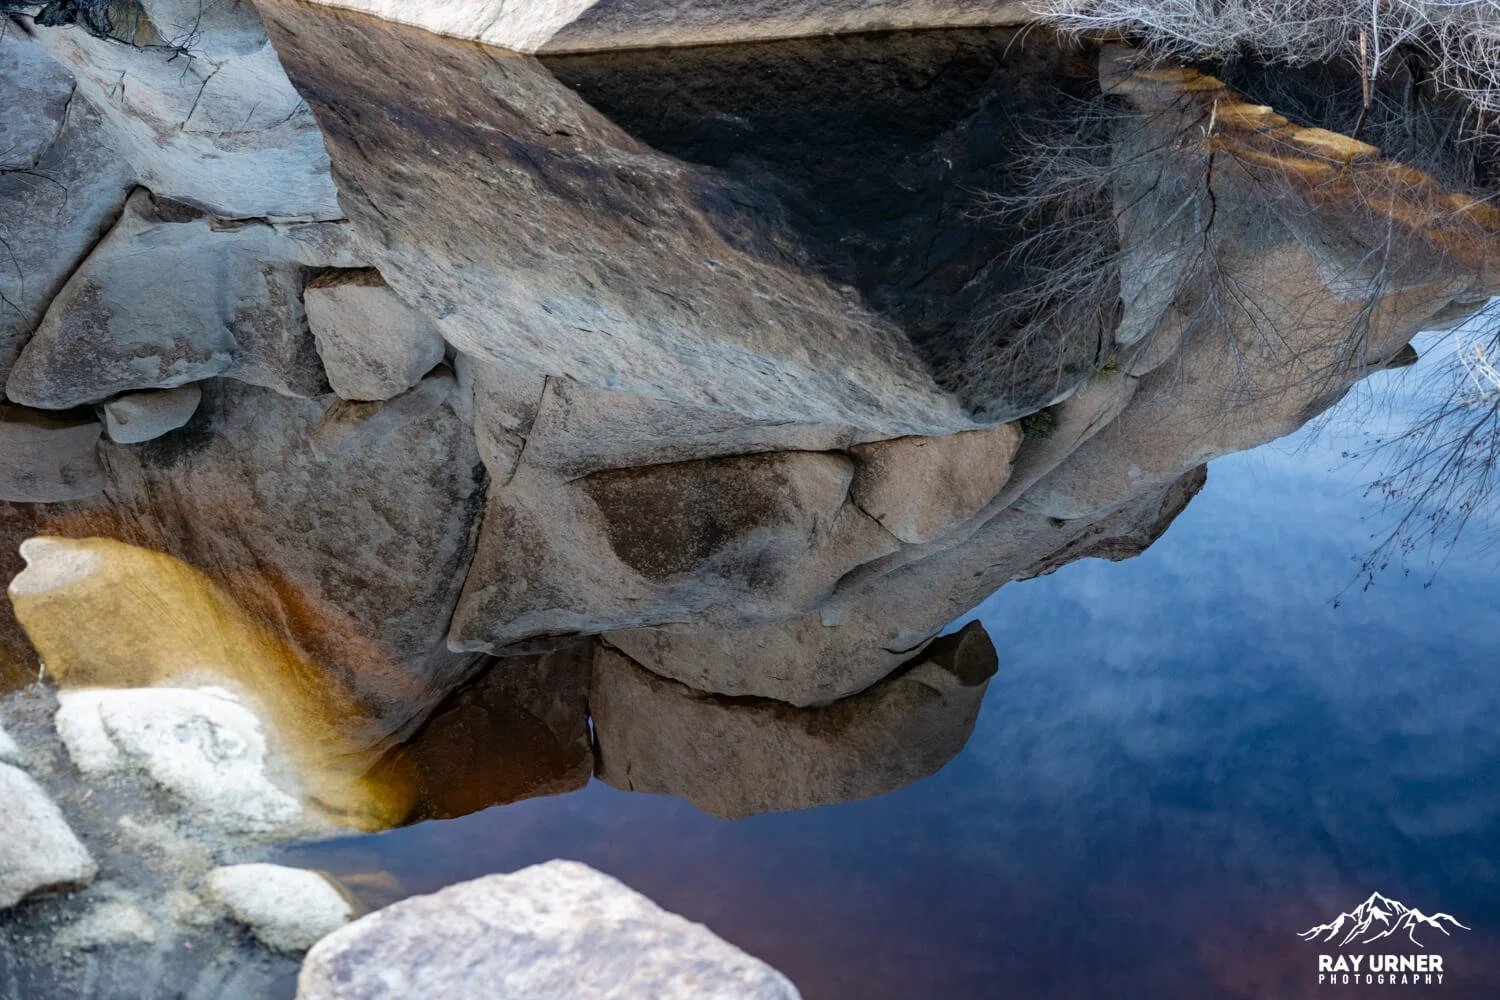
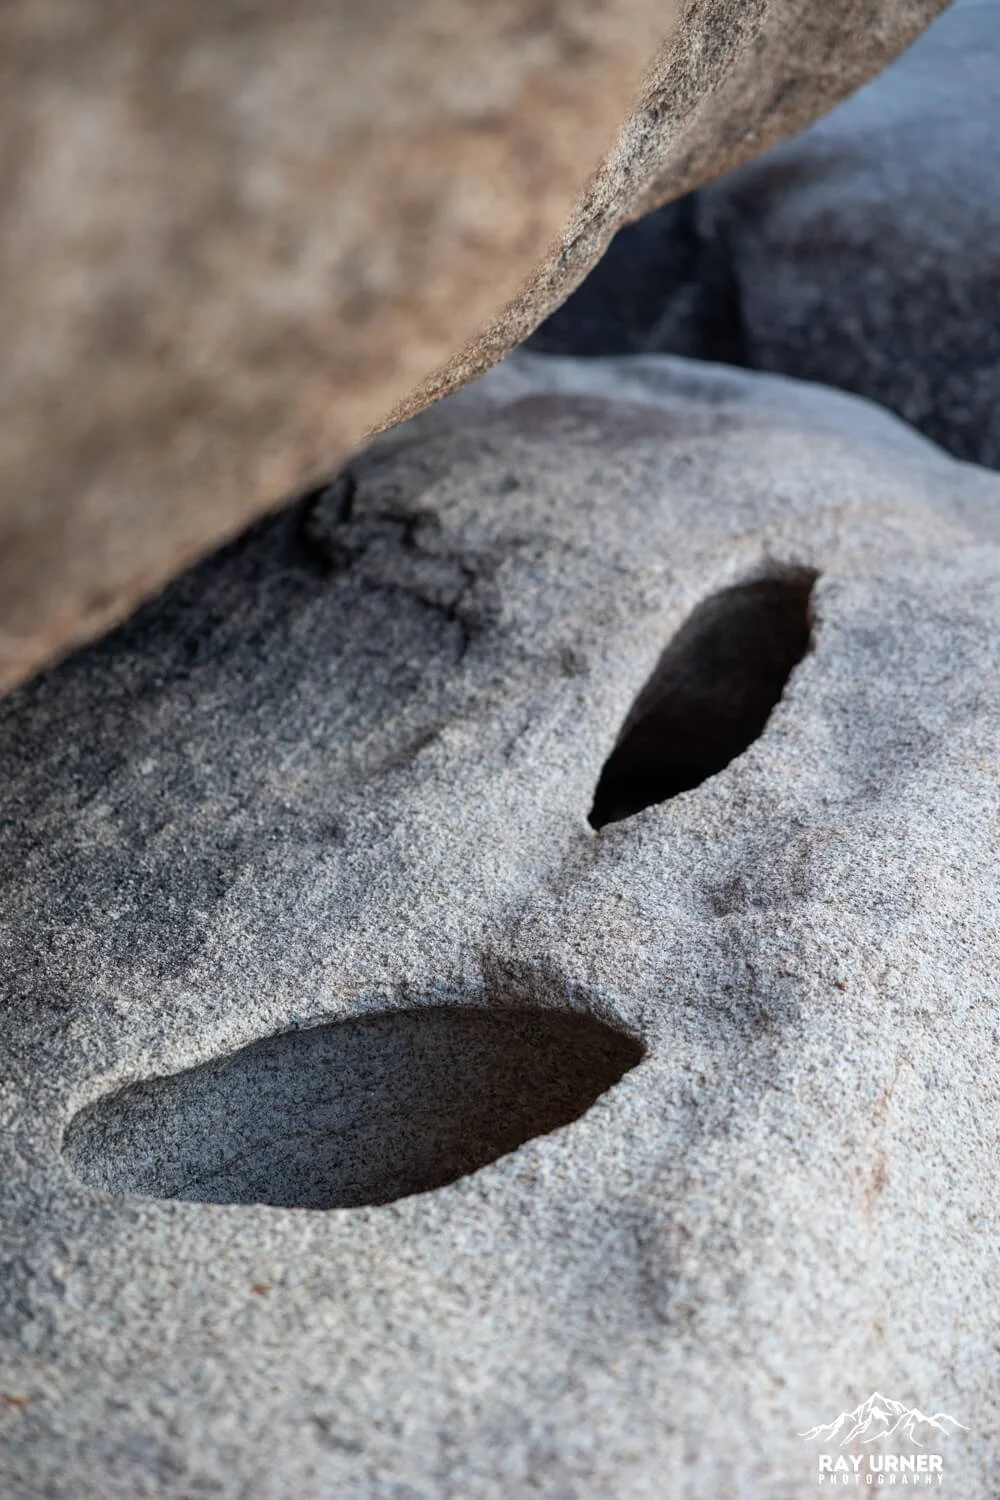
All the greatest hits of Joshua Tree geology show up here. The boulder piles are monzogranite—granitic plutons that cooled underground >100 million years ago. Over time, jointing + groundwater spheroidal weathering rounded rectangular blocks into domes and boulders; later arid‑climate erosion exposed and stacked them. Look for pale pegmatite/aplite dikes slicing through darker faces.
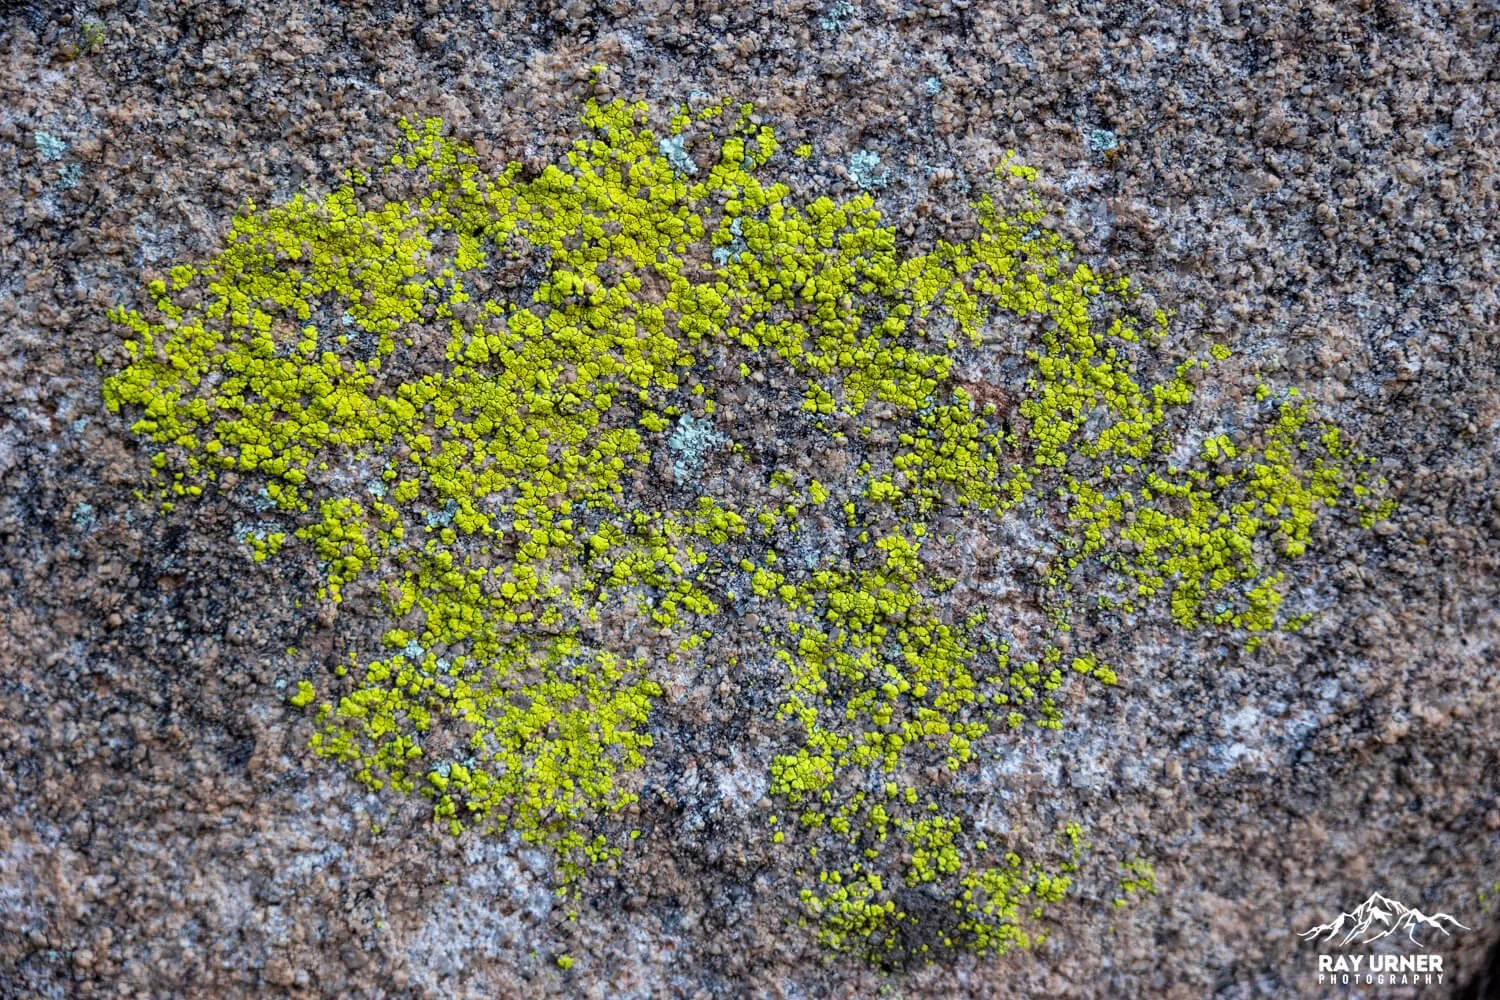
Ecology
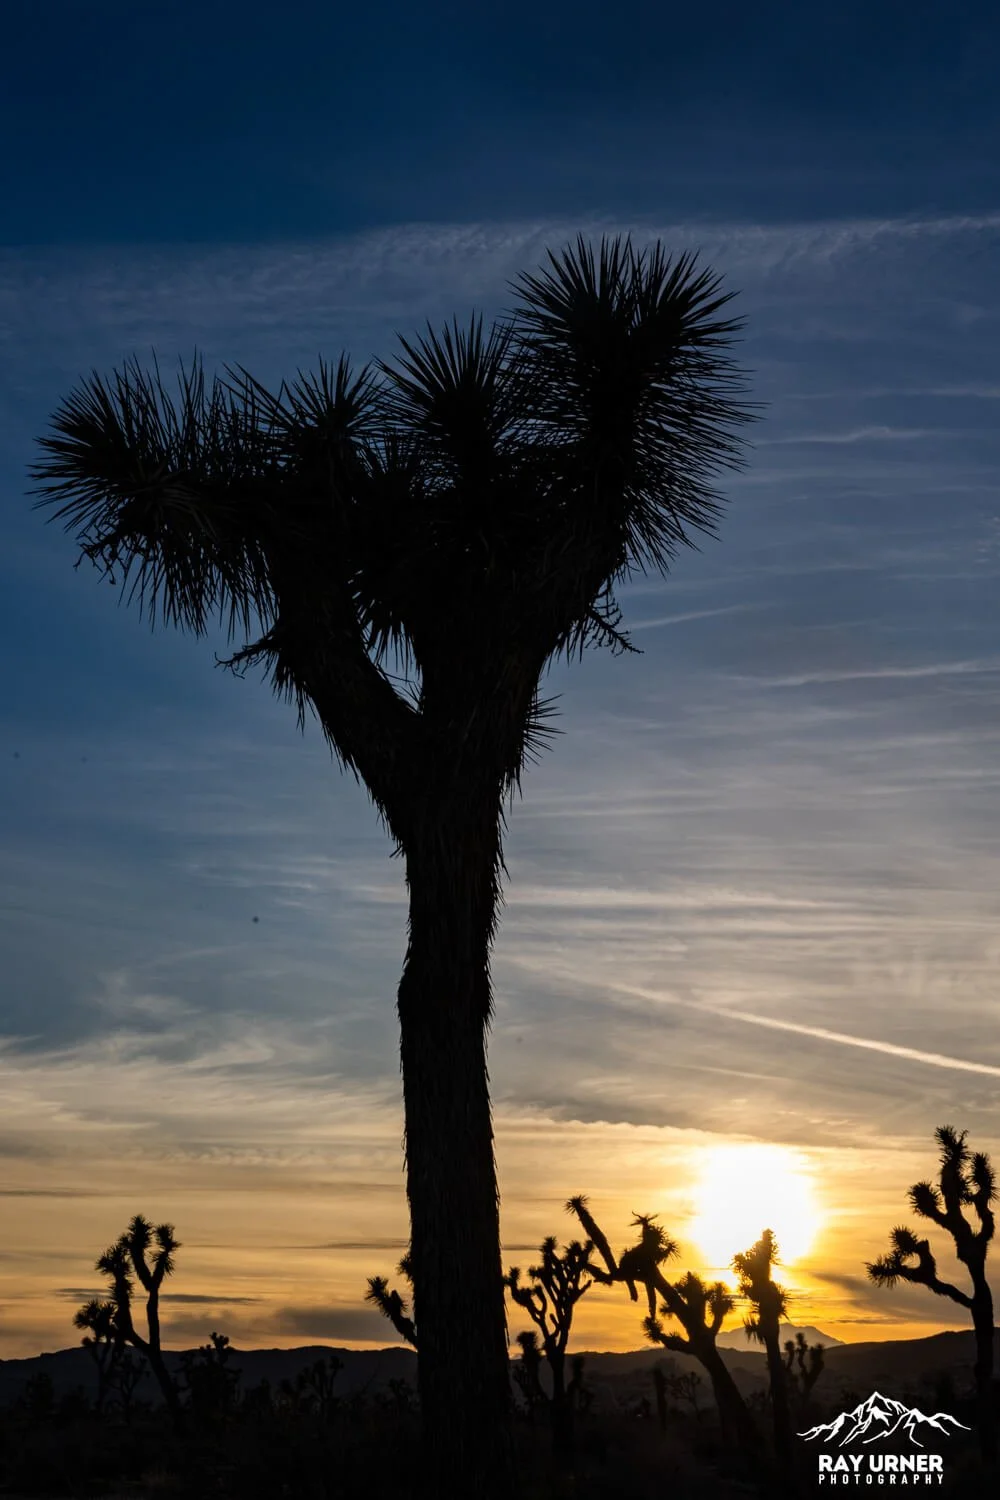
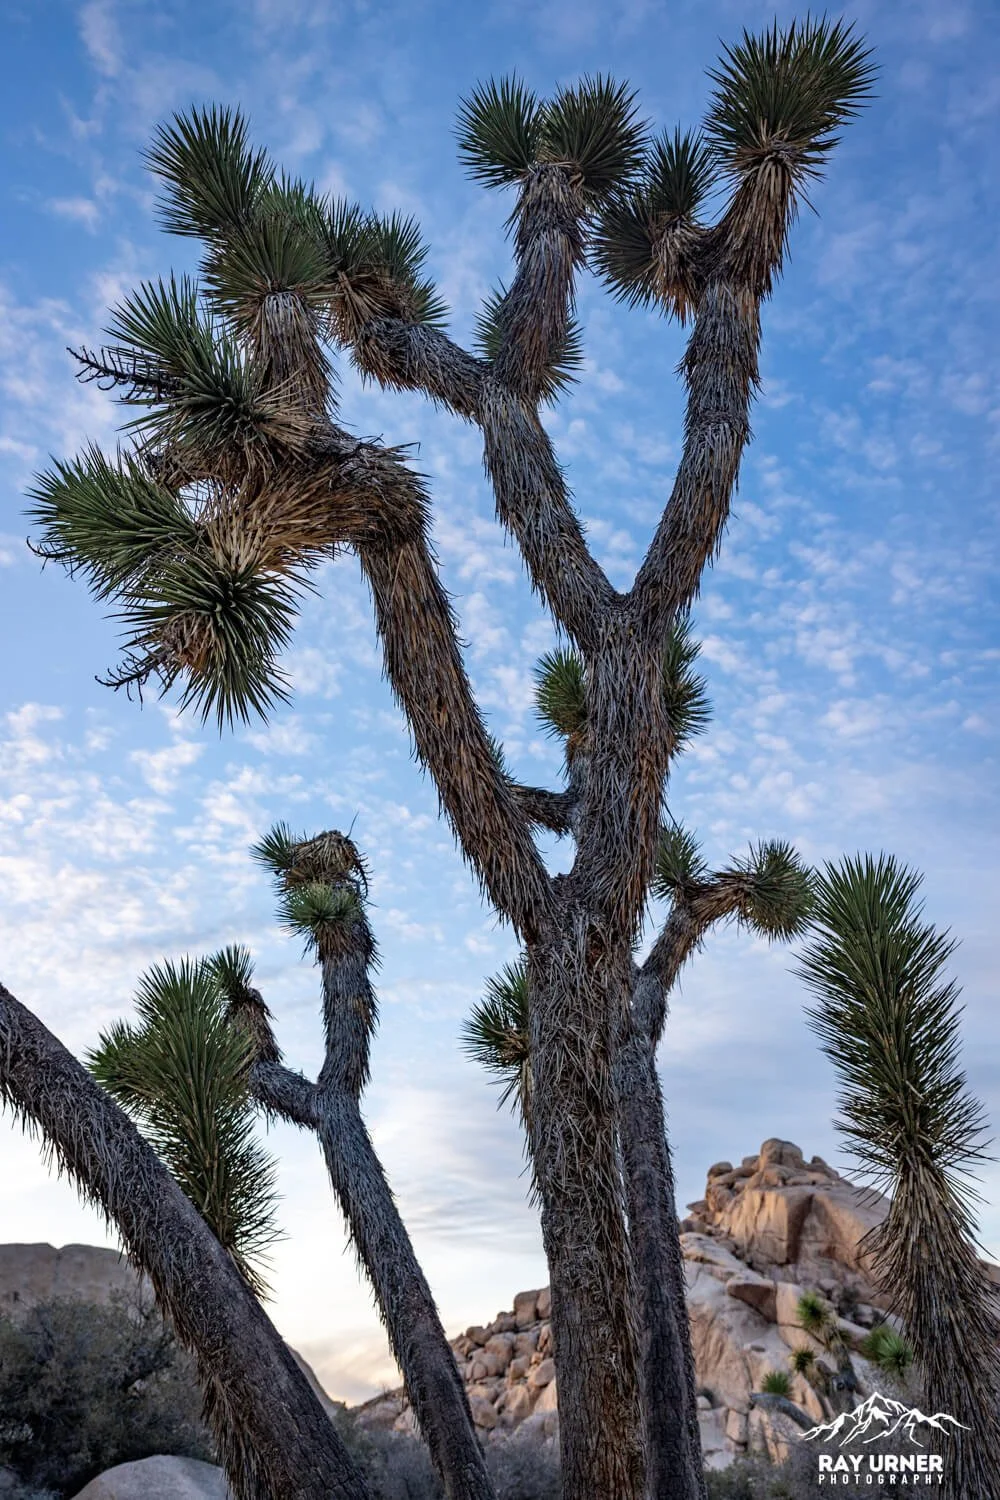
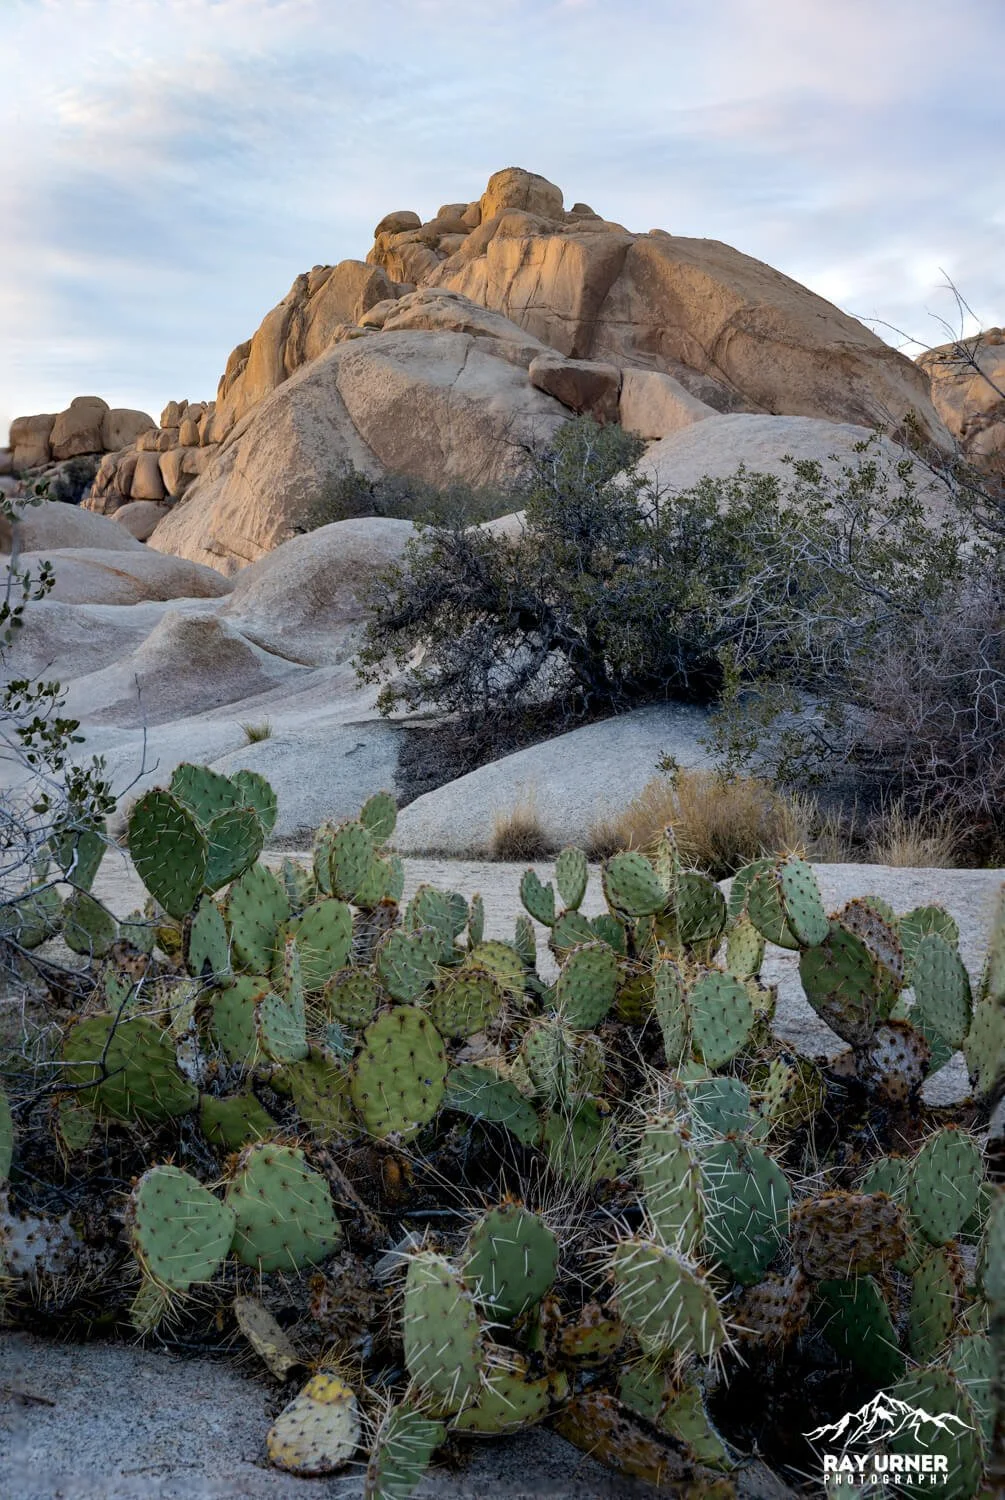
Because Barker Dam sometimes holds standing water, you’ll see a tighter cluster of freshwater indicator species and riparian vegetation alongside familiar Mojave plants. Expect Goodding’s willow and mule‑fat near water, with Joshua trees, Mojave yucca, pinyon, and juniper as you loop through drier stretches. Spring wildflowers and abundant birdlife are common; desert bighorn occasionally appear to drink at the reservoir.
Best Photo Spots (and how to shoot them)
Directions are described so you can recognize them on the ground—no GPS pins needed.
Boulder Corridor (early on the loop)
A narrow, sandy passage framed by high monzogranite walls makes a natural leading line.Open Flats toward Wonderland of Rocks
On the loop’s back half, place a Joshua tree in the near field; use mid‑to‑tele (50–135mm) to layer foreground flora with the distant boulder skyline. Because layering rules.


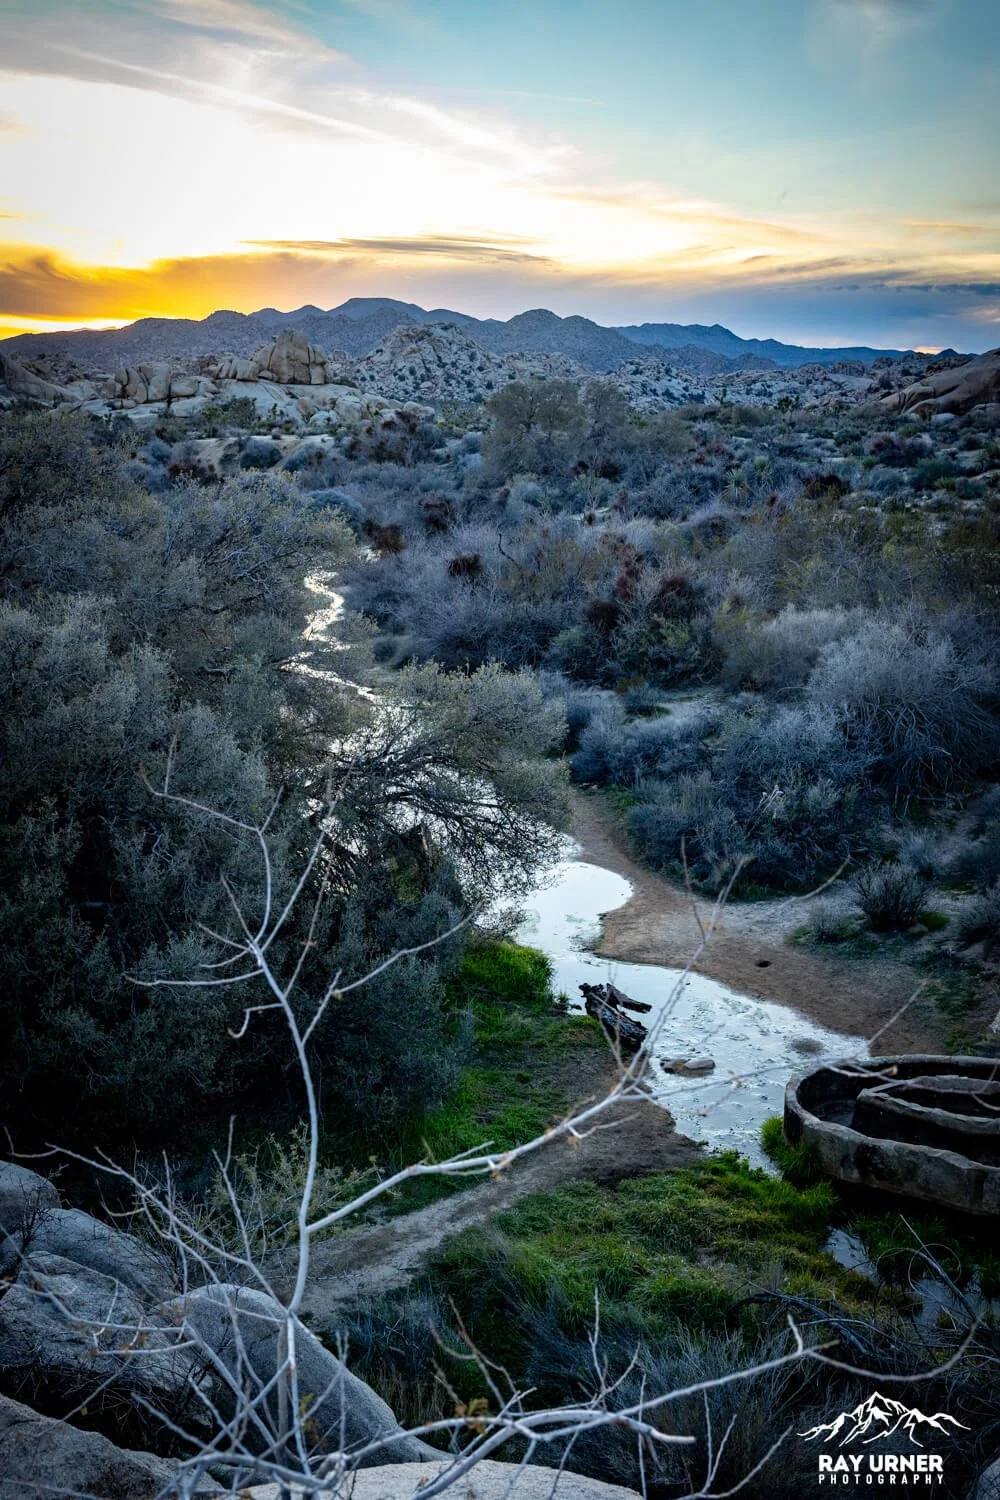
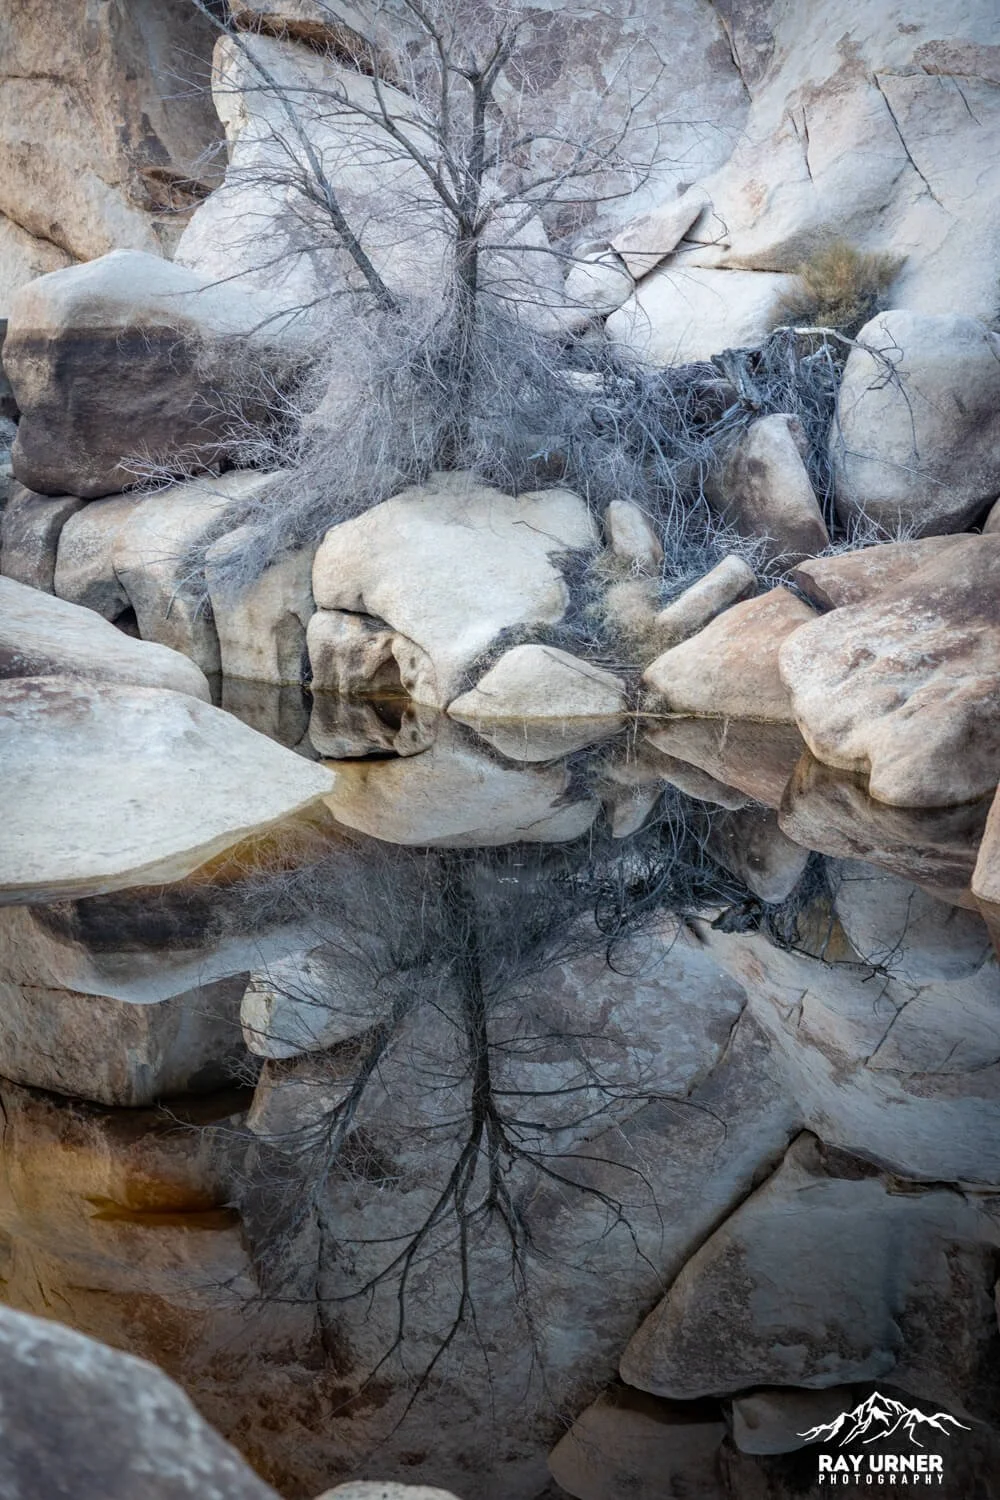
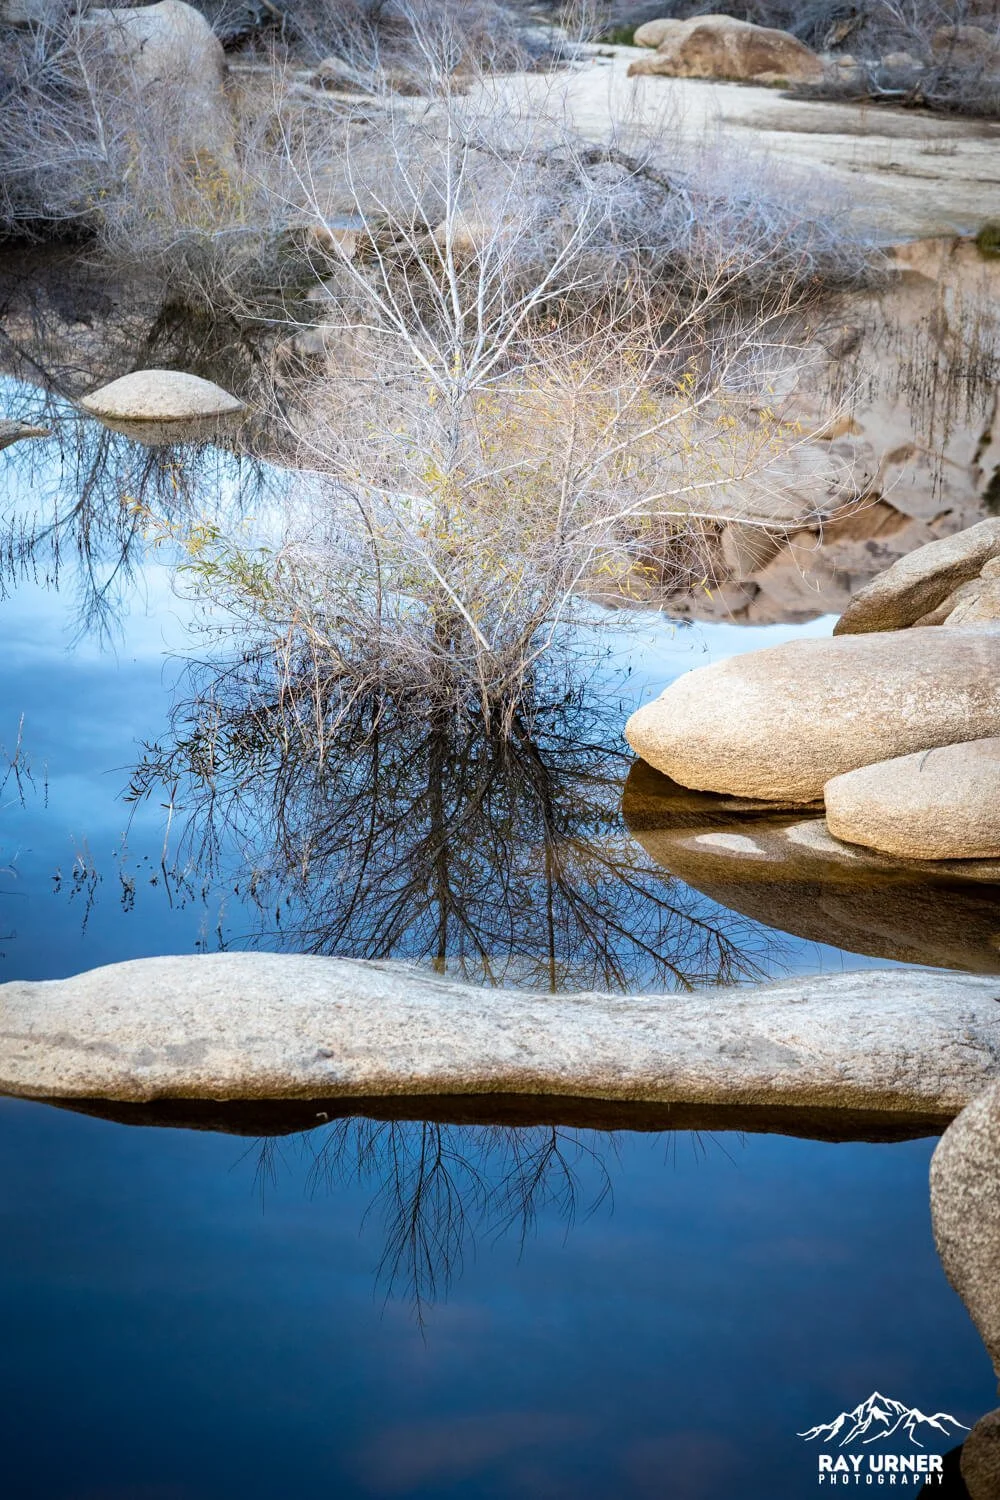
3. The Reservoir Edge (when there’s water)
Compose low with a wide lens (14–24/15–35mm) to stretch foreground reflections of boulders and desert sky. A circular polarizer helps control glare but feather it to preserve reflection strength. After wet winters or recent storms, this is your hero frame.
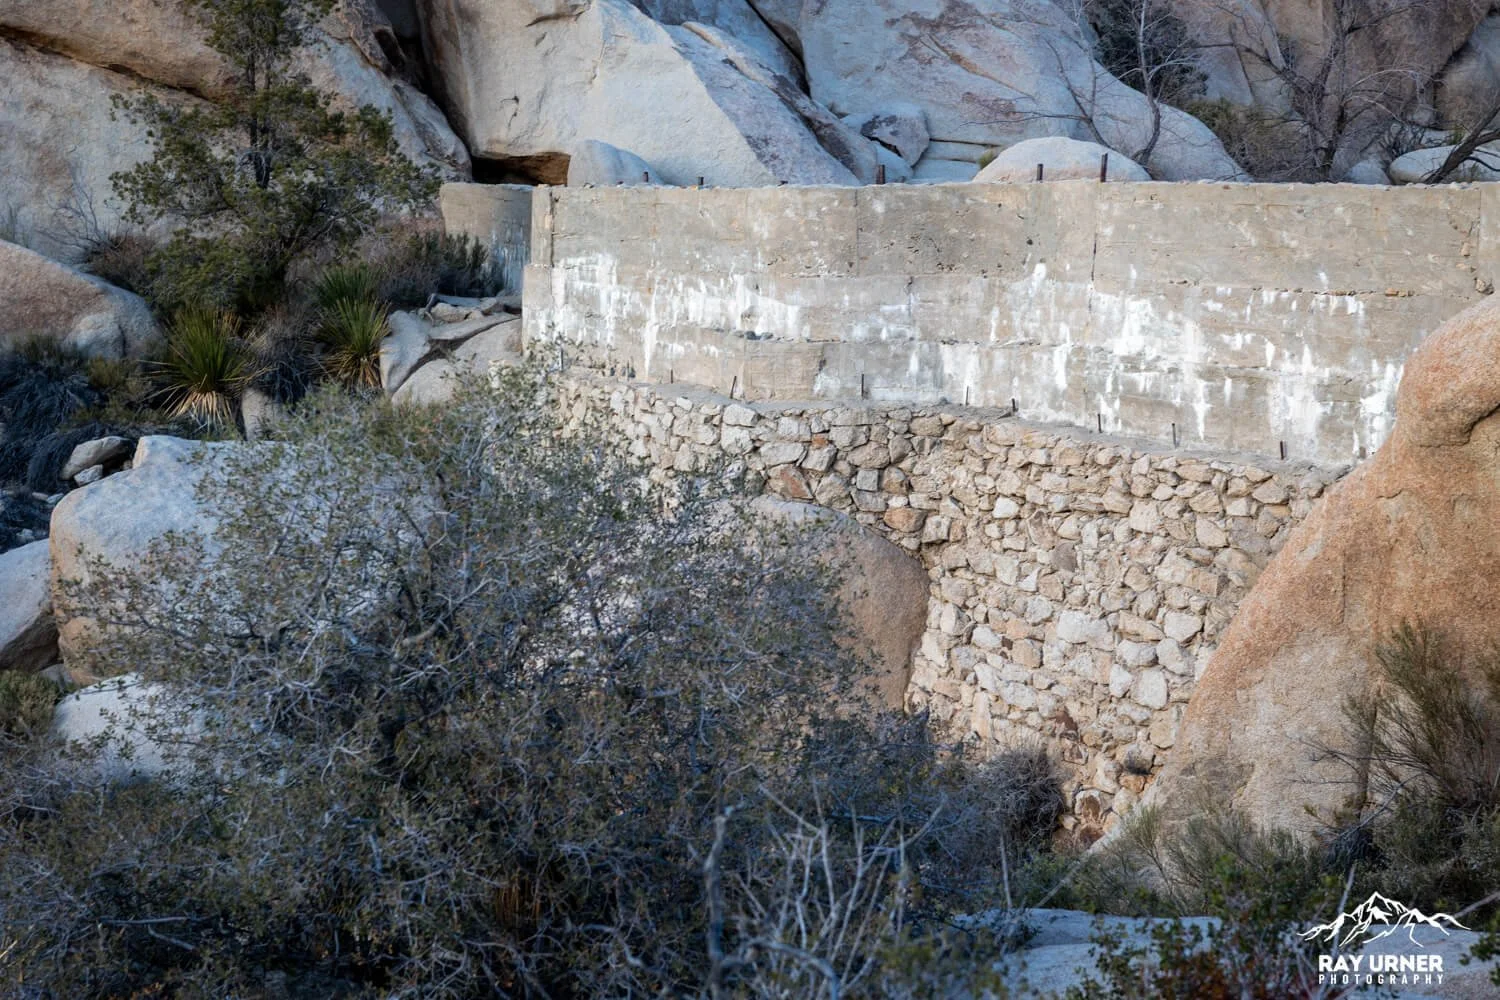
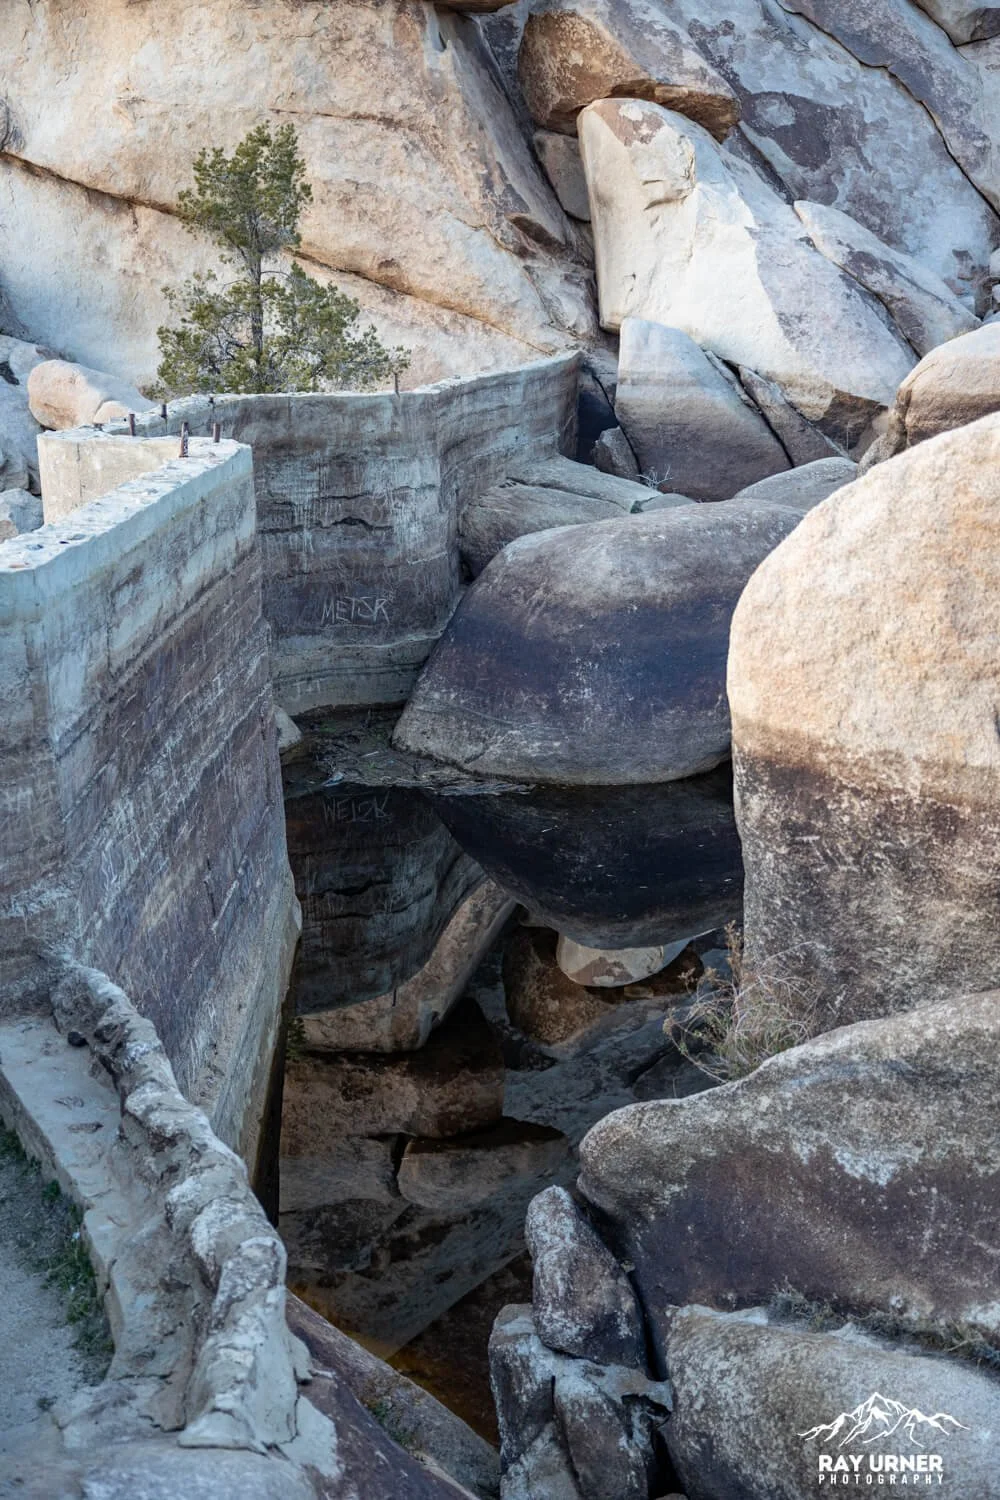
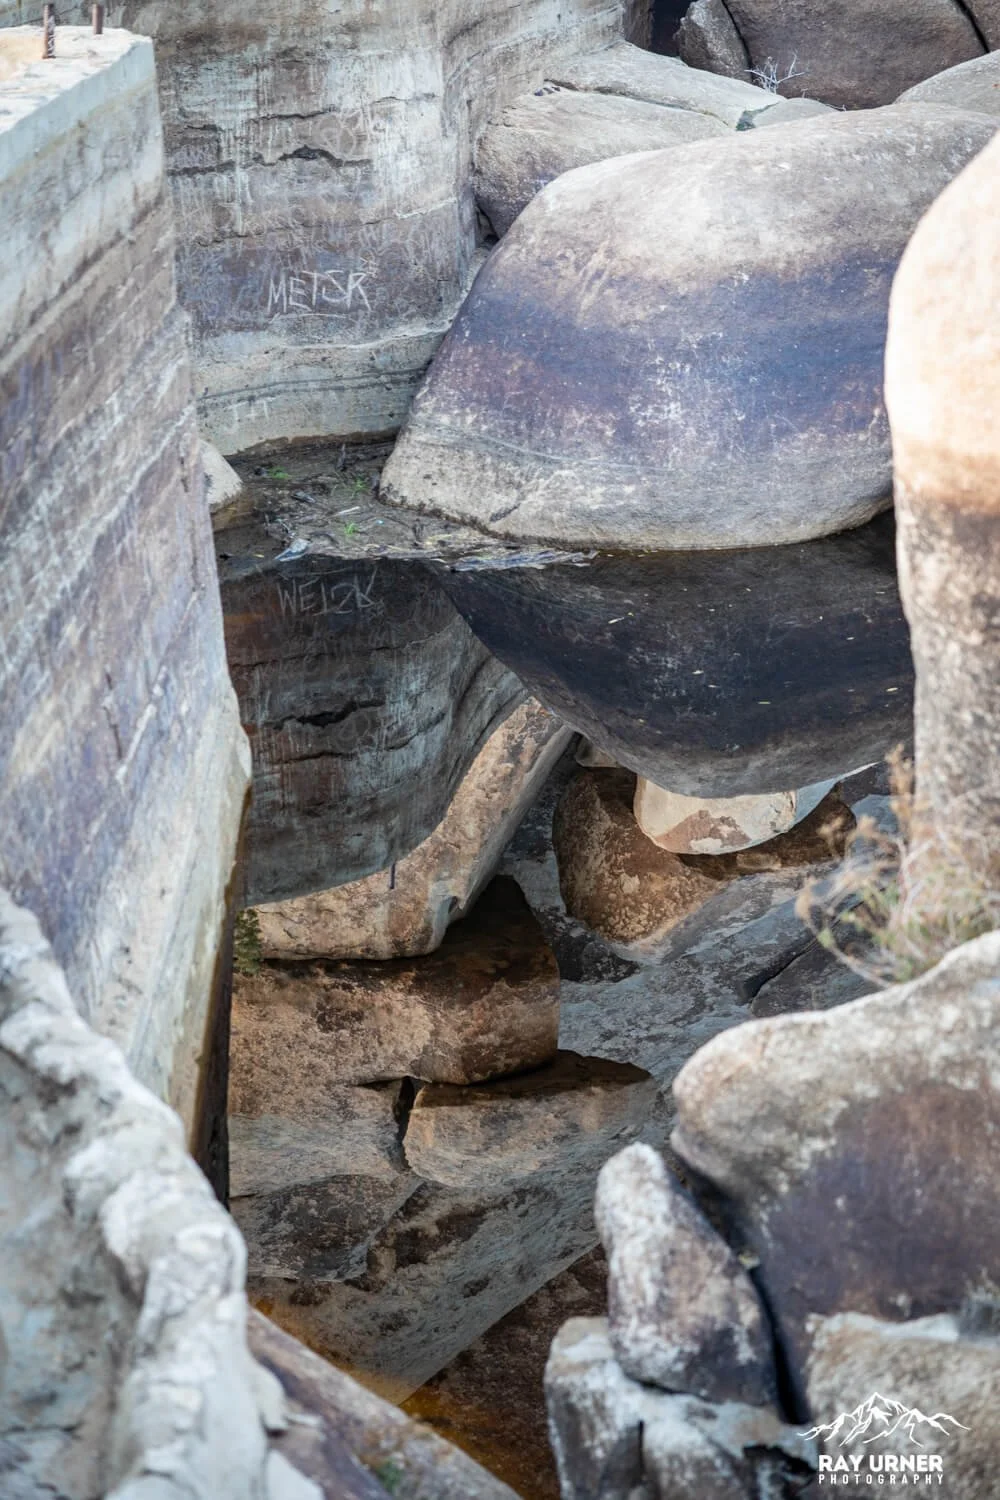
4. Dam Face & Inscription
Use a mid‑zoom (24–70mm) for the masonry textures and the Keys family inscription; include the “bathtub ring” for context. Keep visitors out of sensitive areas and don’t step onto the structure—let the inscription be the detail.
Shot List
Signature Reflection: Low‑angle reservoir mirror of granite stacks (Circular polarizer and tripod optional). Works only after rain/wet winters.
Historic Texture: Keys inscription + dam masonry; add “bathtub ring” banding for water‑level history.
Abstract Granite: Telephoto compression of jointed monzogranite with dike lines.
Lens & Filters: Ultra‑wide (14–24/15–35), mid‑zoom (24–70), tele (70–200). CIrcular polarizer for rock glare/reflections. (Tripod: optional; handy for reflections/low light.)
Light & Timing
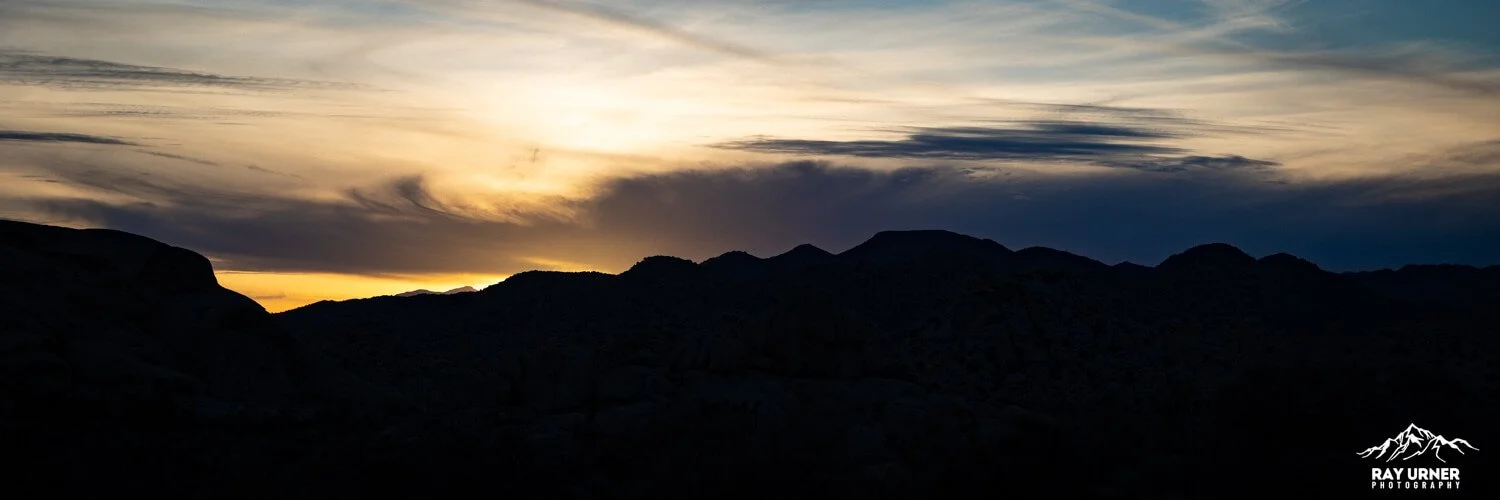
Sunrise: Soft cross‑light on boulders; still air favors mirror‑calm reflections if there’s water. Cooler temps make this the most comfortable, least crowded window.
Late Afternoon → Sunset: Warm glow paints the reservoir walls; long shadows sculpt the boulder forms and Joshua trees on the back half of the loop. You can still get mirror-calm reflections if you’re lucky.
After Rain (any time): Prioritize the reservoir edge; you’ll see the best reflection work in the hours/days after significant precipitation.
Hiking
The loop is easy and well‑signed with minimal elevation change and a mix of firm dirt, sand, and occasional granite steps. Expect very little shade and summer heat exceeding 100°F; carry water and sun protection. The surface narrows to 1.5–5 ft in spots, and footing on sand‑over‑rock can be slick after rain. Flip glops not advised!
Crowds & Parking: This is one of the park’s most popular “sampler” hikes—arrive early or late to secure parking and uncluttered compositions.
Logistics
Trailhead: Barker Dam parking lot off Barker Dam Road; interpretive map/signage at the start.
Trail Connections: Wall Street Mill Trail begins near the same parking area. This is also a great hike!
Accessibility Notes
Surface/Grade: Compact dirt and sand with short boulder/stone steps; average grade ~1%, short sections to ~5%. Not wheelchair‑friendly; narrow in places.
Shade/Heat: Minimal shade; plan on hiking during cooler hours.
Pro Tips
Go twice if you can: Dry reservoir? Revisit after a storm front—reflections can transform the entire shoot.
Wind management: For reflection shots, tuck into leeward coves; if ripples persist, shoot tighter subjects or switch to texture abstracts.
FAQs
How often does Barker Dam have water?
It’s ephemeral—rain‑dependent. After rainy periods (especially winter), expect water; during dry spells it may be a mudflat. Reflections are best soon after storms.
Is the trail kid‑friendly?
Yes. It’s short, mostly flat, and has engaging features (dam, boulders, interpretive signs). Still, it’s desert—pack water and sun protection.